Voice-O-Meter
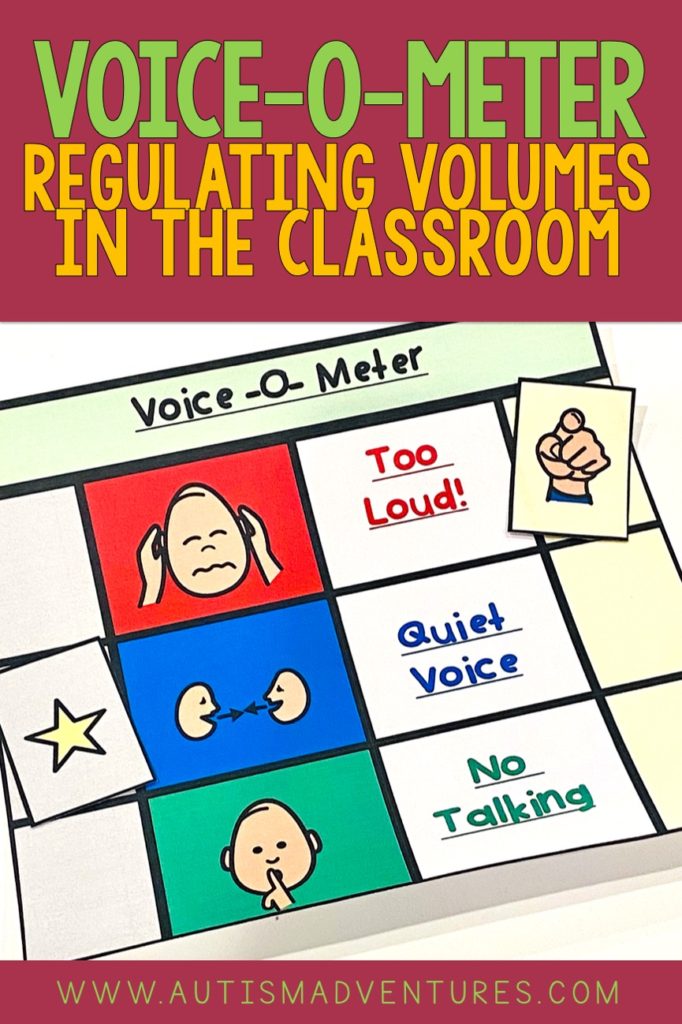
We have all experienced and maybe have even tried to control classrooms that can get rowdy and loud. Throughout the day, students are engaging in a variety of learning experiences that involve collaboration and independent work. We are constantly reminding our students what the appropriate level or volume is for different tasks. Having a few, simple levels for the students in your classroom to follow can help prevent and decrease disruptions caused by volume getting out of control. Thats where I introduce to you, the “Voice-O-Meter!”

I have created a useful tool to help with students that struggle to use appropriate voice volume throughout the school day! The “Voice-O-Meter” is a visual support to help our students remember the level of voice they should be using. It also provides the ability for voice level expectations to be edited as activities change!
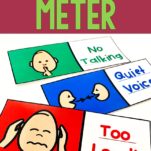
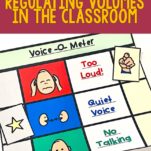
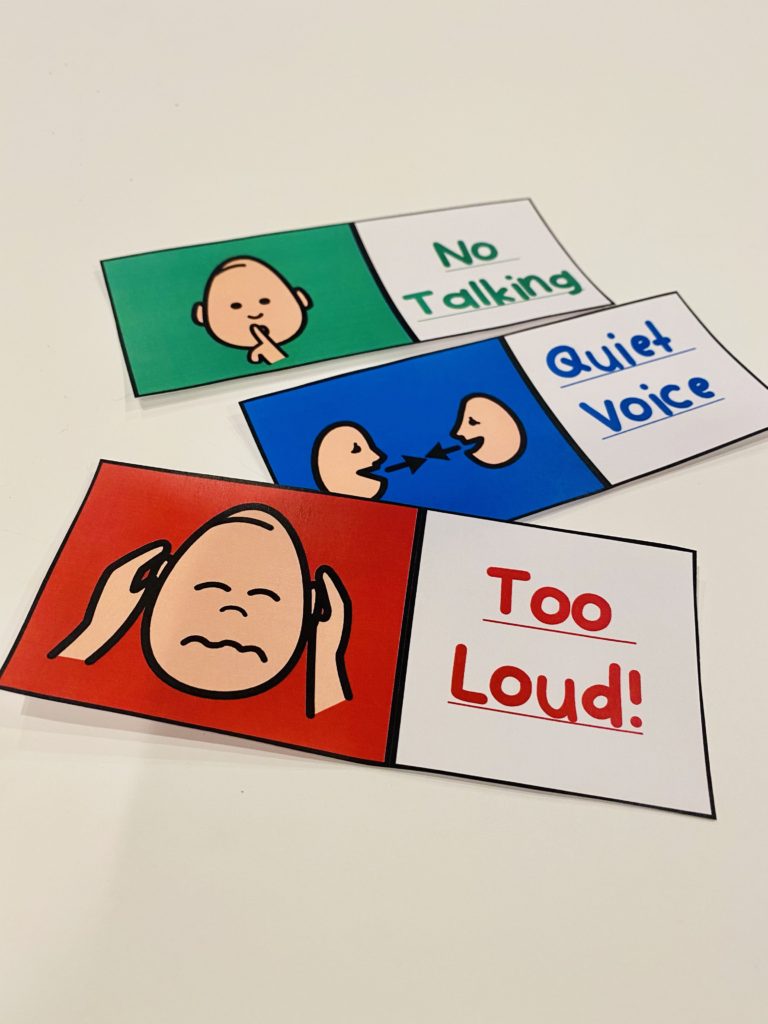
The three levels included in the Voice-O-Meter are…
- Too Loud
- Quiet Voice
- No Talking
Setting Voice Level Expectations
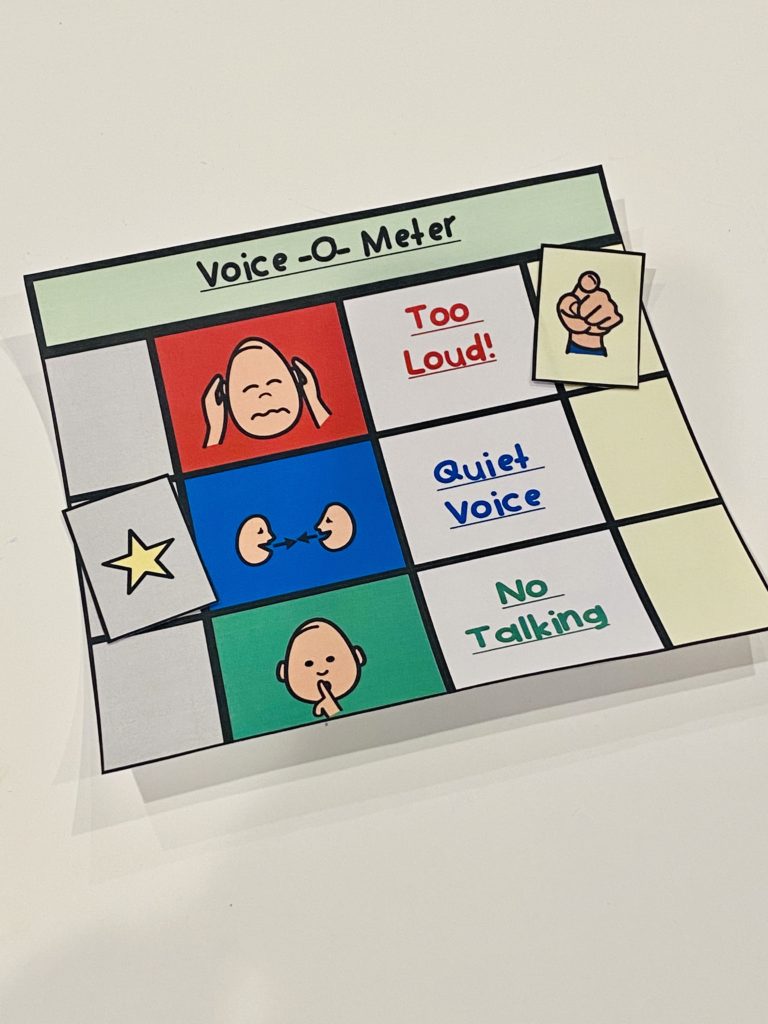
We can’t get mad at students for talking if they don’t know that they are not supposed to be talking. Its simple, some kids need to be told what is expected. This product comes with three stars to notify the student/class what volume they are expected to be using. For example, if an independent reading task is assigned, the teacher or staff member would place a star in the gray column next to “No Talking”. If a small group activity is assigned, the star may be moved next to “Quiet voice” in the gray column. It is important to let the student(s) know after a task is assigned the volume/speaking level that is expected. It can be helpful to review the classroom levels and times of day. Students should know that “Quiet Voice” may be used and when “No Talking” should be followed.
Teacher and Student Options

This visual can provide teachers with a way to monitor a students voice without impacting the class. The “Voice-O-Meter” may be something that the entire class needs displayed in the front of the room. It can also be used for a specific student. It can be laminated and taped to their desk. This visual can be used two ways. Teachers can manipulate the visual to instruct students. Students can also manipulate the visual themselves to build independence in controlling their own voice level.
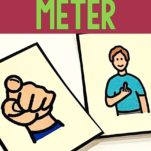
Also included with the visual are icons for “You” and “I”. The “You” (pointing finger) is designed for a teacher or staff member to move up and down the yellow column beside the levels to regulate volume in the classroom. For example, if the “Voice-O-Meter” is displayed in front of the classroom, the teacher may put a star to the left of “No talking” while instructing or reading aloud. Then, the “You” icon can be moved as instruction occurs, moving up if the class becomes “Too loud” etc.
Some students may require their own “Voice-O-Meter” on their desk as well. A teacher or staff member can help show the student where they are at throughout the day by simply moving the “You” icon during activities.
The other icon included with the meter is “me” or “I”. This is a tool for students that are familiar with the visual. Only implement t this way when they are ready to begin regulating their own voice. I recommend that this be used when the student has shown progress towards using and maintaining appropriate volumes throughout the school day. The “me”/”I” icon is used by the student to check-in and assess whether or not there volume is matching the volume level identified by the teacher (with the star).
Non-Verbal Instructions
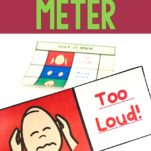
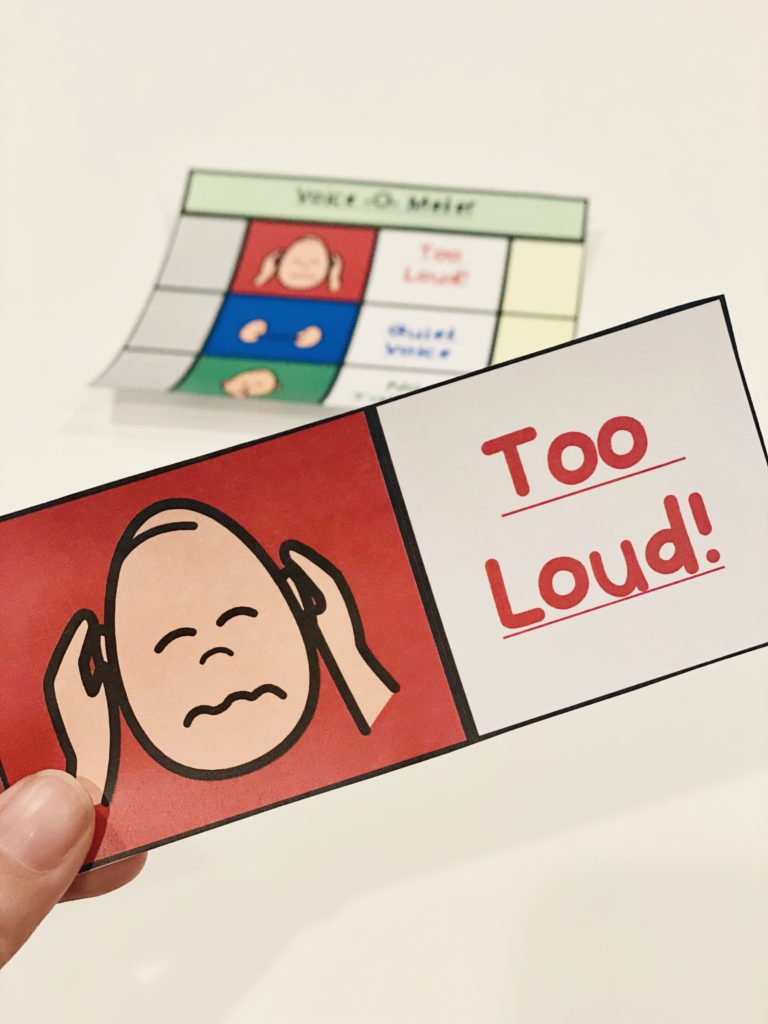
Three flashcards are also included in with the “Voice-O-Meter”. These can be helpful to show students what level they are on throughout the day. For example, hold up the “Too Loud” flashcard if the volume in the classroom is reaching an inappropriate level. We don’t want to add more volume to an already loud class. A simple non-verbal prompt can be key to quieting the class!
Student Reinforcement
We know the students will be more motivated to maintain appropriate voice levels throughout activities and the school day if some sort of a reinforcement is offered. An idea for this could be to keep track of how many times the student(s) volume level lined up with the star in the left column and provide rewards for following this expectation.
At first, rewards may need to be provided at the end of each activity. This is important while the student is still learning how to use the visual. However, you can gradually fade these out so that rewards are provided at the end of each day or even the end of each week for maintaining appropriate voice levels.
I hope that you find the “Voice-O-Meter” as useful and easy to incorporate into your classroom as I do! This simple, easy to use tool tool can help to control the classroom volume and provide individual students with a visual aid to help them remember what level of voice is expected while at school. If you are looking for more visual supports for your classroom, check out my visuals category on my blog to get lots of good ideas! I also have many FREE visuals in my Free Resource Library HERE.
Like what you read? Don’t forget it, PIN IT!
