“How To Set Up A Special Education Program”- Communication Day 1
Using One
PEC ICON to request a preferred item/Activity
PEC ICON to request a preferred item/Activity
Teaching
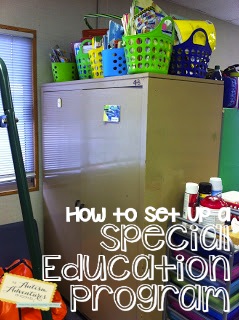
Communication is my top priority in the school setting. One of my favorite ways to integrate
communication is for some of the most preferred items in my classroom. I add icons throughout the room in special
locations to teach students to request independently. An example is shown below:
Communication is my top priority in the school setting. One of my favorite ways to integrate
communication is for some of the most preferred items in my classroom. I add icons throughout the room in special
locations to teach students to request independently. An example is shown below:
One
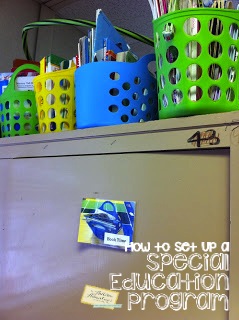
of my student’s is obsessed with books.
I added a book icon to the storage cabinet next to the books. I attached it with velcro. I am teaching my student to walk to the
books, take the icon, and hand it to a staff member indicating that he wants a
book. Starting with one icon to
introduce communication is a easy way to push towards a full communication
system.
Where to
Start A Student with PECS Communication?
Start A Student with PECS Communication?
Starting
a student with PECS communication can seem like a daunting task. As with everything in Special Education,
every child is different. With your
lowest students, starting with real photographs is a great method. Real photographs may be easy to understand
for some students. If your student is
able to interpret clip art images such as symbol stix or boardmaker- then you
can start straight with clip art images.
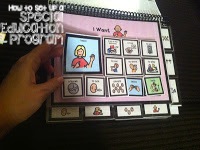
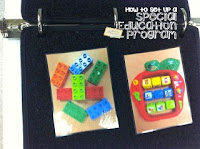
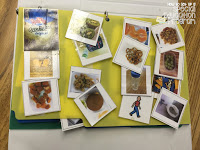
Here are a few pictures of PEC’s I’ve used over the years!
1.
Give
student a choice by placing two toys in front of him/her.
Give
student a choice by placing two toys in front of him/her.
2.
When
he/she grabs one toy, find that picture icon, and place it on the binder in
front of the student.
When
he/she grabs one toy, find that picture icon, and place it on the binder in
front of the student.
3.
Position
the PEC’s book in between the communicating student and the communicating staff
member.
Position
the PEC’s book in between the communicating student and the communicating staff
member.
4.
Place
a second staff member behind the communicating student to prompt the student
when needed.
Place
a second staff member behind the communicating student to prompt the student
when needed.
5.
Wait
for the child to reach for the toy and have the prompting staff member
physically prompt the student to grab the picture icon and hand it to the
communicating staff.
Wait
for the child to reach for the toy and have the prompting staff member
physically prompt the student to grab the picture icon and hand it to the
communicating staff.
6.
The
communicating staff member will say, “Blocks” and hold up the picture
icon while handing the child the matching toy.
The
communicating staff member will say, “Blocks” and hold up the picture
icon while handing the child the matching toy.
7.
Allow
the child to play for a minute or two, and start again by taking the toy away
and saying something along the lines of “my turn.”
Allow
the child to play for a minute or two, and start again by taking the toy away
and saying something along the lines of “my turn.”
8.
Wait
for the child to reach for the toy, and repeat the steps to requesting the toy
through a PEC
Wait
for the child to reach for the toy, and repeat the steps to requesting the toy
through a PEC
This
system can be used for toys, activities, snacks and much more. The key to
teaching PEC’s communication is using two staff members in the beginning.
By using two staff members, the communicating staff member is able to
focus on the two way communication. The second staff member behind the
child is able to prompt the student with out having to communicate with the
student. The makes it much easier for the student and does not confuse
the student.
Great
opportunities to introduce PECS to a student:
Play time, snack time, recess, and art.
Find the most motivating parts of the day and encourage the child that
they WANT to communicate! With time,
build upon the child’s picture vocabulary and store them all in a handy dandy
book!
Come back tomorrow…. I have a LOADED post about communication for you 🙂
