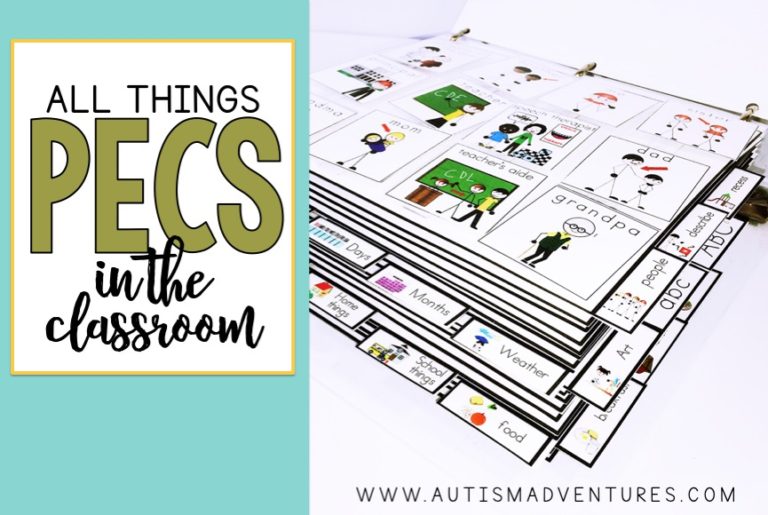
How to Build Functional Communication Skills in the Classroom
Functional communication is one of the most important skills for any student. Being able to communicate basic needs and wants is an essential life skill. It should be a pillar goal for special education teachers when designing their special education program. Today we will discuss how to build effective communication skills within the classroom across different social settings with the use of visual supports, alternative communication and nonverbal cues.
When starting with communication skills in the classroom, start with working on communicating for preferred items. Often times we are motivated to teach emotions or colors, however if the student is not motivated success will be minimal. Simply start with highly motivated items or activities and progress from there.
Overview of functional communication
There are a few things I want to state about communication in the classroom. If you have students who are using alternative means of communication, consider this their voice. Whether it is a high tech speech-generating devices, a low tech device or a PECS book, consider it their voice. Do not take away their voice. Do not share their voice with other students. Students would have access to these modes of communication at all times.
Most importantly, do not choose to “not” give a student a voice. We are our students biggest advocates. It is imperative that we help each and everyone find their voice.
What is Nonverbal communication?
Nonverbal communication is the process of conveying information without using words. It includes facial expressions, gestures, body language, and eye contact. These cues can express emotions, replace spoken words, or convey messages on their own. Nonverbal communication is essential for all students because it allows for understanding and interacting effectively in social situations.
Requesting Preferred Activities
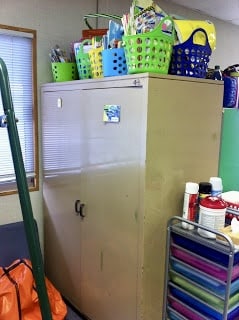
Teaching functional communication is my top priority in the school setting. It is important to build communication opportunities within your school day in a natural way. For students with limited communication abilities who are not fluent in picture exchange system or any other form of communication can be a struggle. I like to start these students communicating by requesting ONE preferreed item in the classroom. I add icons throughout the room in locations that “make sense” to avoid communication challenges.
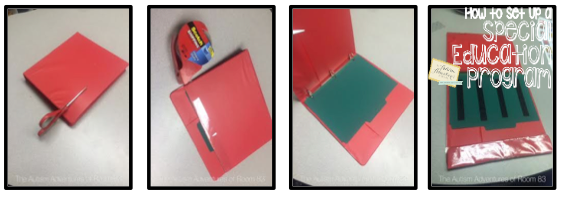
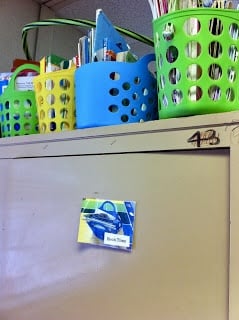
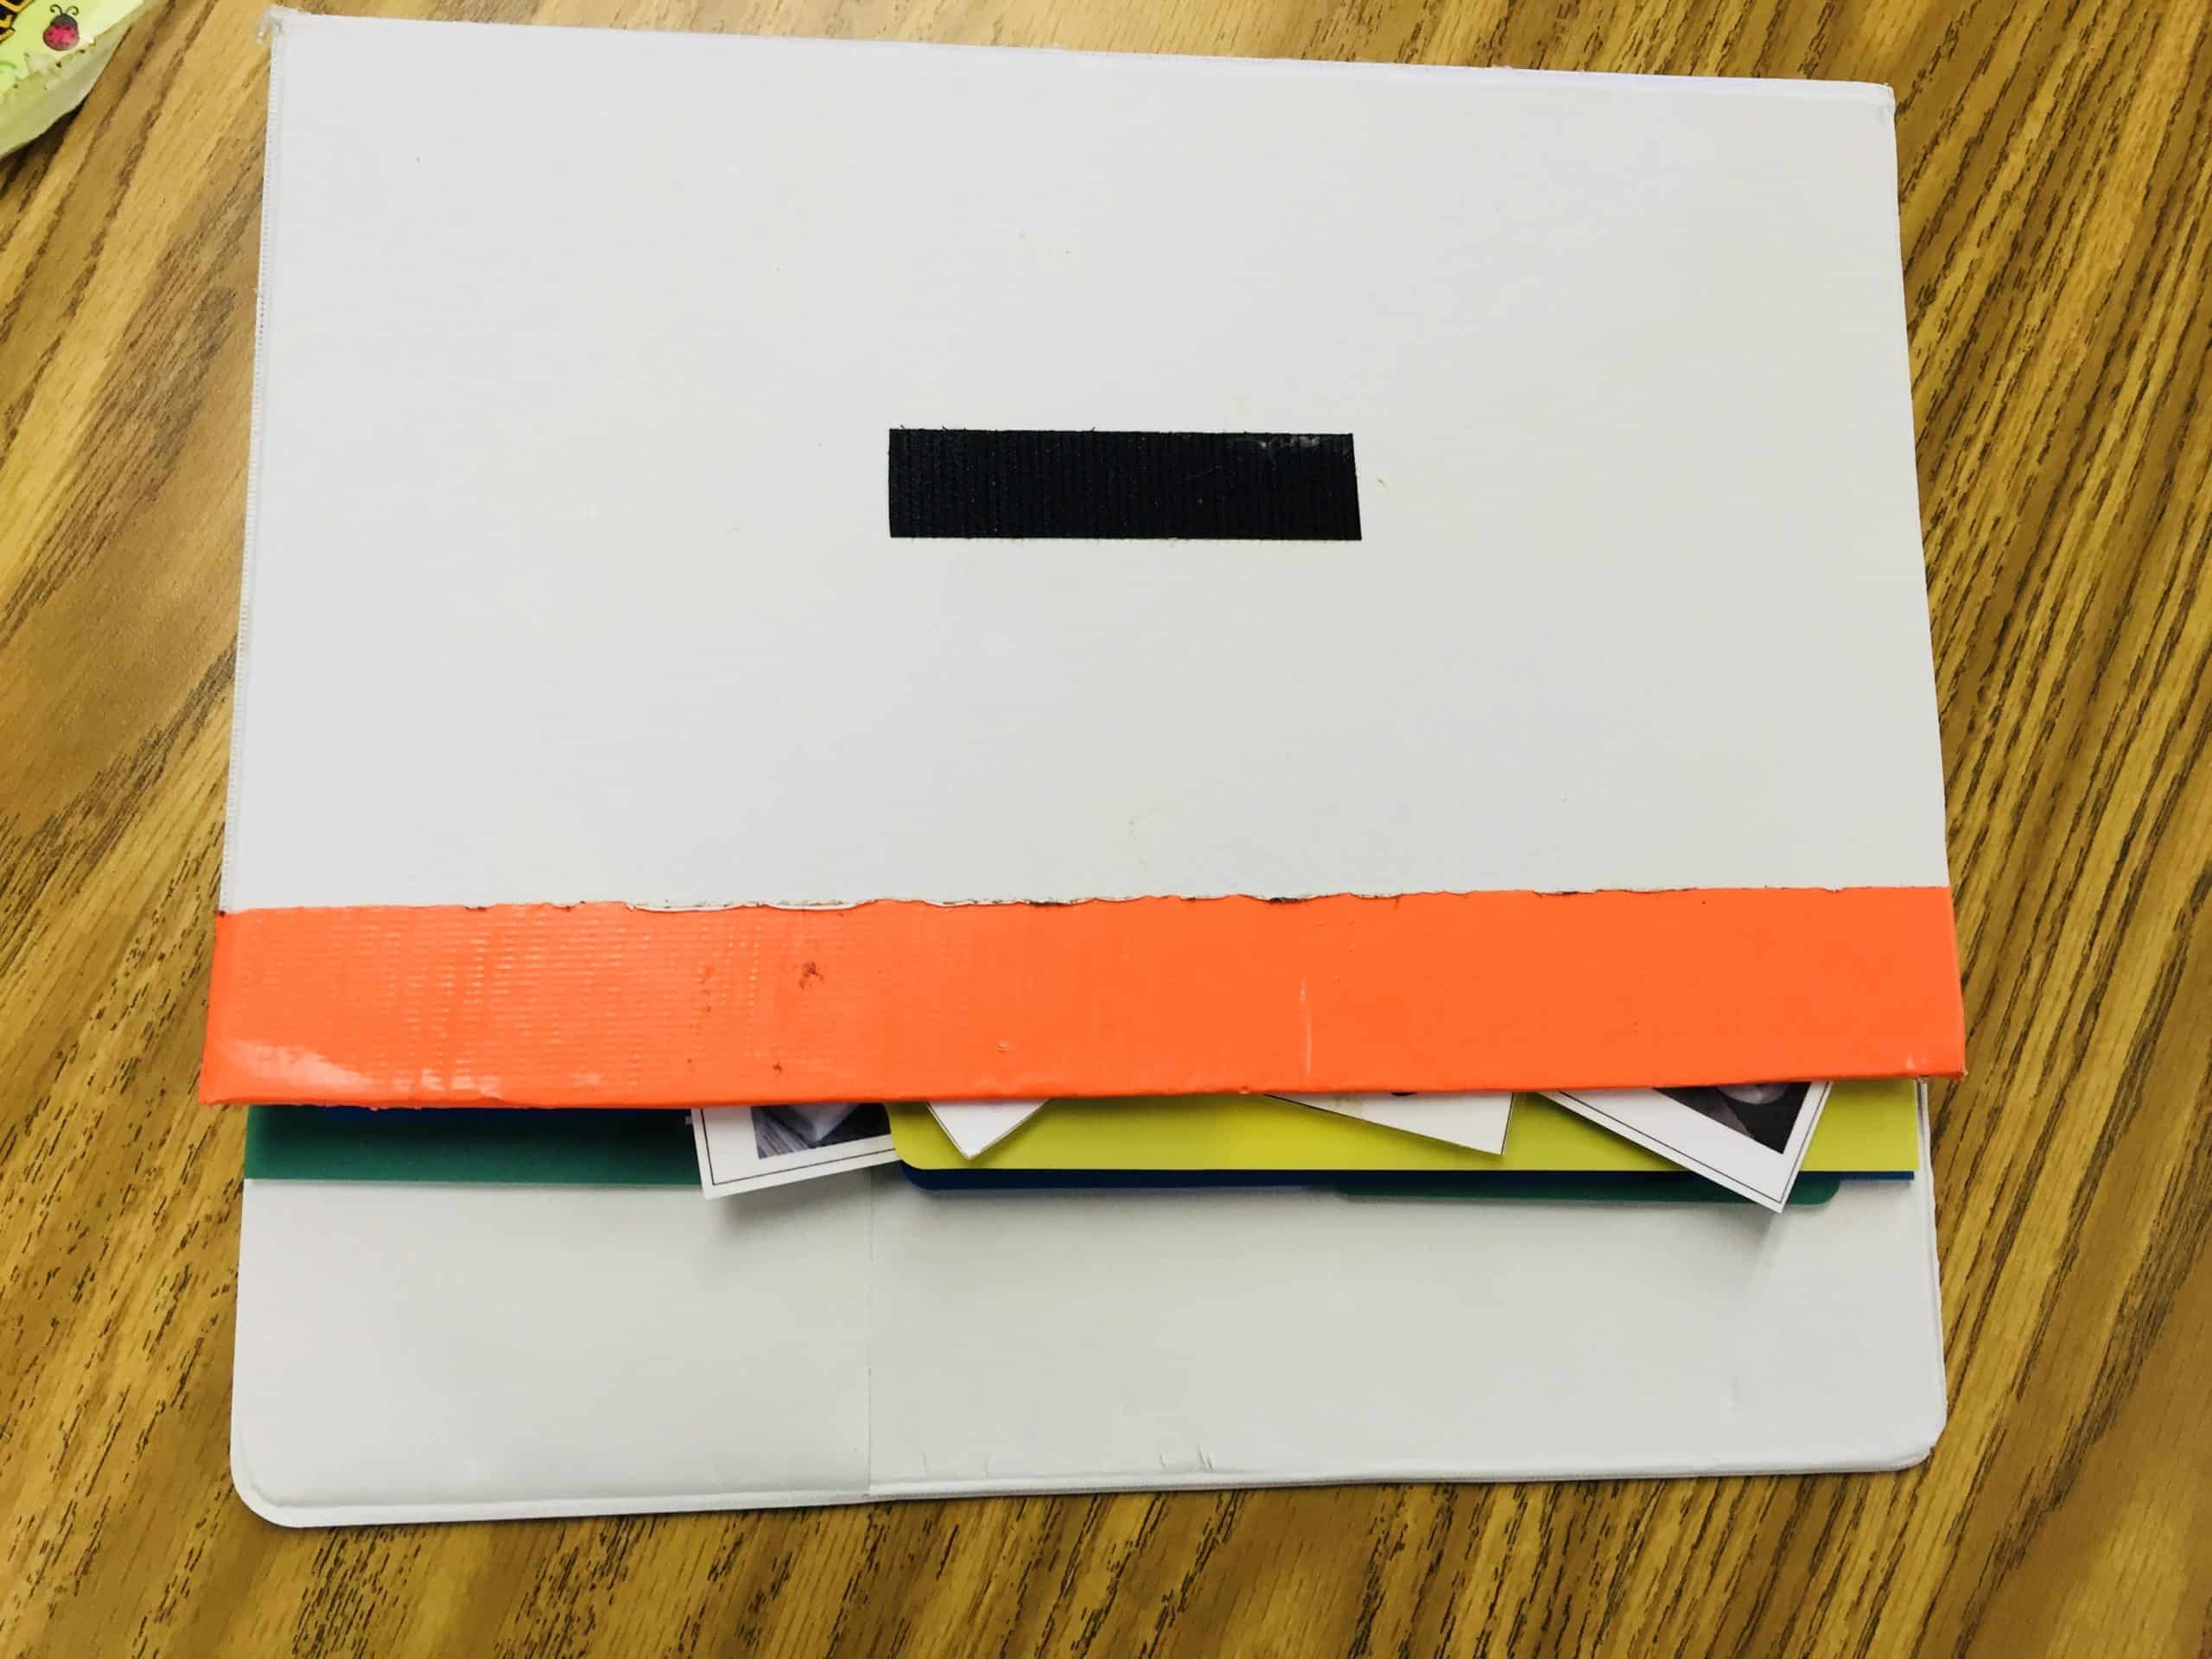
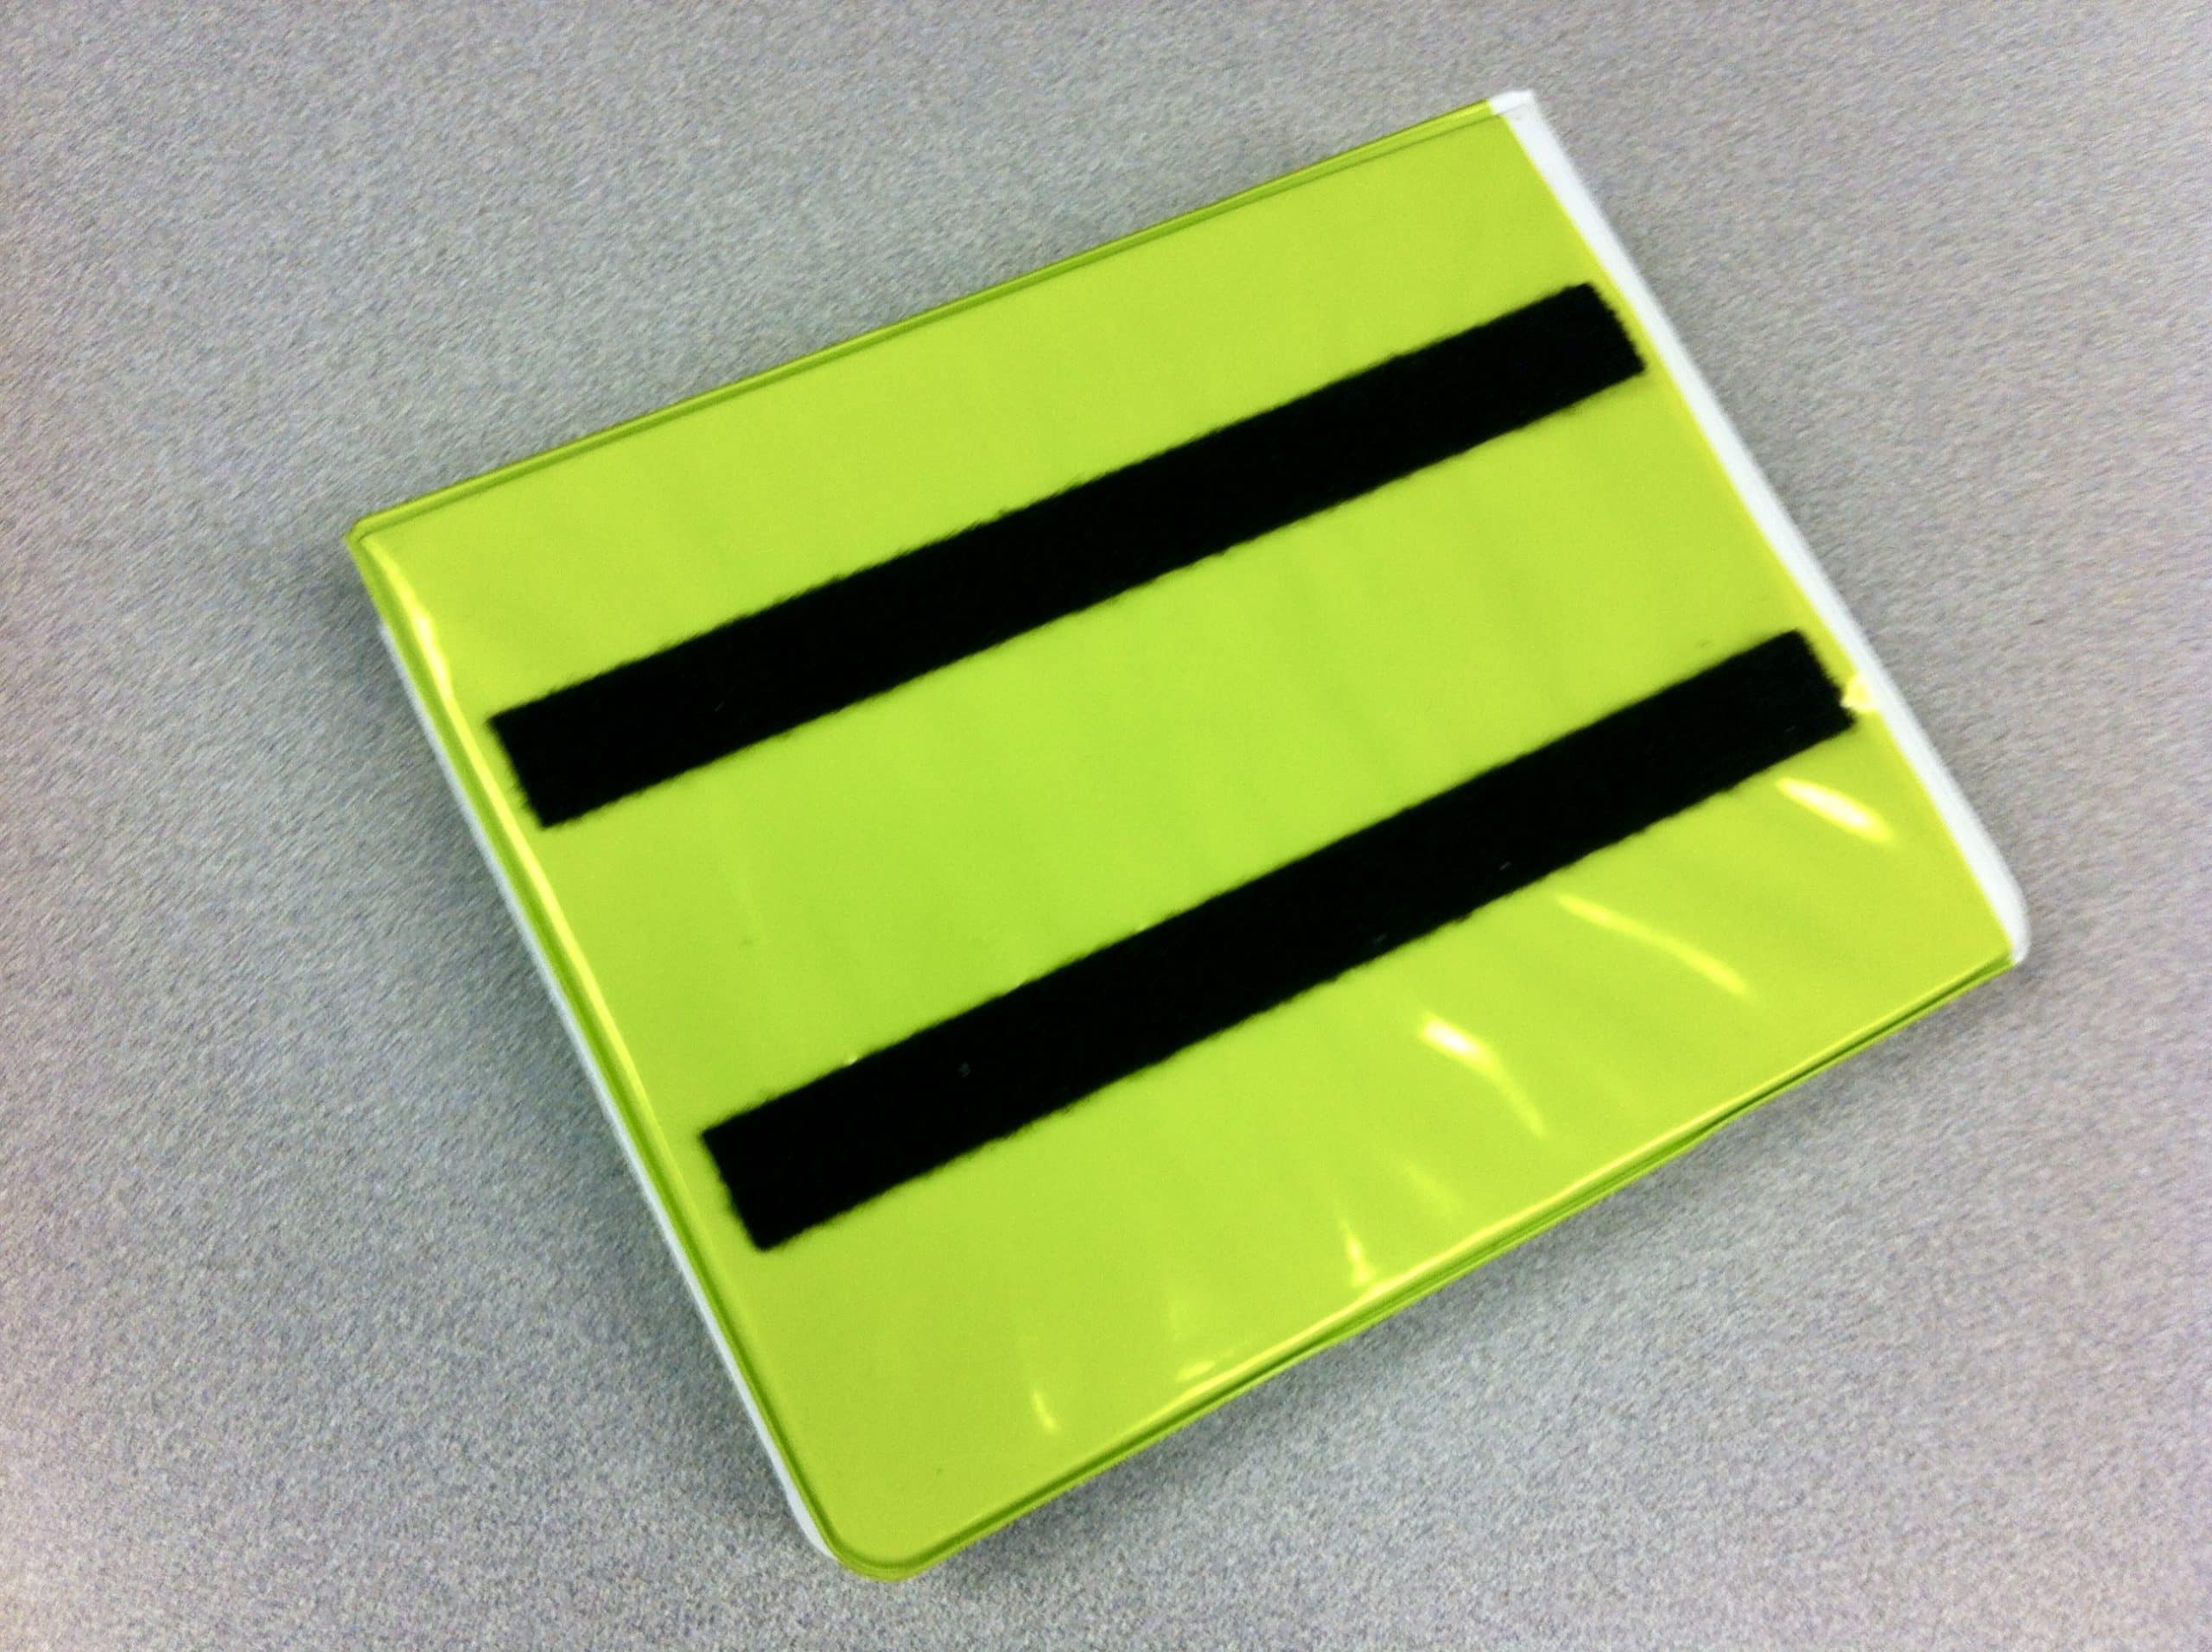
Here is an example of a set up I created for a student who loved books. I added a real picture book icon to the storage cabinet next to the books. It is important to put the picture icon near the preferred item so that the student is prompted to make the request on the way to the preferred item. I attached a picture of a book basket using velcro. When this student wandered to the books, staff could prompt the student to hand the picture to an adult to request a book. Over time, we were able to fade prompts as this student learned the basics of picture exchange communication. Exchanging picture icons for the highly preferred item is a form of positive reinforcement for the student just starting out with PECS. Make a request, get a preferred item.
Where to Start with Picture Exchange Communication Systems?
If you have a non-verbal student, it is imperative to get some form of functional communication set up for this child. There are different ways you can do this depending on their needs. I absolutely love teaching students how to communicate with pictures. Starting a student with picture exchange communication system can seem like a daunting task. As with everything in education, every student is different.
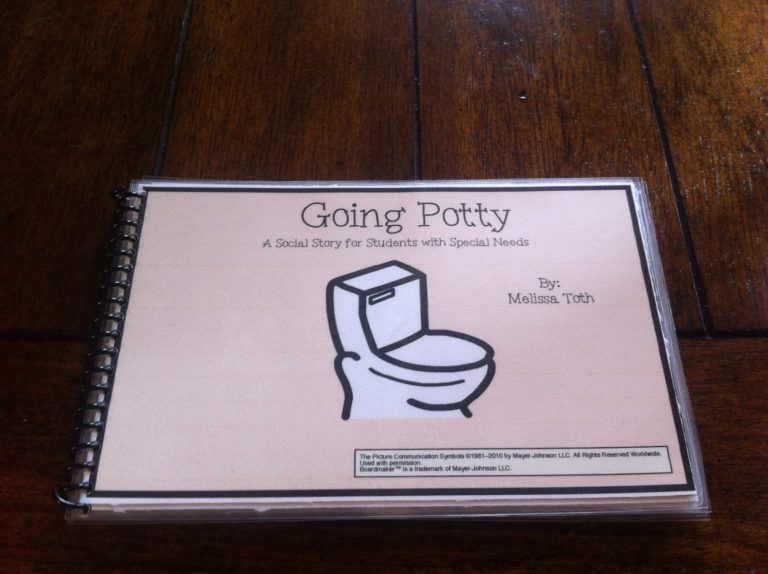
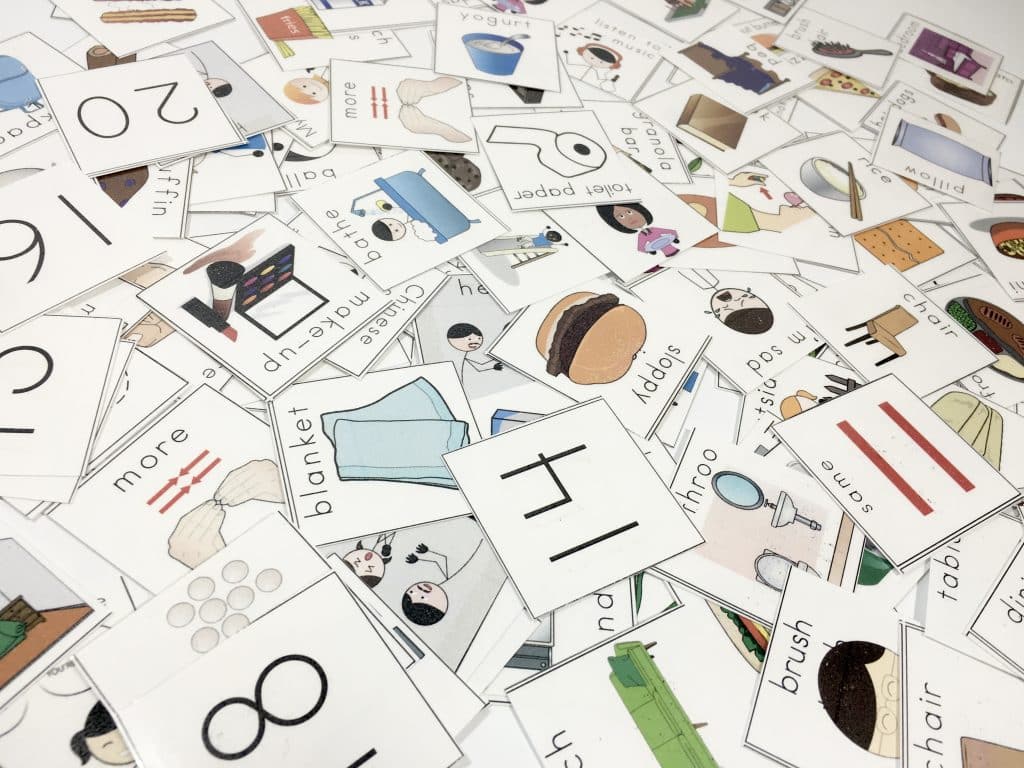
With your lowest students, using real photographs is a great method. Real photographs may be easier for students to understand and communicate. Students can use pictures to communicate their basics needs. If your student is able to interpret clip art images such as symbol six or boadmaker, then you can start with these icons. Here are a few pictures of communication books I have used over the years.
How to start with picture exchange:
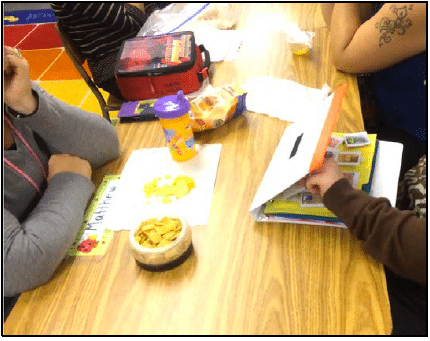
- Give student a choice by placing two toys/snacks/preferred objects in front of them.
- When they grab one item, find that picture icon and place it on the binder in front of them.
- Position the communication book in between the communicating student and the communicating staff member.
- Place a second staff member behind the communicating student to prompt the student if needed.
- Wait for the student to reach for the toy and have the prompting staff member physically prompt the student to grab the picture icon representing the item and hadn’t it to the communicating staff member.
- The communicating staff member will say, “blocks” and hold up the picture icon while handing the child the matching toy.
- Allow the child to play with the requested item for a minute or two and start again. Simply take the toy away and say “my turn.”
- Wait for the child to reach for the desired item and repeat the prompts above. Continue this process until you are able to fade the prompting staff member.
Building COMMUNICATION
This is an example of ONE exchange for ONE preferred item. Over time you will be able to fade prompts, add pictures to the communication book and build communication skills and functional communication opportunities for the student. This system can be used for toys, activities, snacks and much more. The key to teaching picture exchange communication system is using two staff members in the beginning. By using two staff members, the communicating staff member is able to focus on the two way communication while the prompting staff member is behind the child. The prompting staff member can provide non verbal physical cues to minimize the distractions.
Great opportunities to build functional communication within the classroom include snack, recess, choice time and art. Find the most motivating parts of the day and encourage that child to communicate what THEY want. With time, build upon the child’s communication book.
Using Real Images
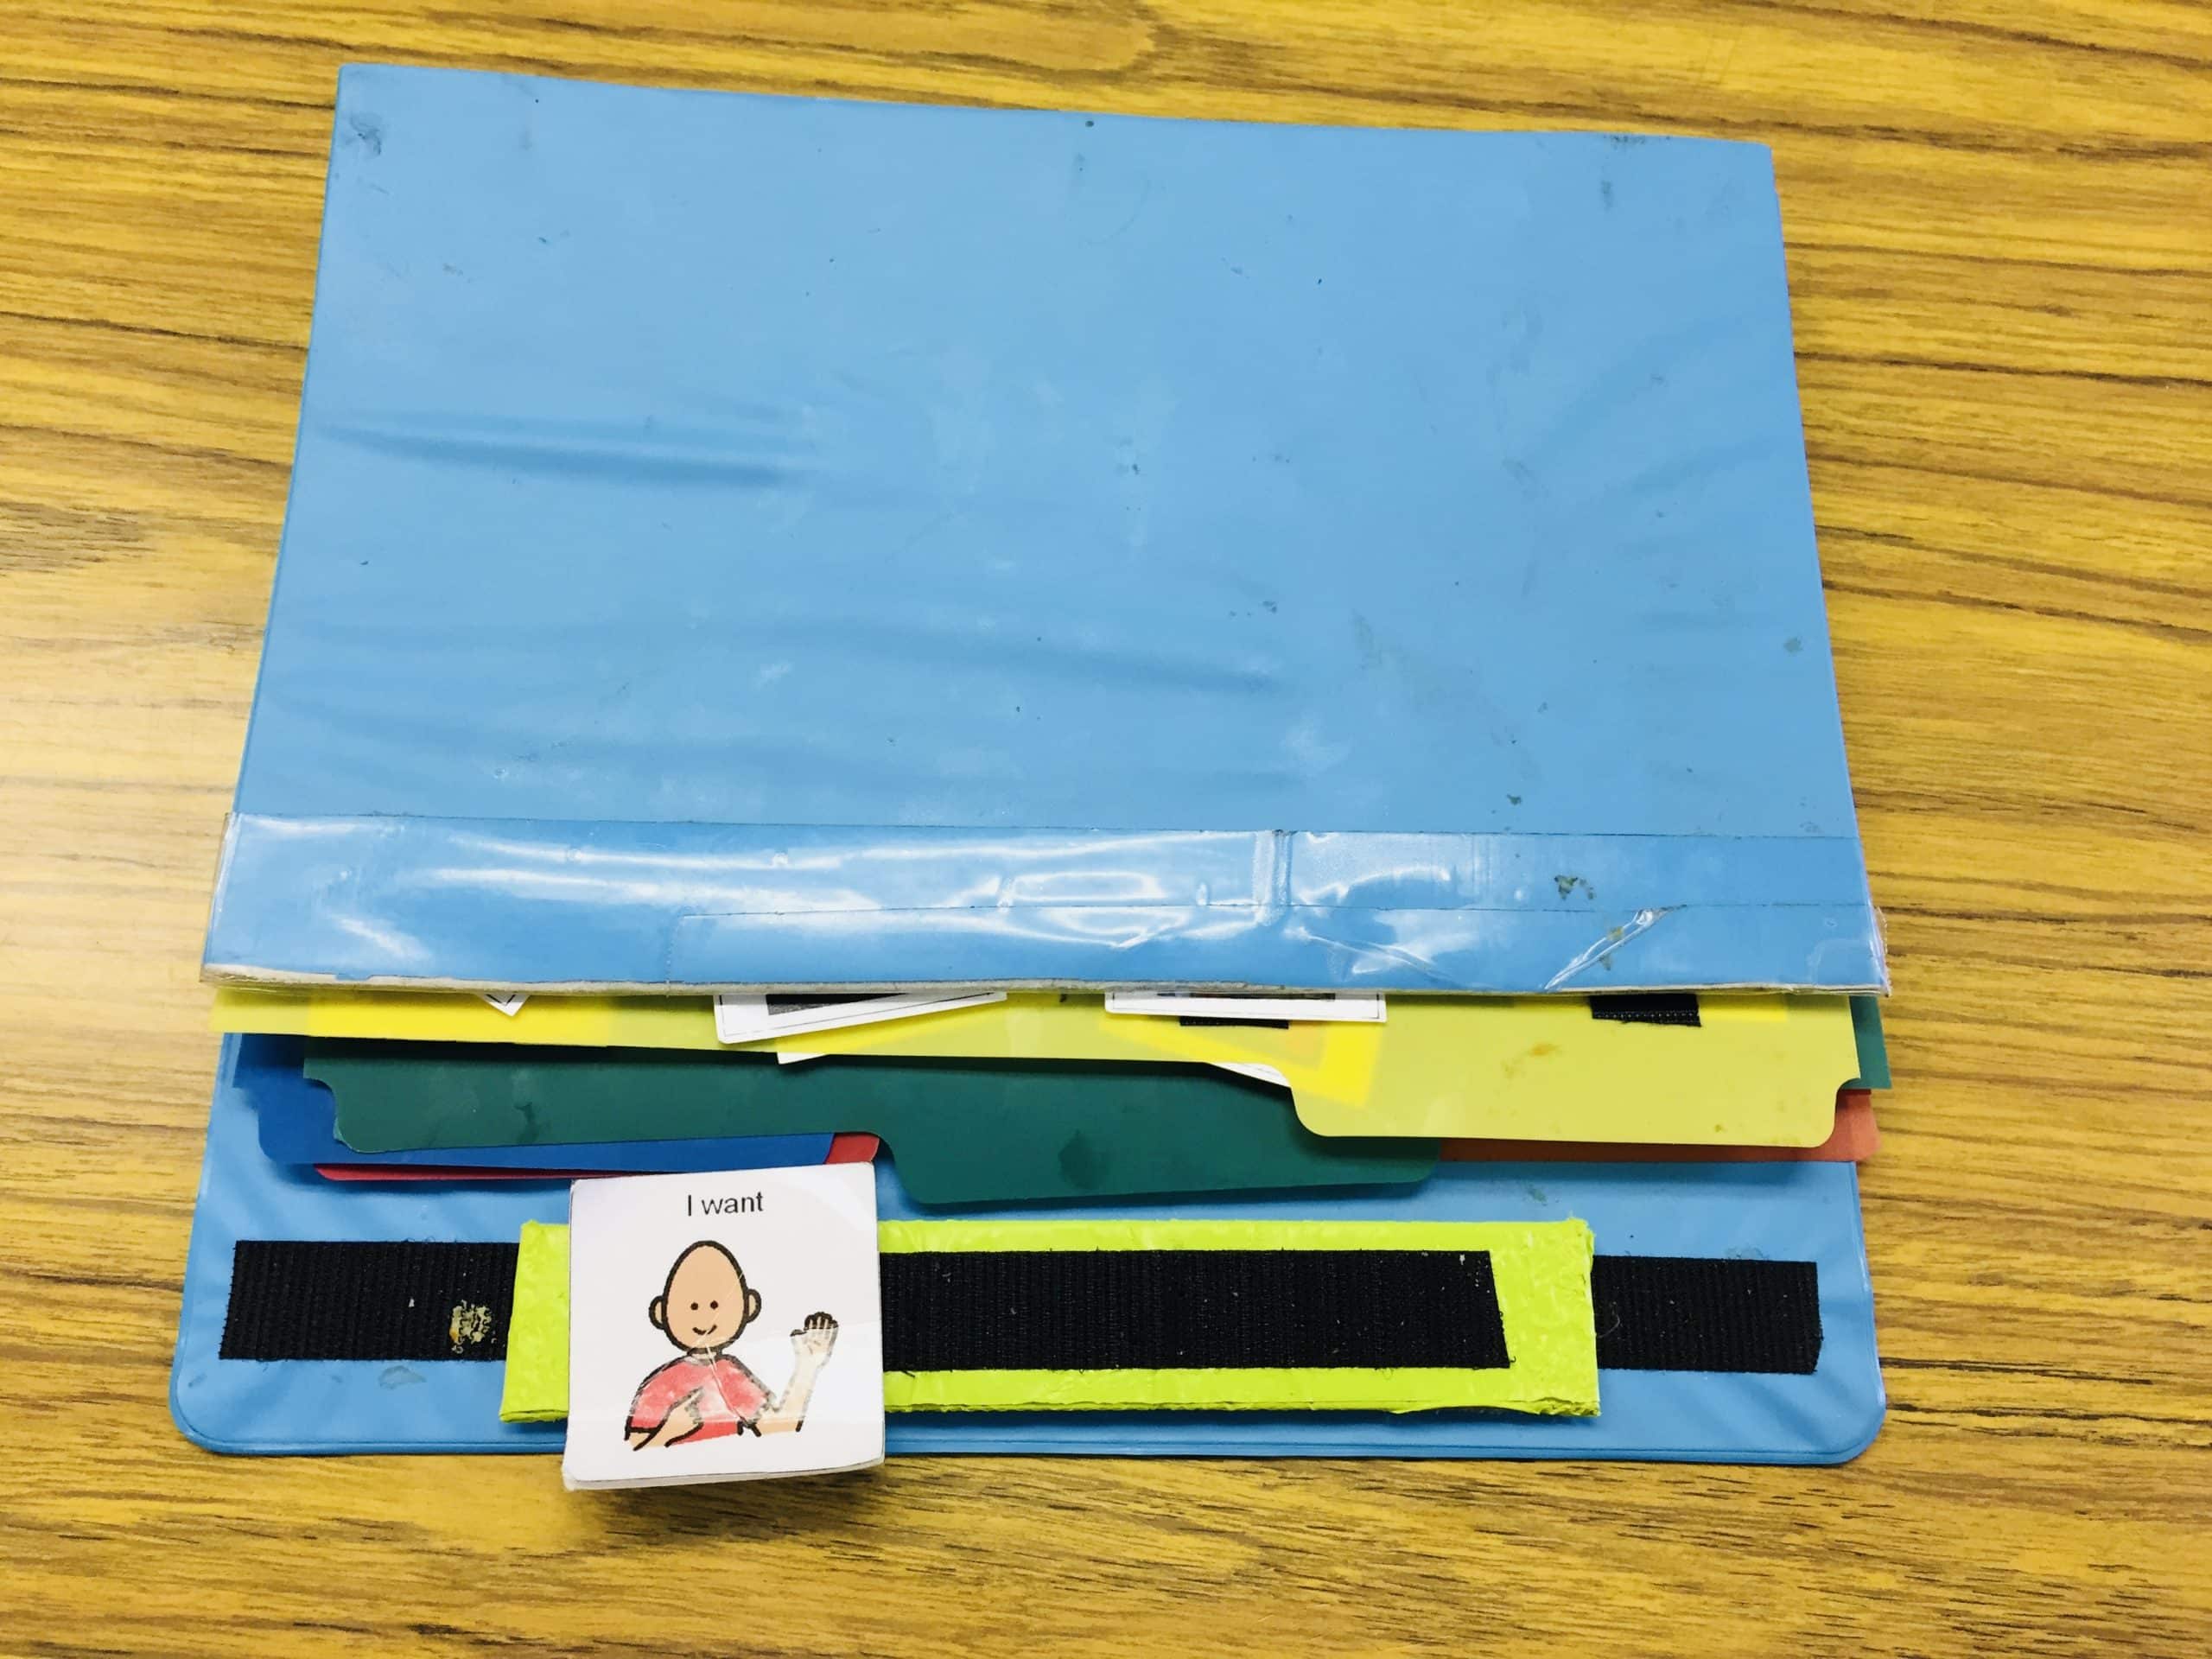
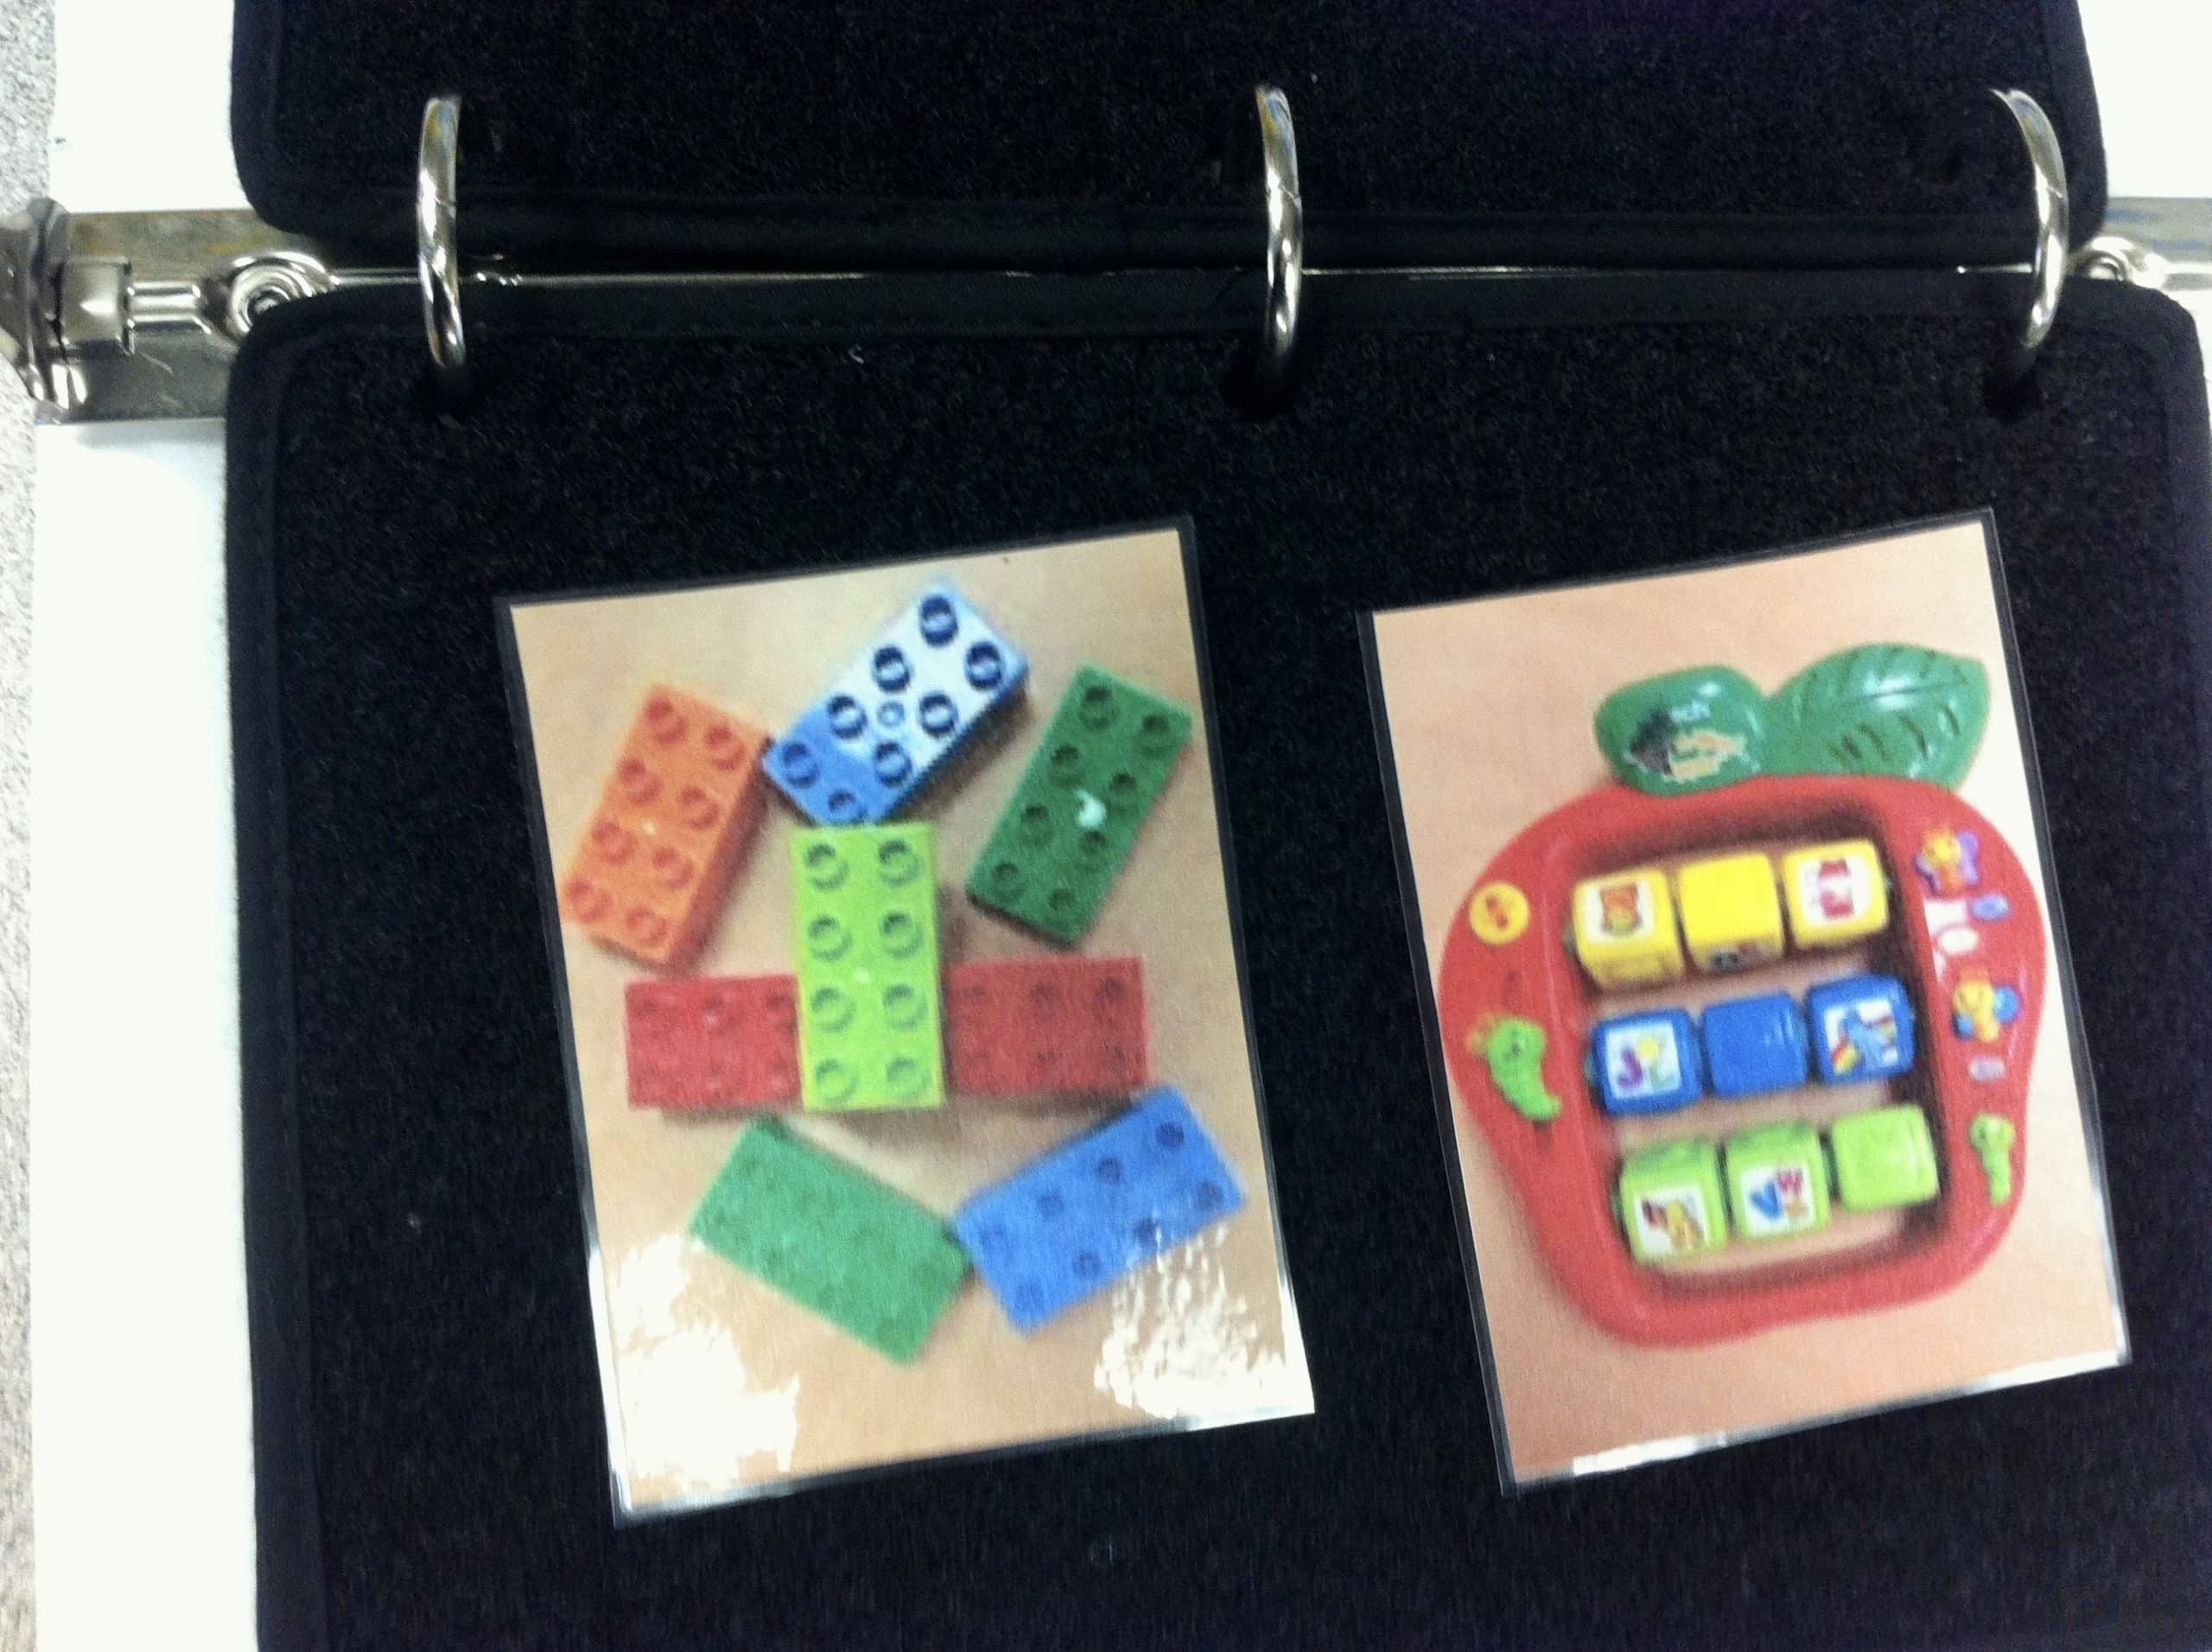
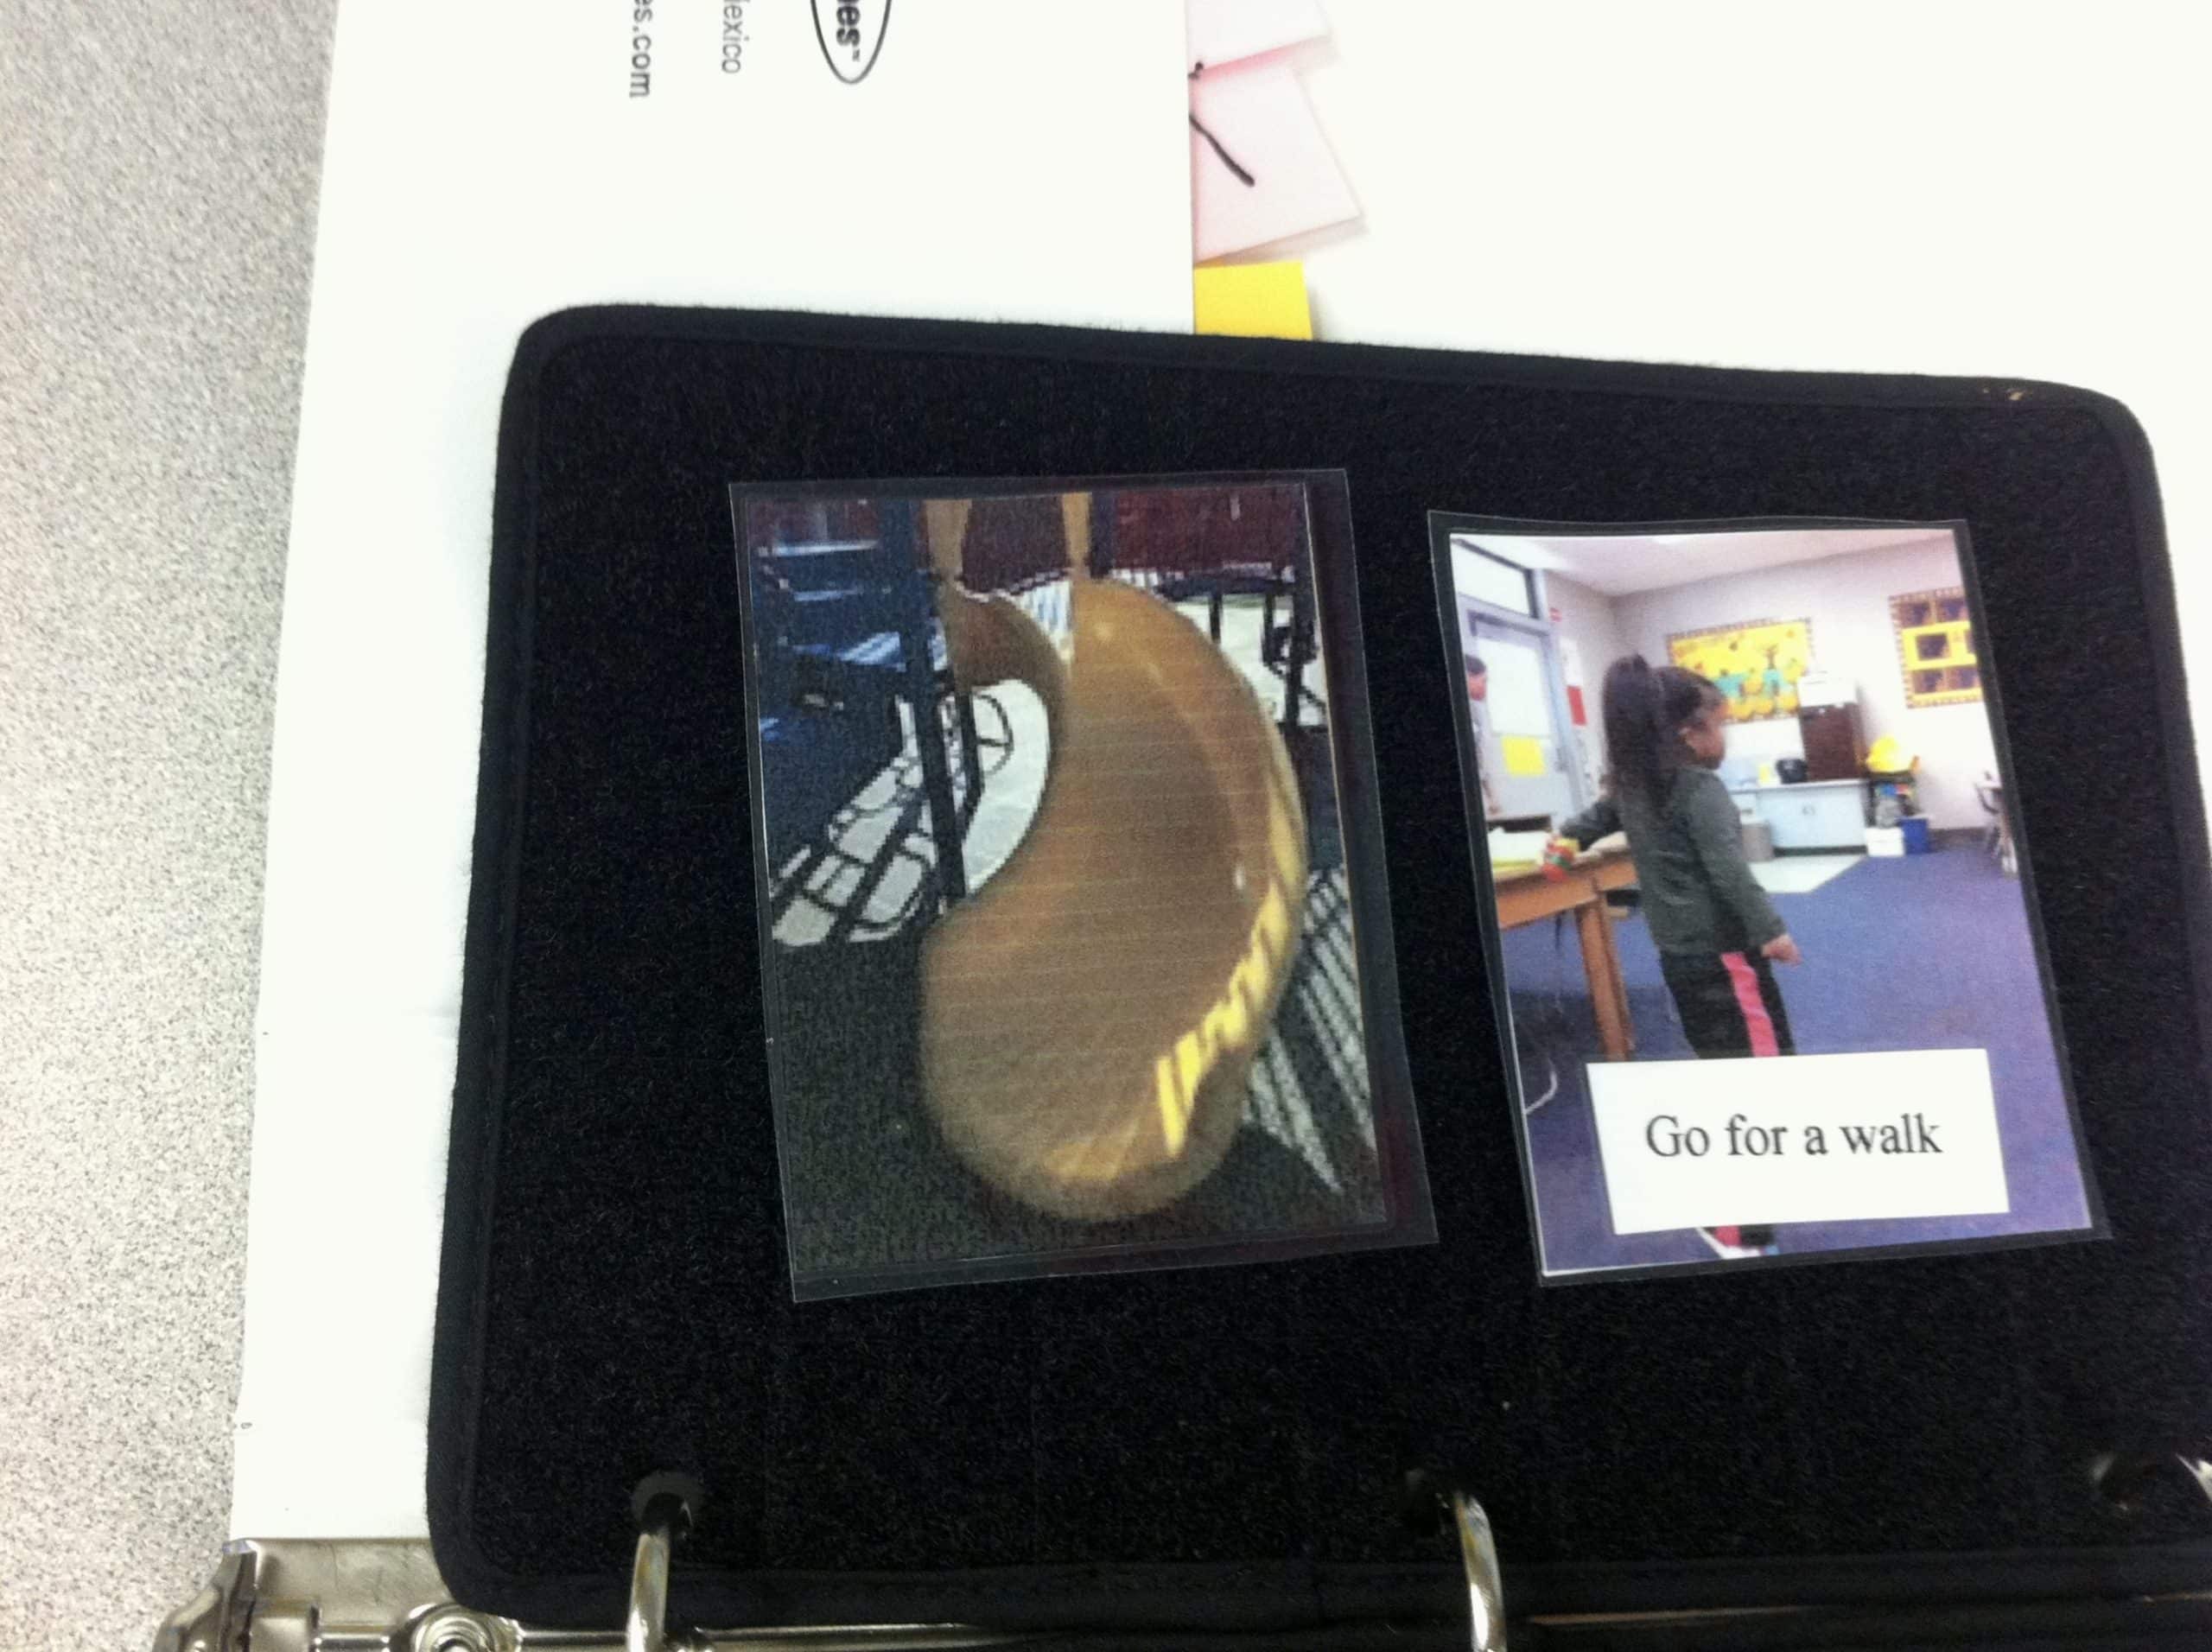
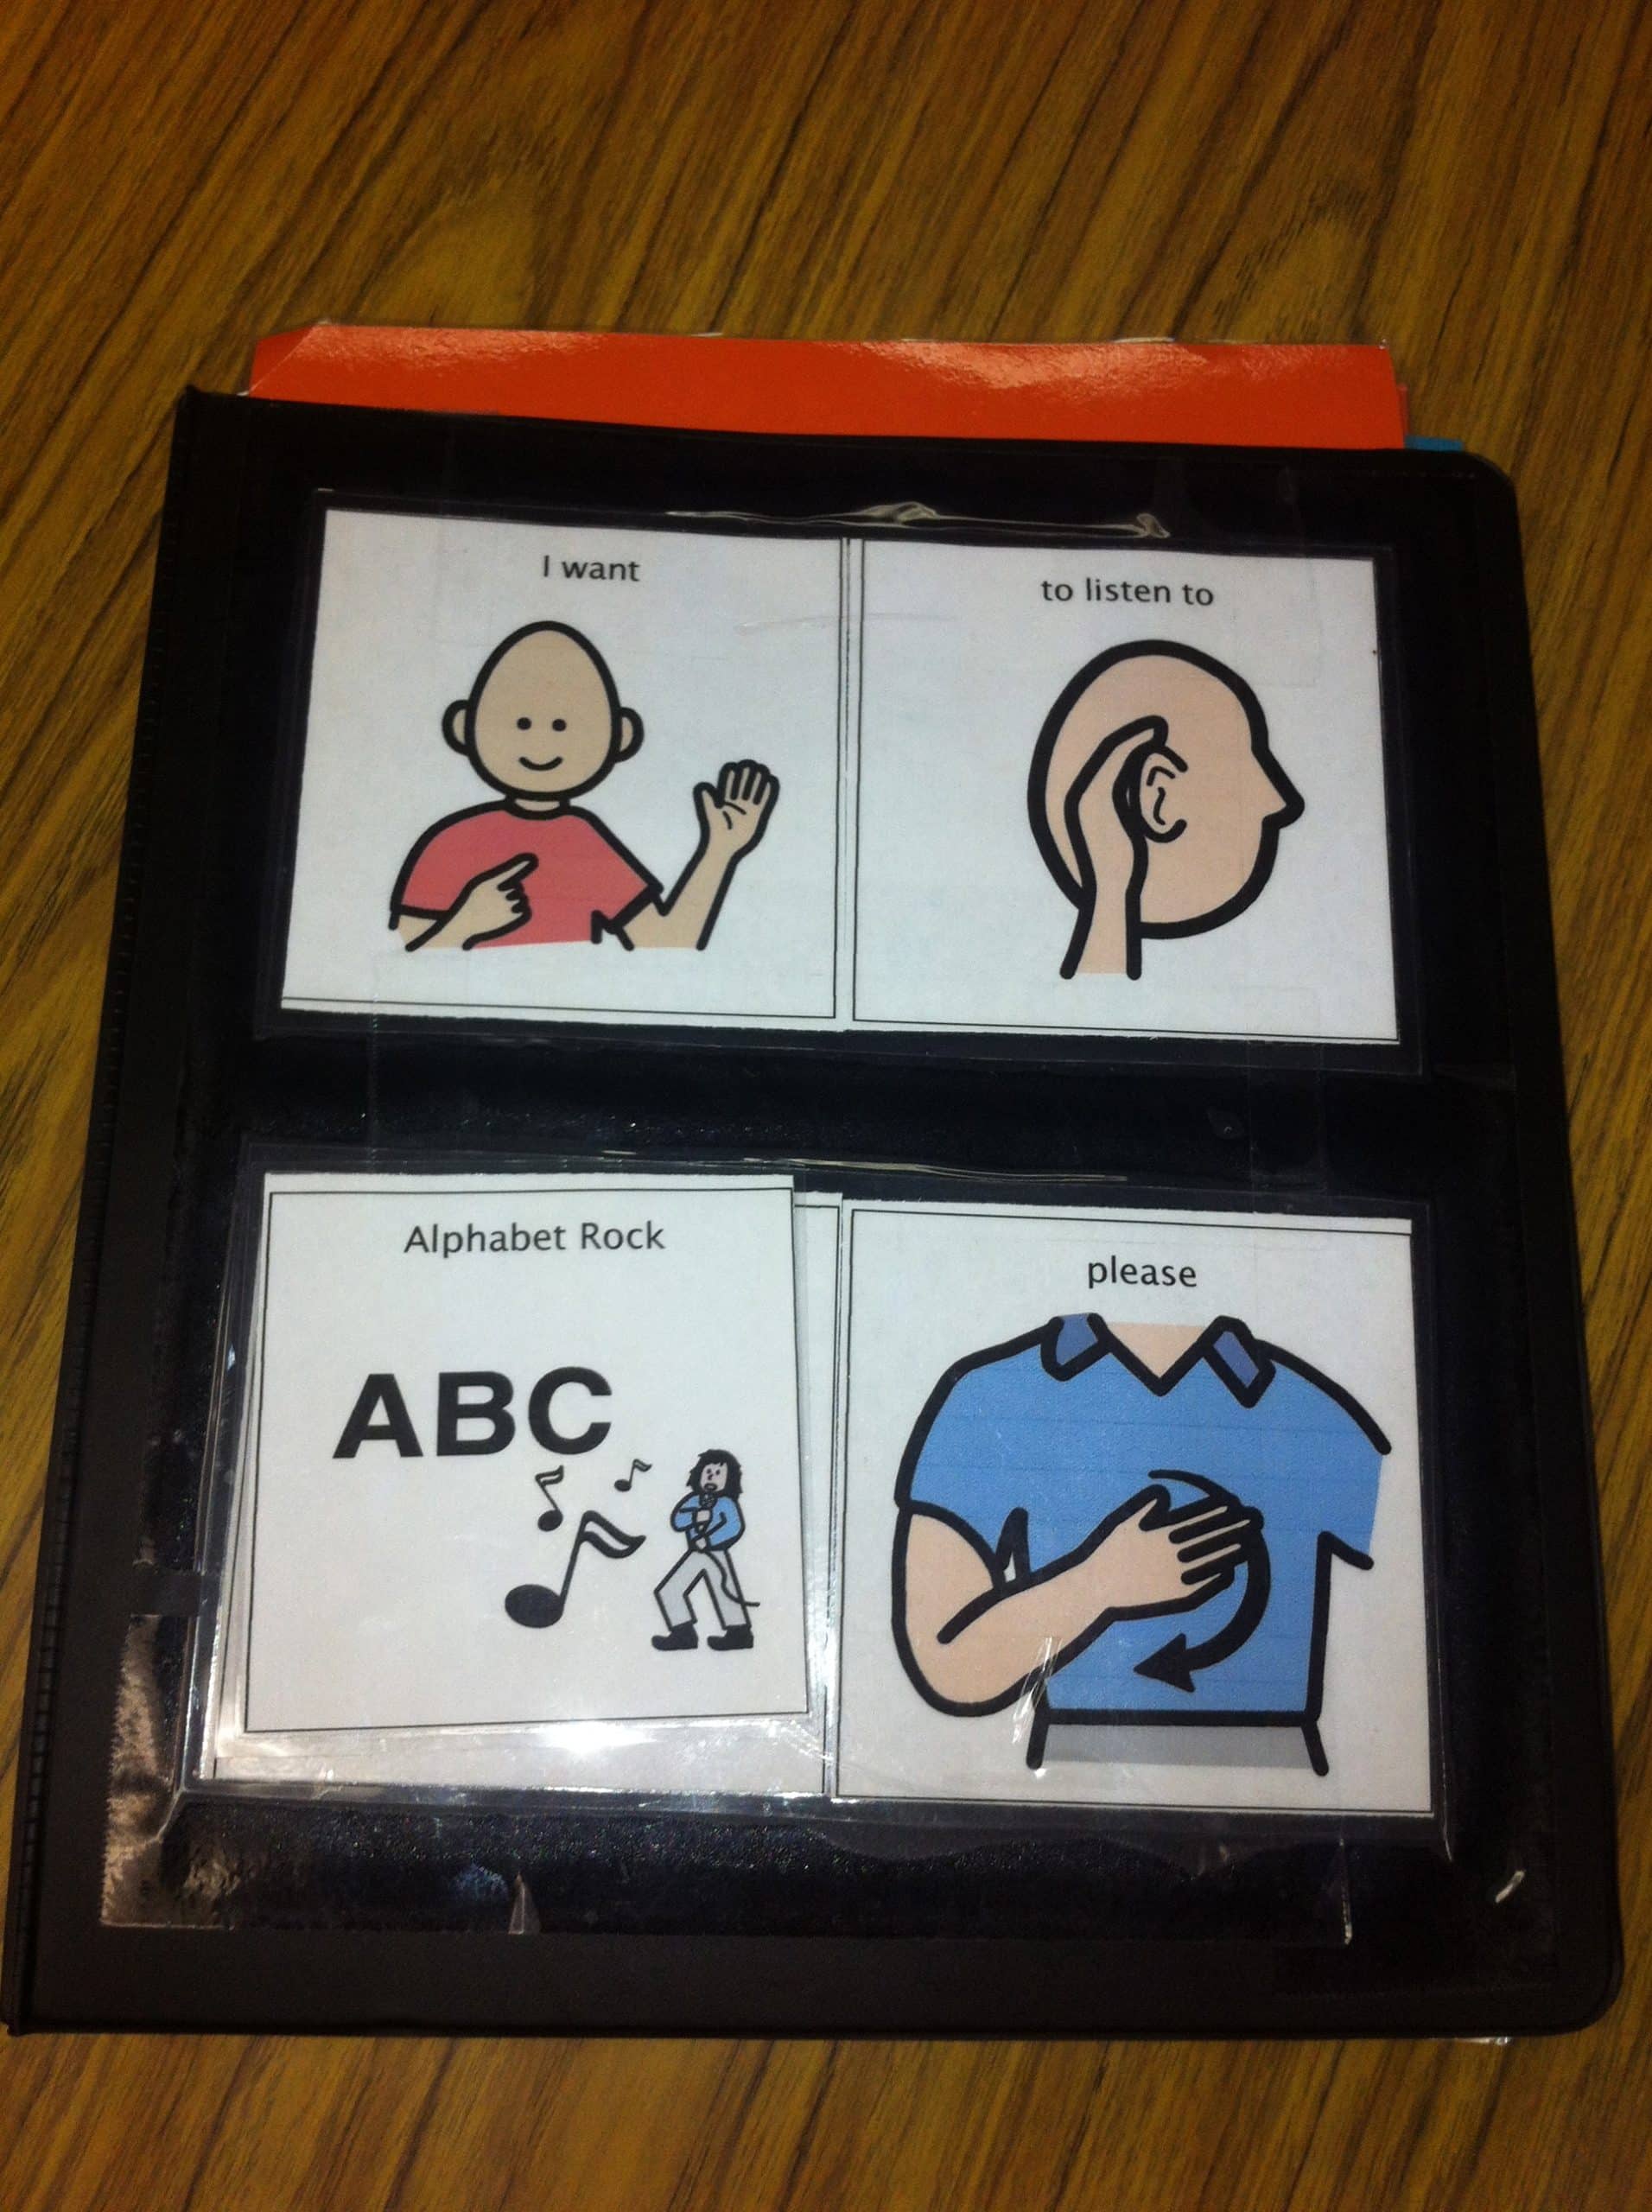
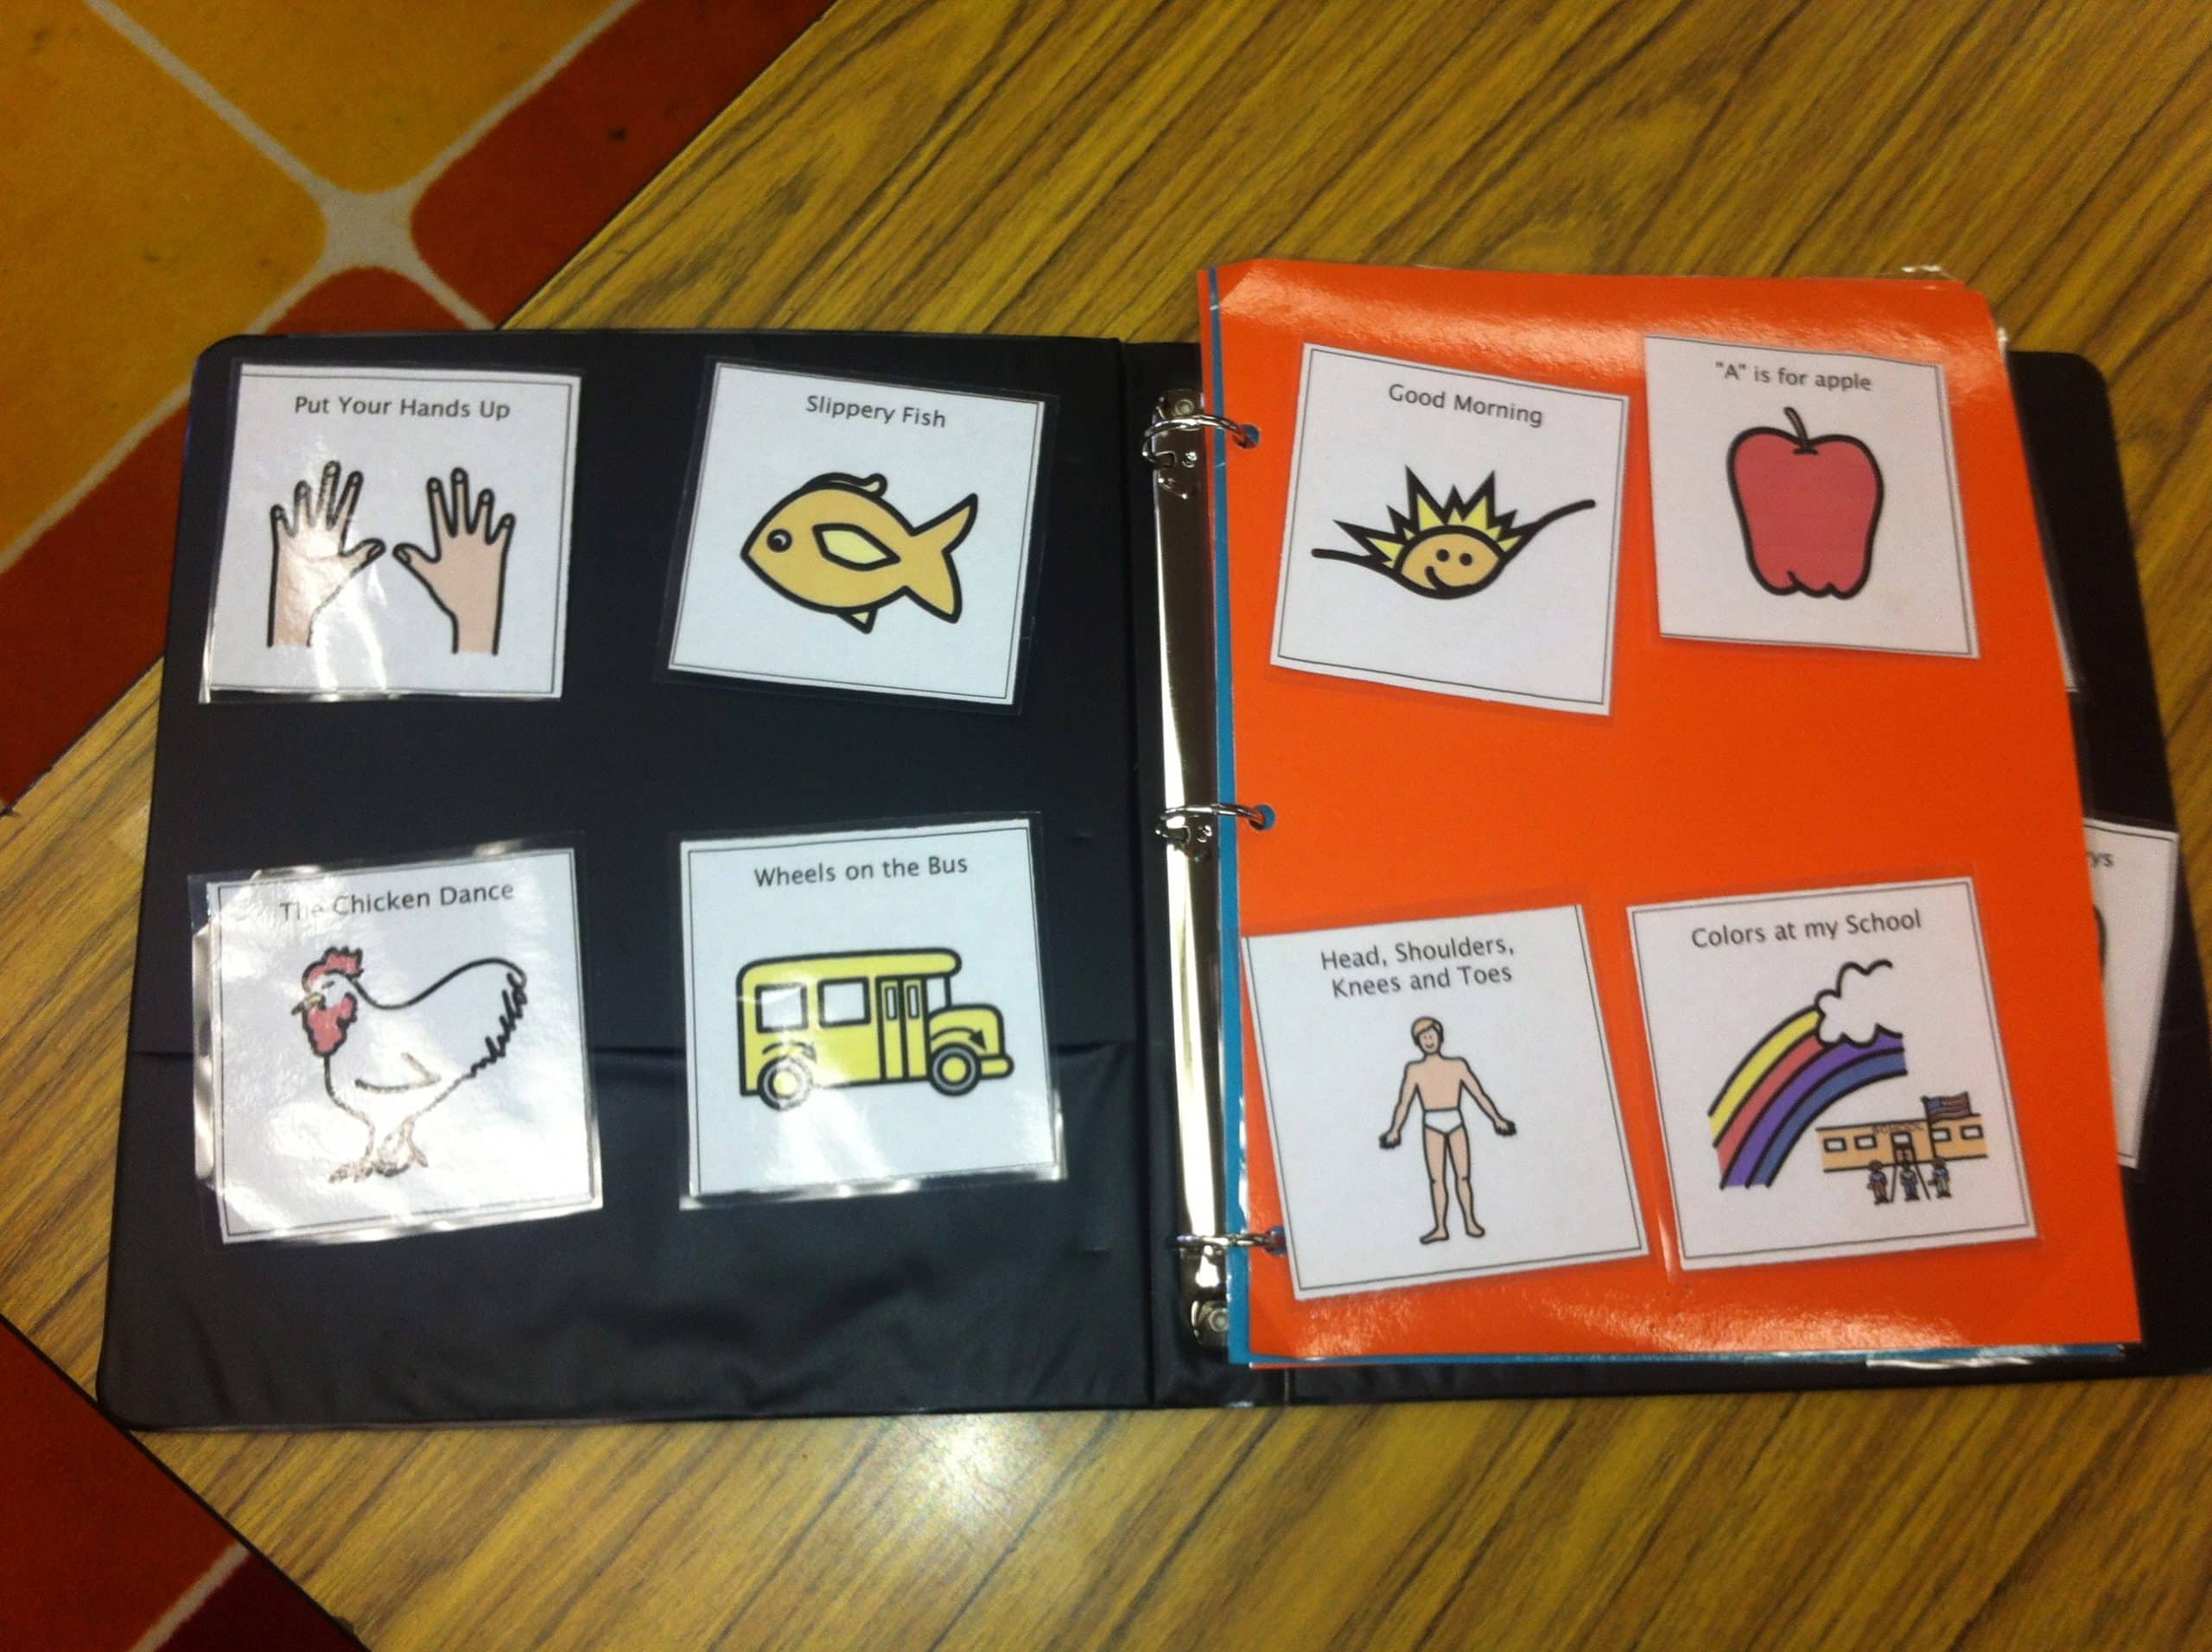
Over the years, I have had some students who benefit from using real photographs for picture exchange communication. Below is a sample of a communication book I created using large 3×5 photographs. This was for a student with a physical disability and had trouble grasping small icons. This size, paired with real photos, allowed for success and independent communication. Here are a few pictures of this communication book:
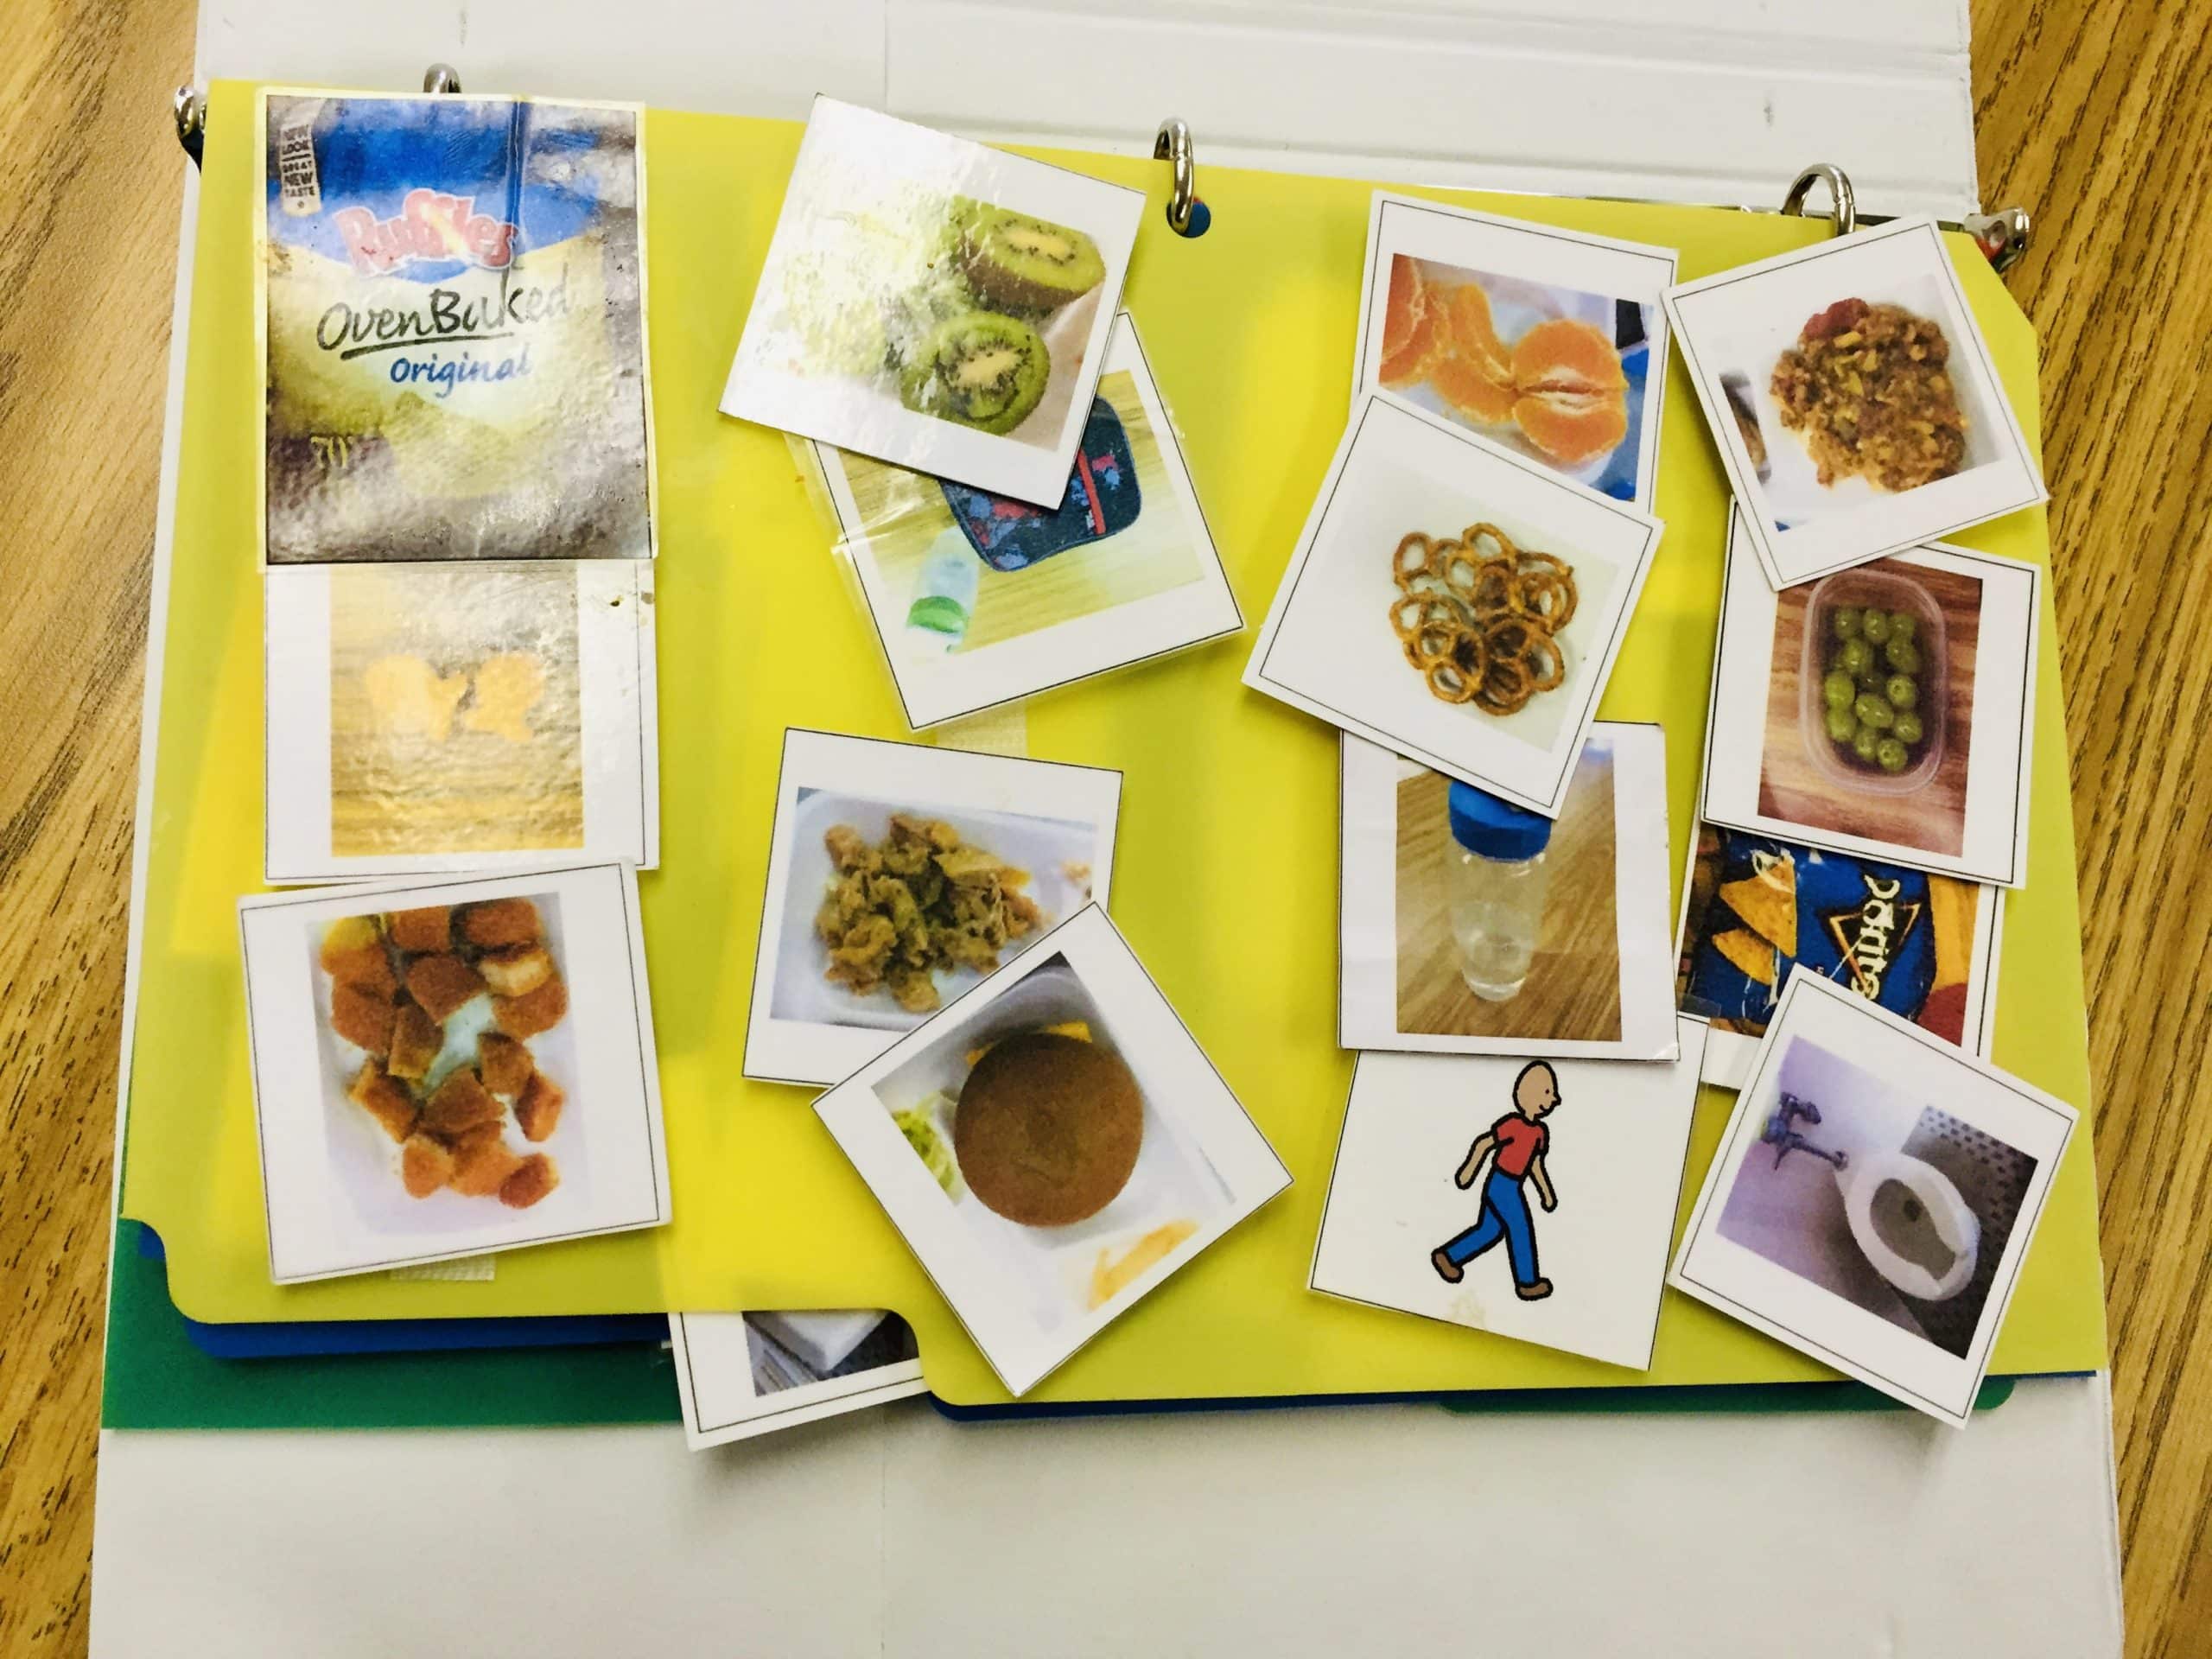
I have also created smaller icon communication books using real photographs. As the student begins to master the concept of communication I try to introduce “clip art” images into their book. I simply prefer clipart images for the ease of creating icons using software like Boardmaker or Symbol Stix. Shown below is a picture of a communication book that has a mix of real photographs and clip art images.
Communication Books
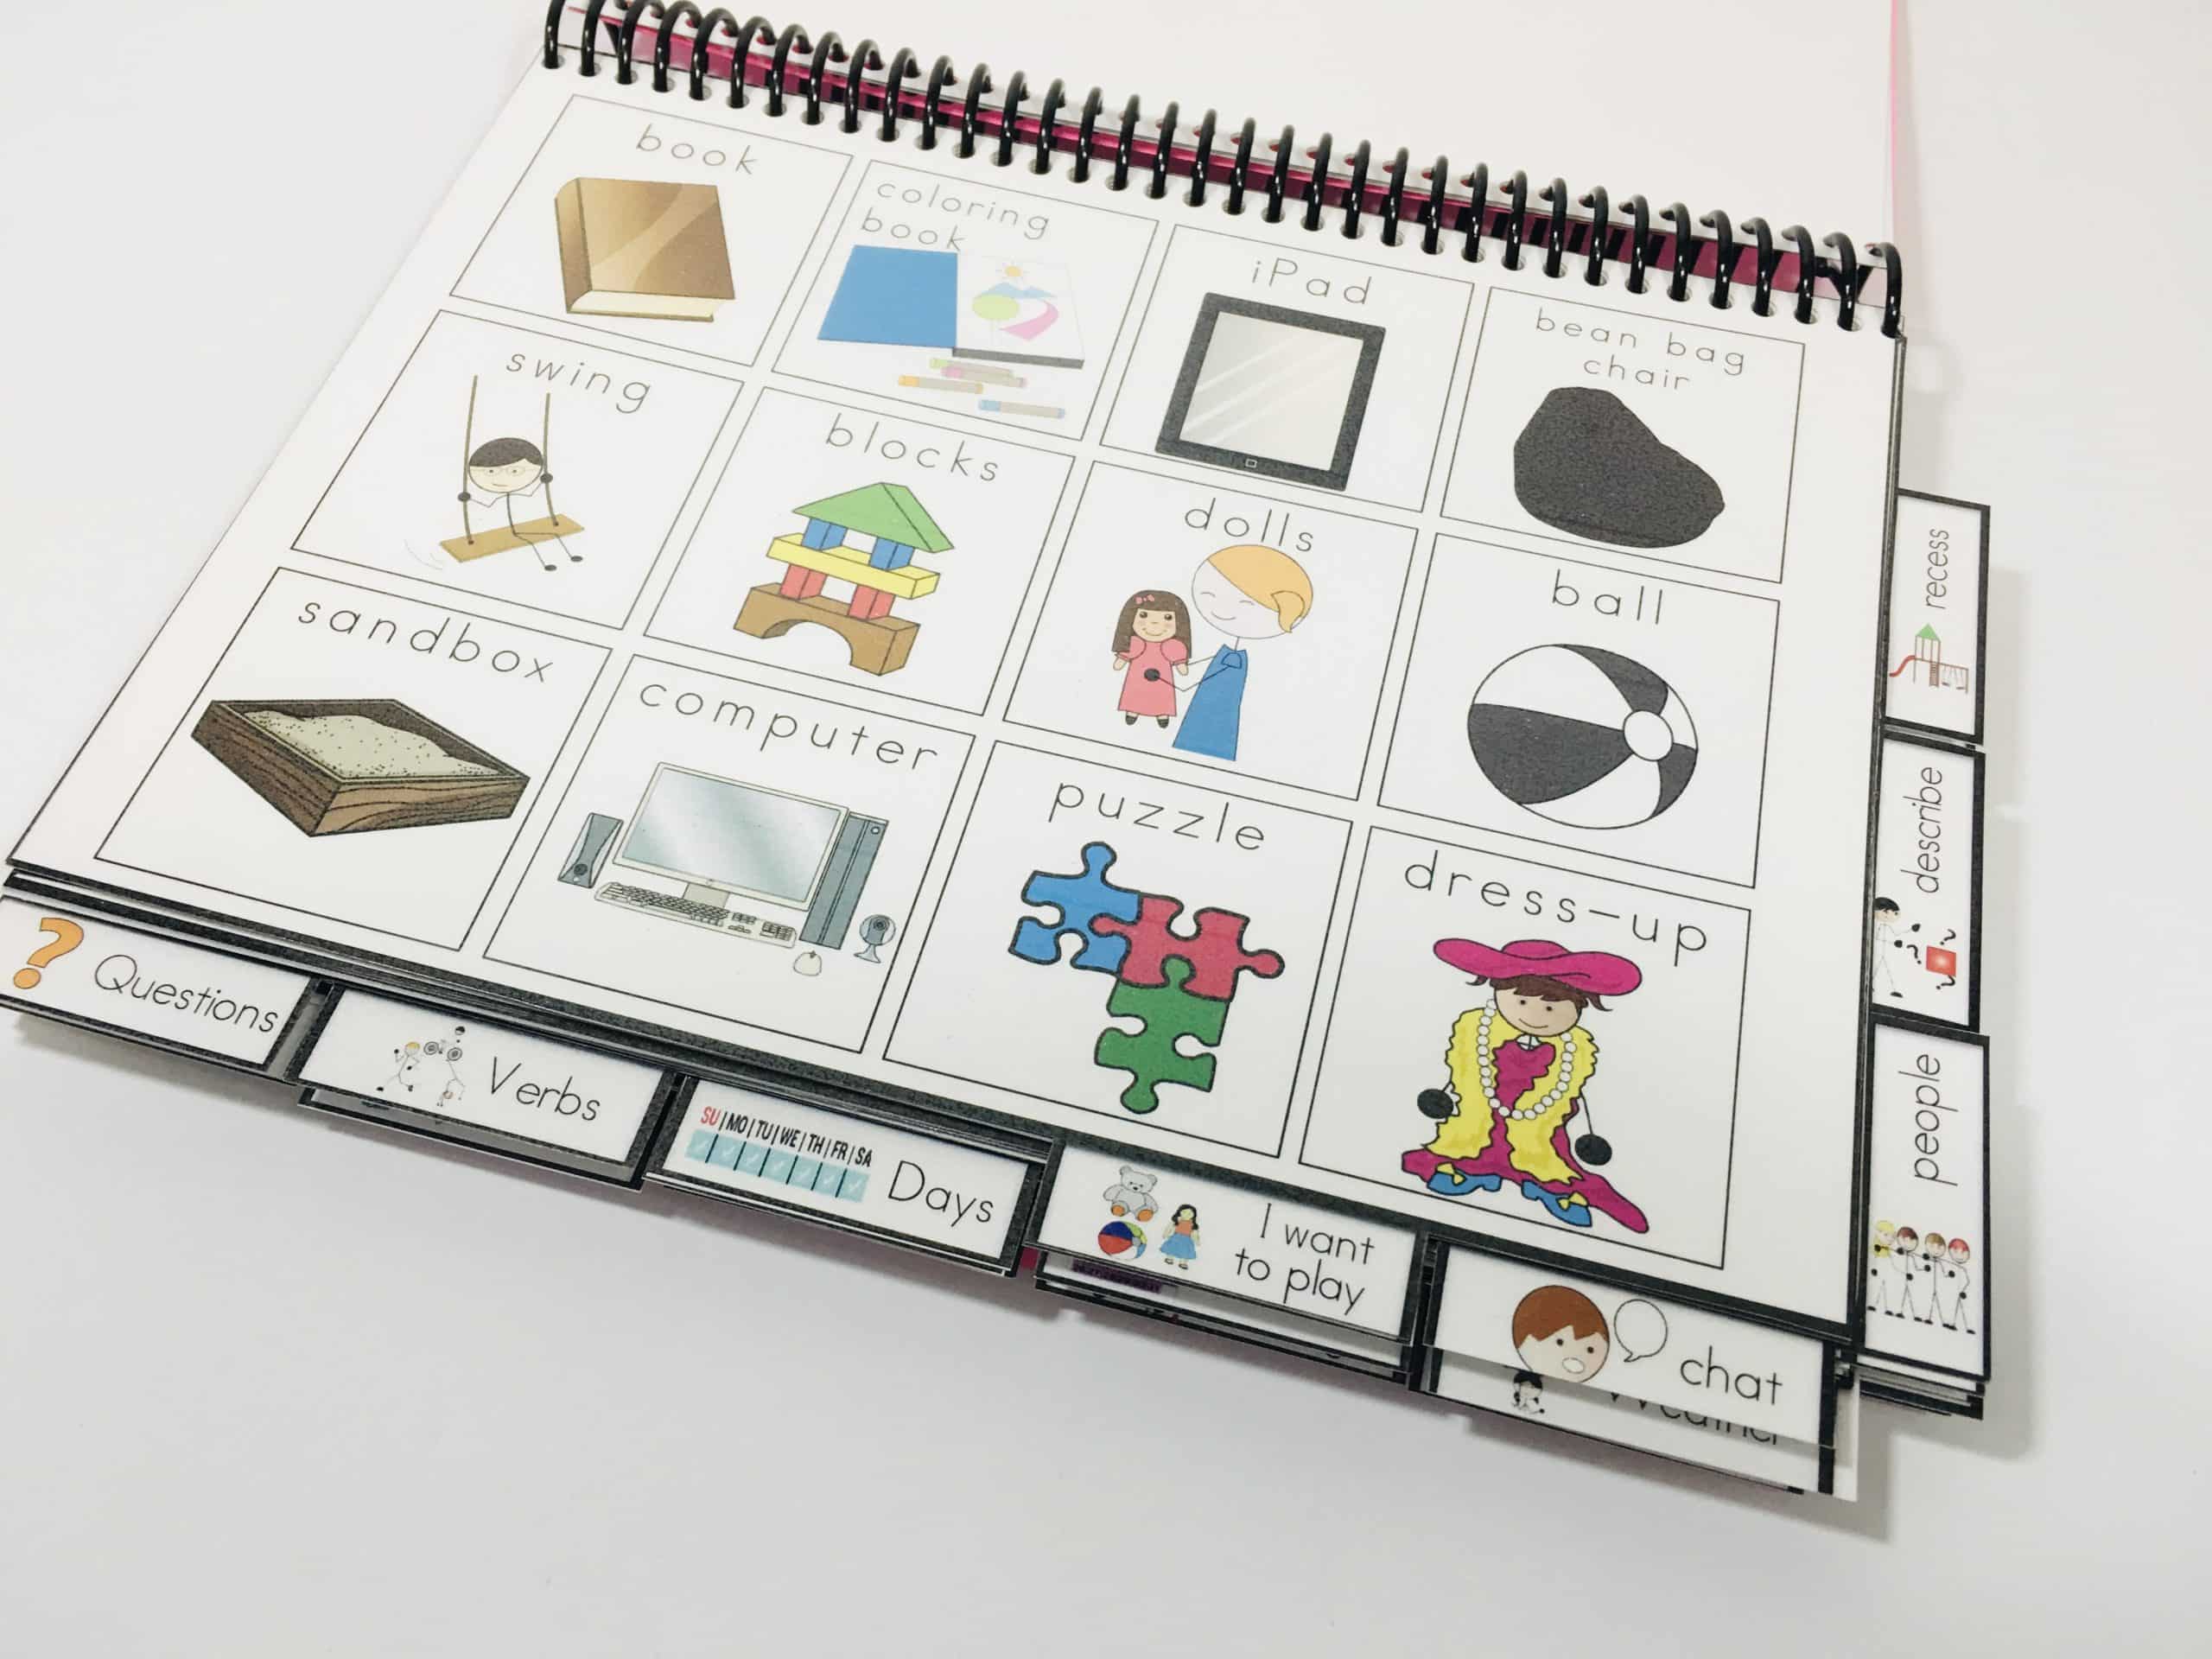
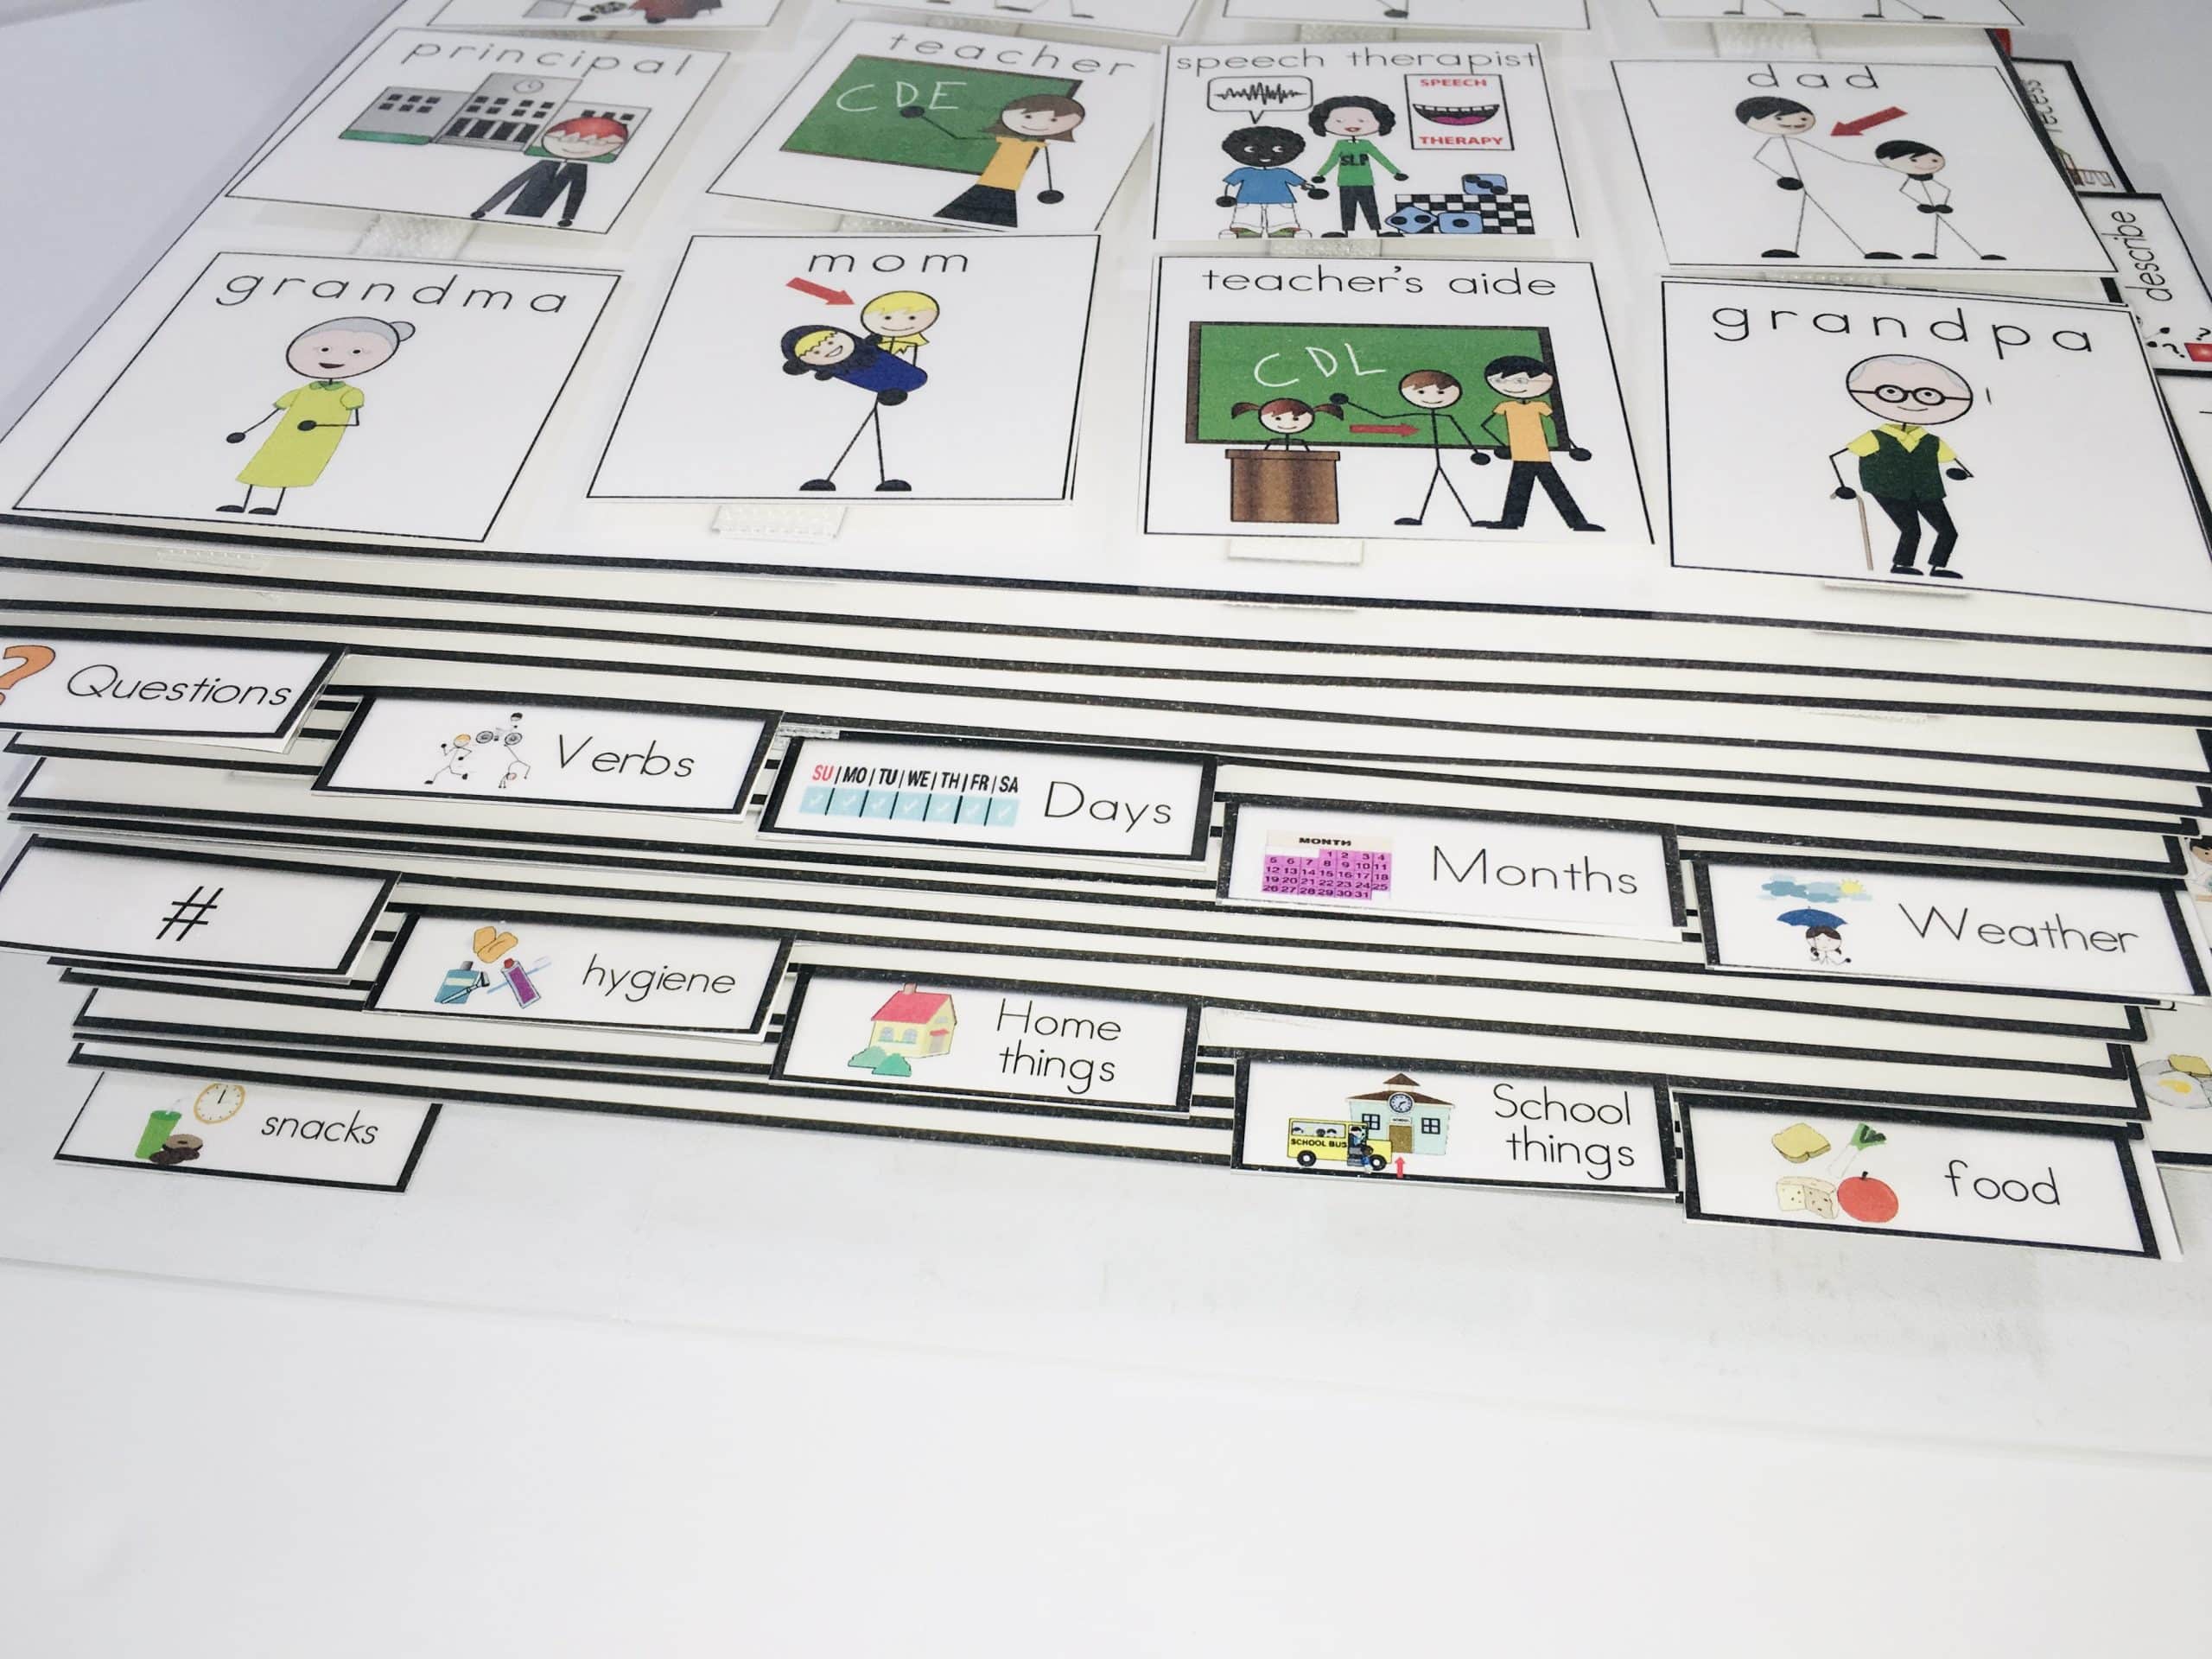
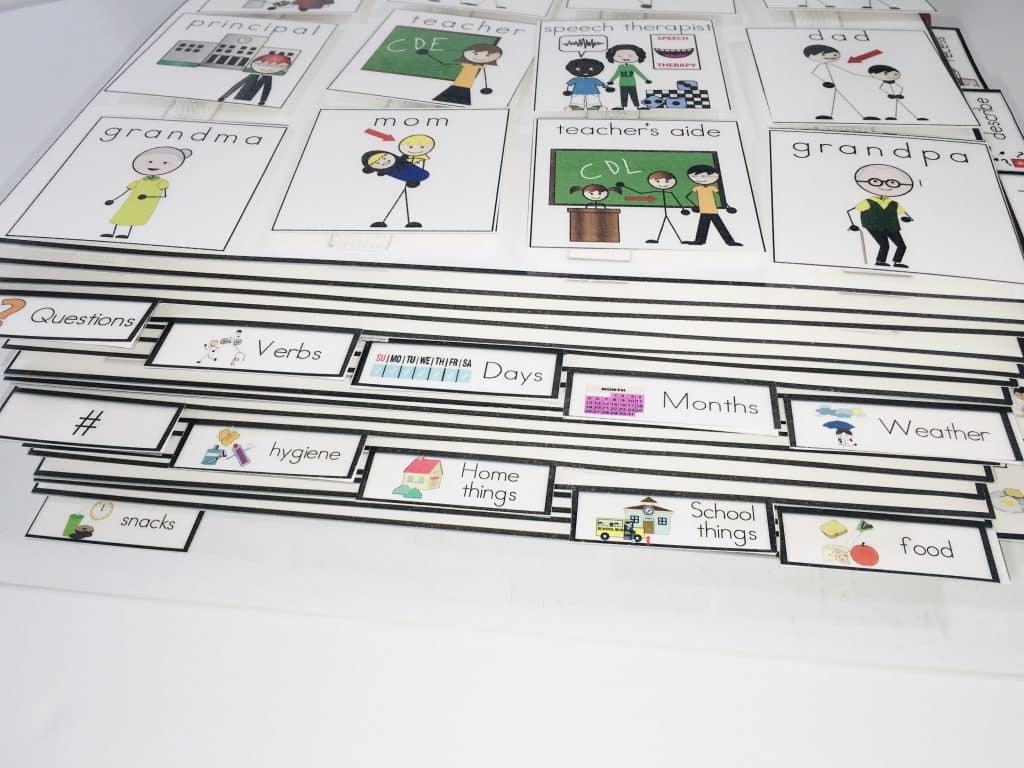
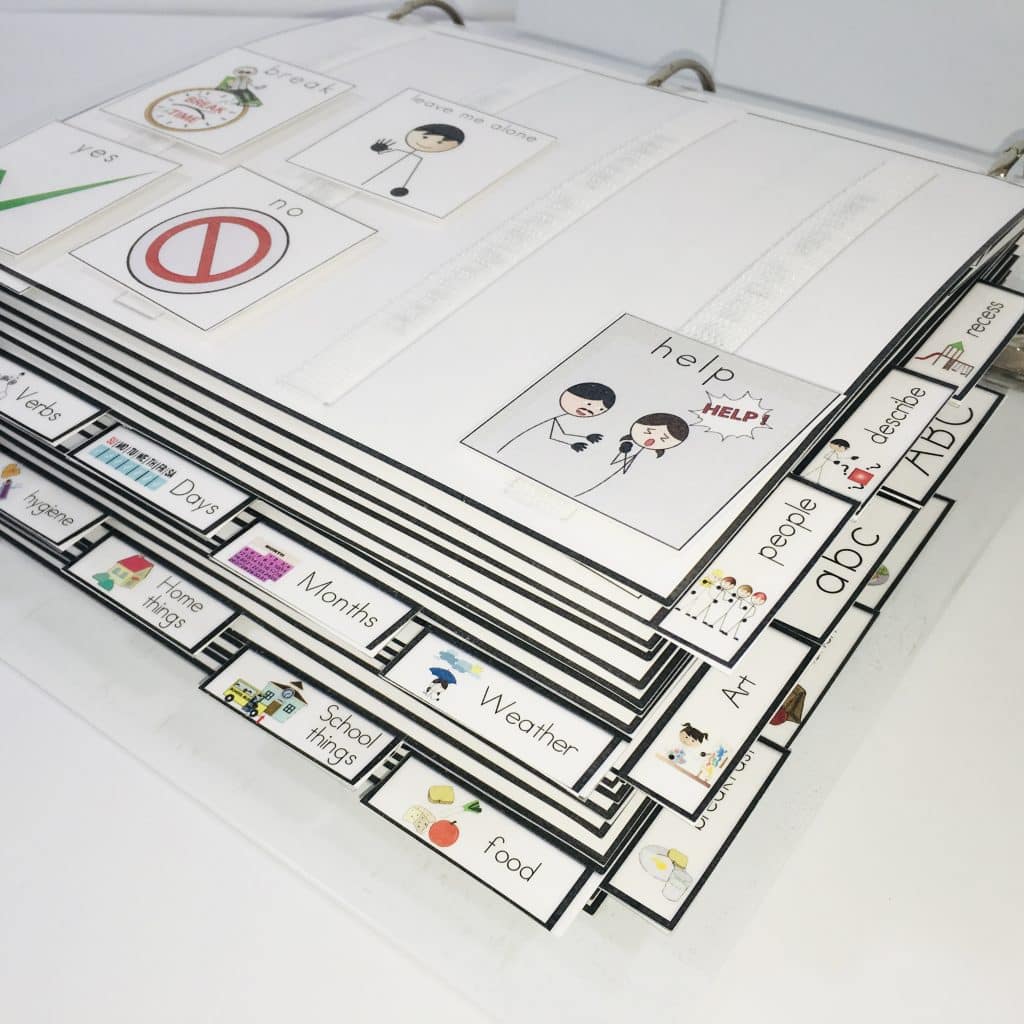
Over the years as a teacher, I had some students come to me that had good communication skills using their communication book. I have created an advanced and in depth communication book that you can purchase HERE. This book was designed to meet the needs of advanced non verbal students that had the desire to communicate advanced thoughts. This communication book has over 500 communication icons organized into 27 pages. Each page has a tab to easily flip through the pages for quick communcaiotn.
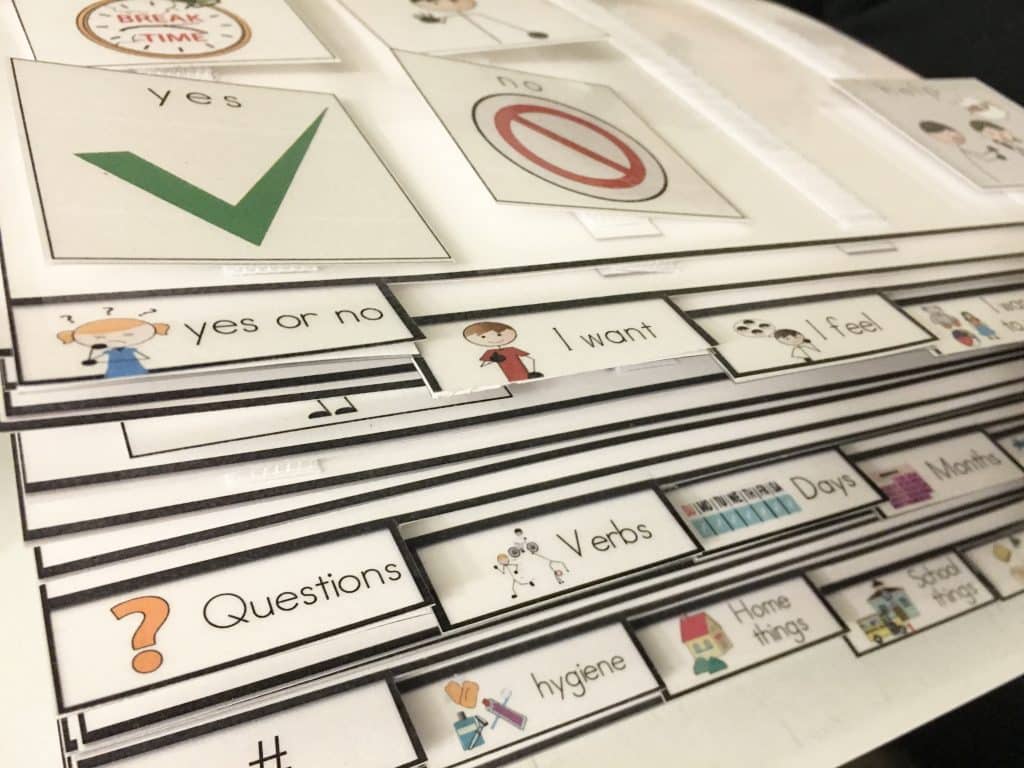
Using clip art images, this book is a great introductory communication book tool that can be used in any classroom or home. With the communication starter kit book, you can choose which icons to add to the students book. You can purchase this HERE.
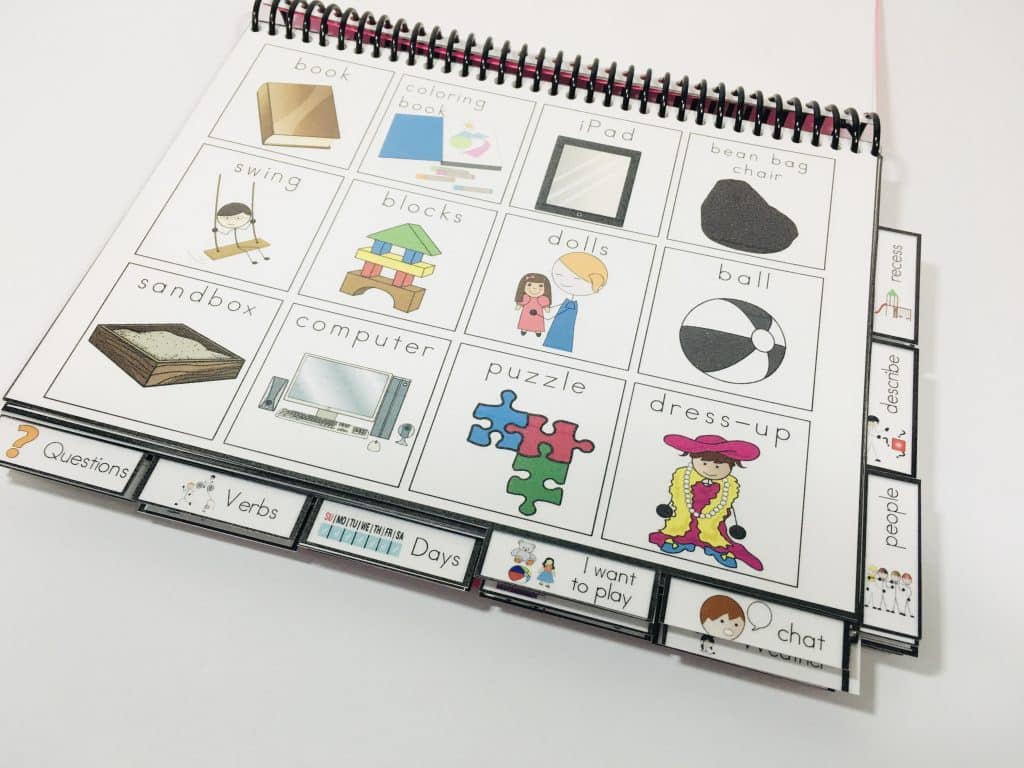
Above I discussed a communication book that can be used in a picture exchange communication system. The icons are attached to the pages with velcro and can be exchanged with a peer for communication. Next I will share the same communication book in a communication aide book. The only difference is the book does not need to be assembled using velcro and the icons cannot be removed. This book is great to keep at work centers and used in small groups when you want to have visual aids to build functional communication. This book is not ideal for students who cannot have a lot of icons on one page as the icons cannot be removed. Below are picture examples:
Below is a video showing you all the pages included in my Communication Book. The same pages and icons are included in both versions!
High Teach Devices
Assistive technology can be a great tool to break communication barriers for students. Speech generating devices haves and will continue to improve year after year. The technology is constantly improving and the success of students is reaching across different settings.
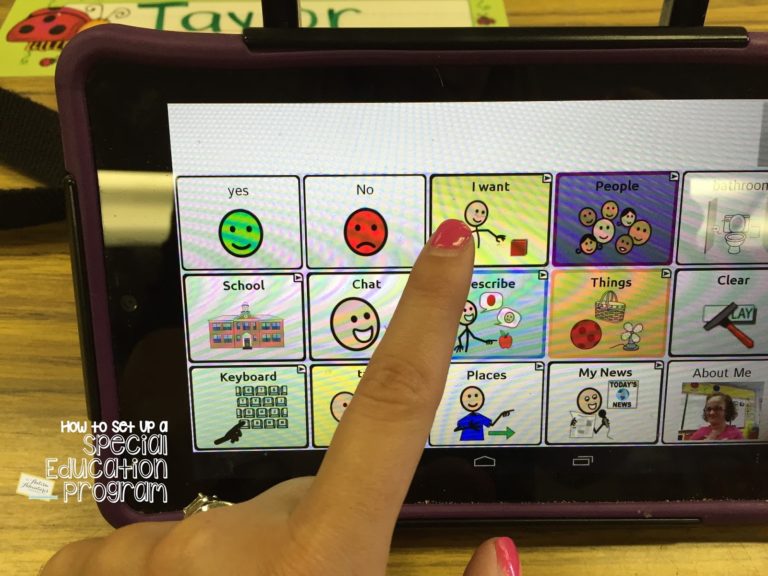
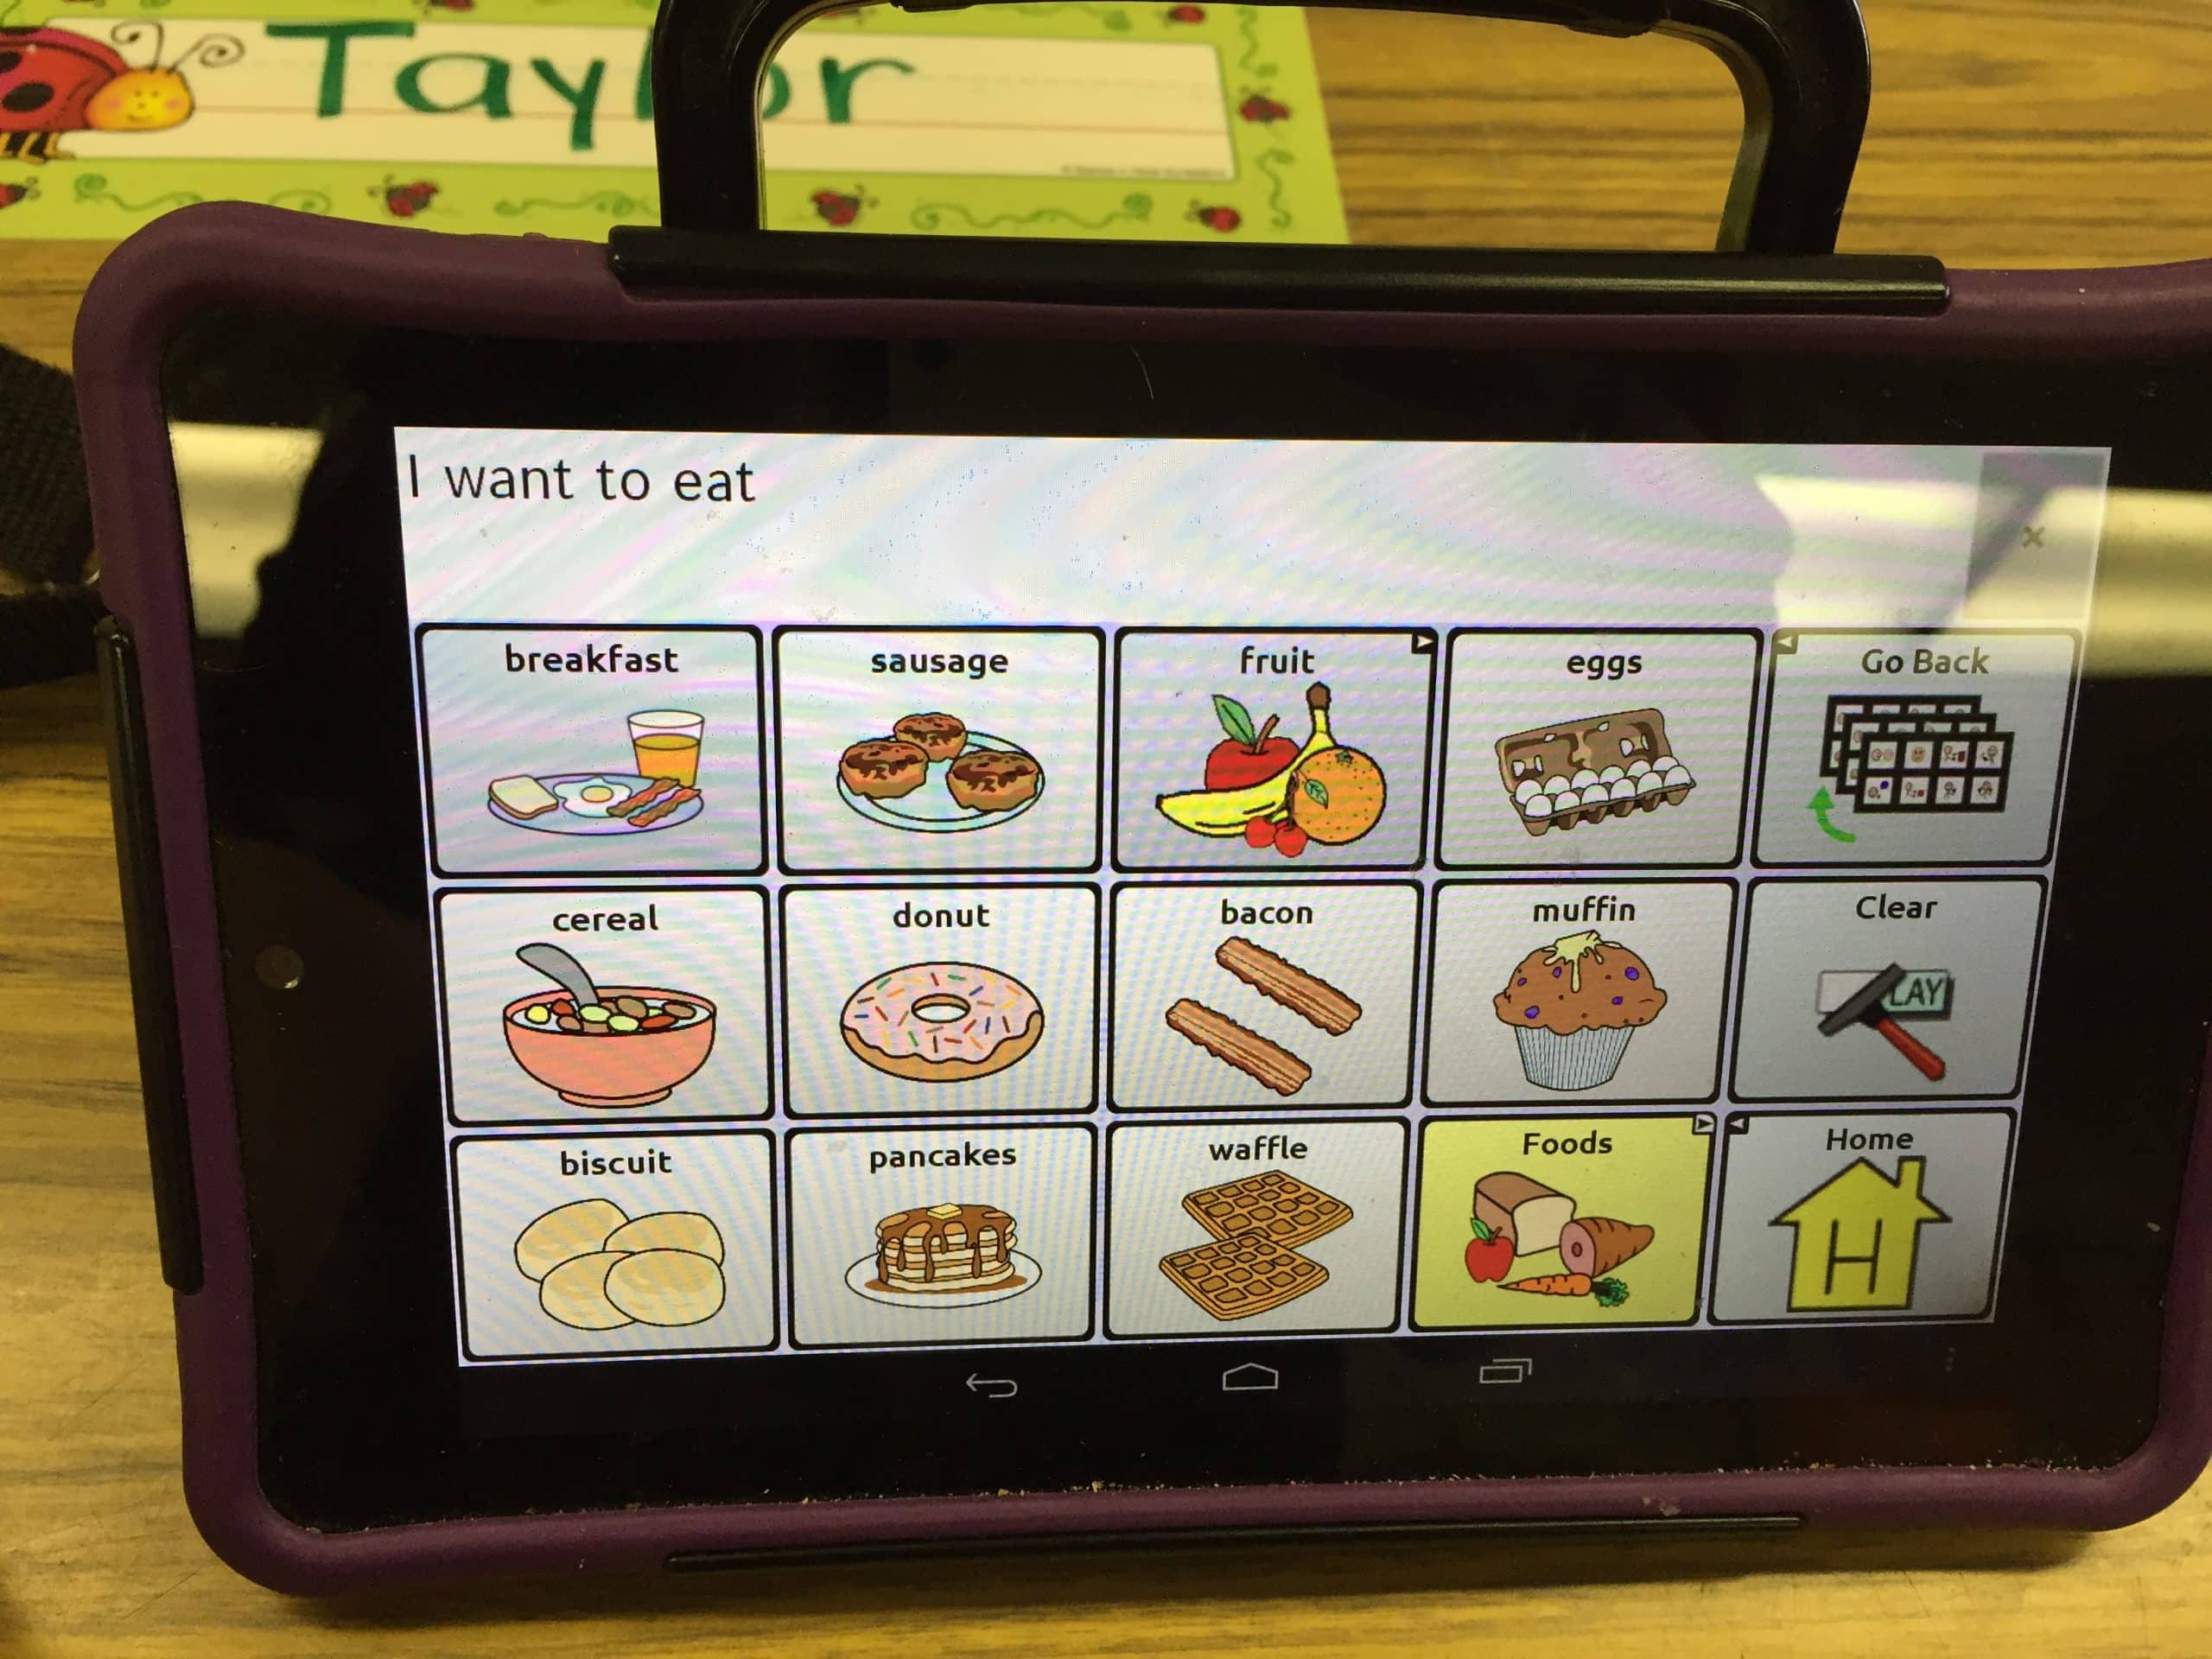
A speech-generating device is an assistive technology that helps students with speech impairments communicate effectively. These devices convert text or symbols into spoken words, allowing students to participate more fully in classroom activities and social interactions. These devices can be customized to suit individual needs, including using personalized pictures such as taking pictures of peers, teachers and family members. By providing a voice to students who cannot speak, these speech generating devices promote independence and inclusivity in every social setting.

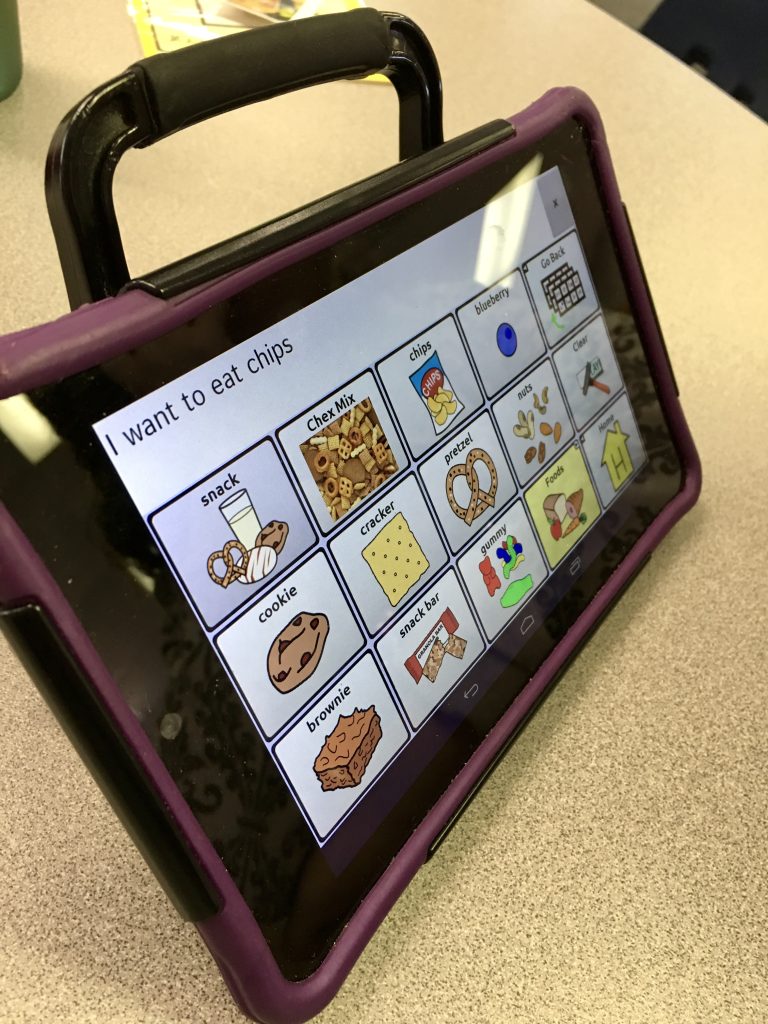
Over the years I have had students get AAC devices funded from a variety of programs, including private health insurance. the regional center and local speech organizations. There are a lot of apps that are extremely in depth that can be put on any iPad or tablet. Working with your speech therapist is your best bet for getting students set up!
4 Compartment Device
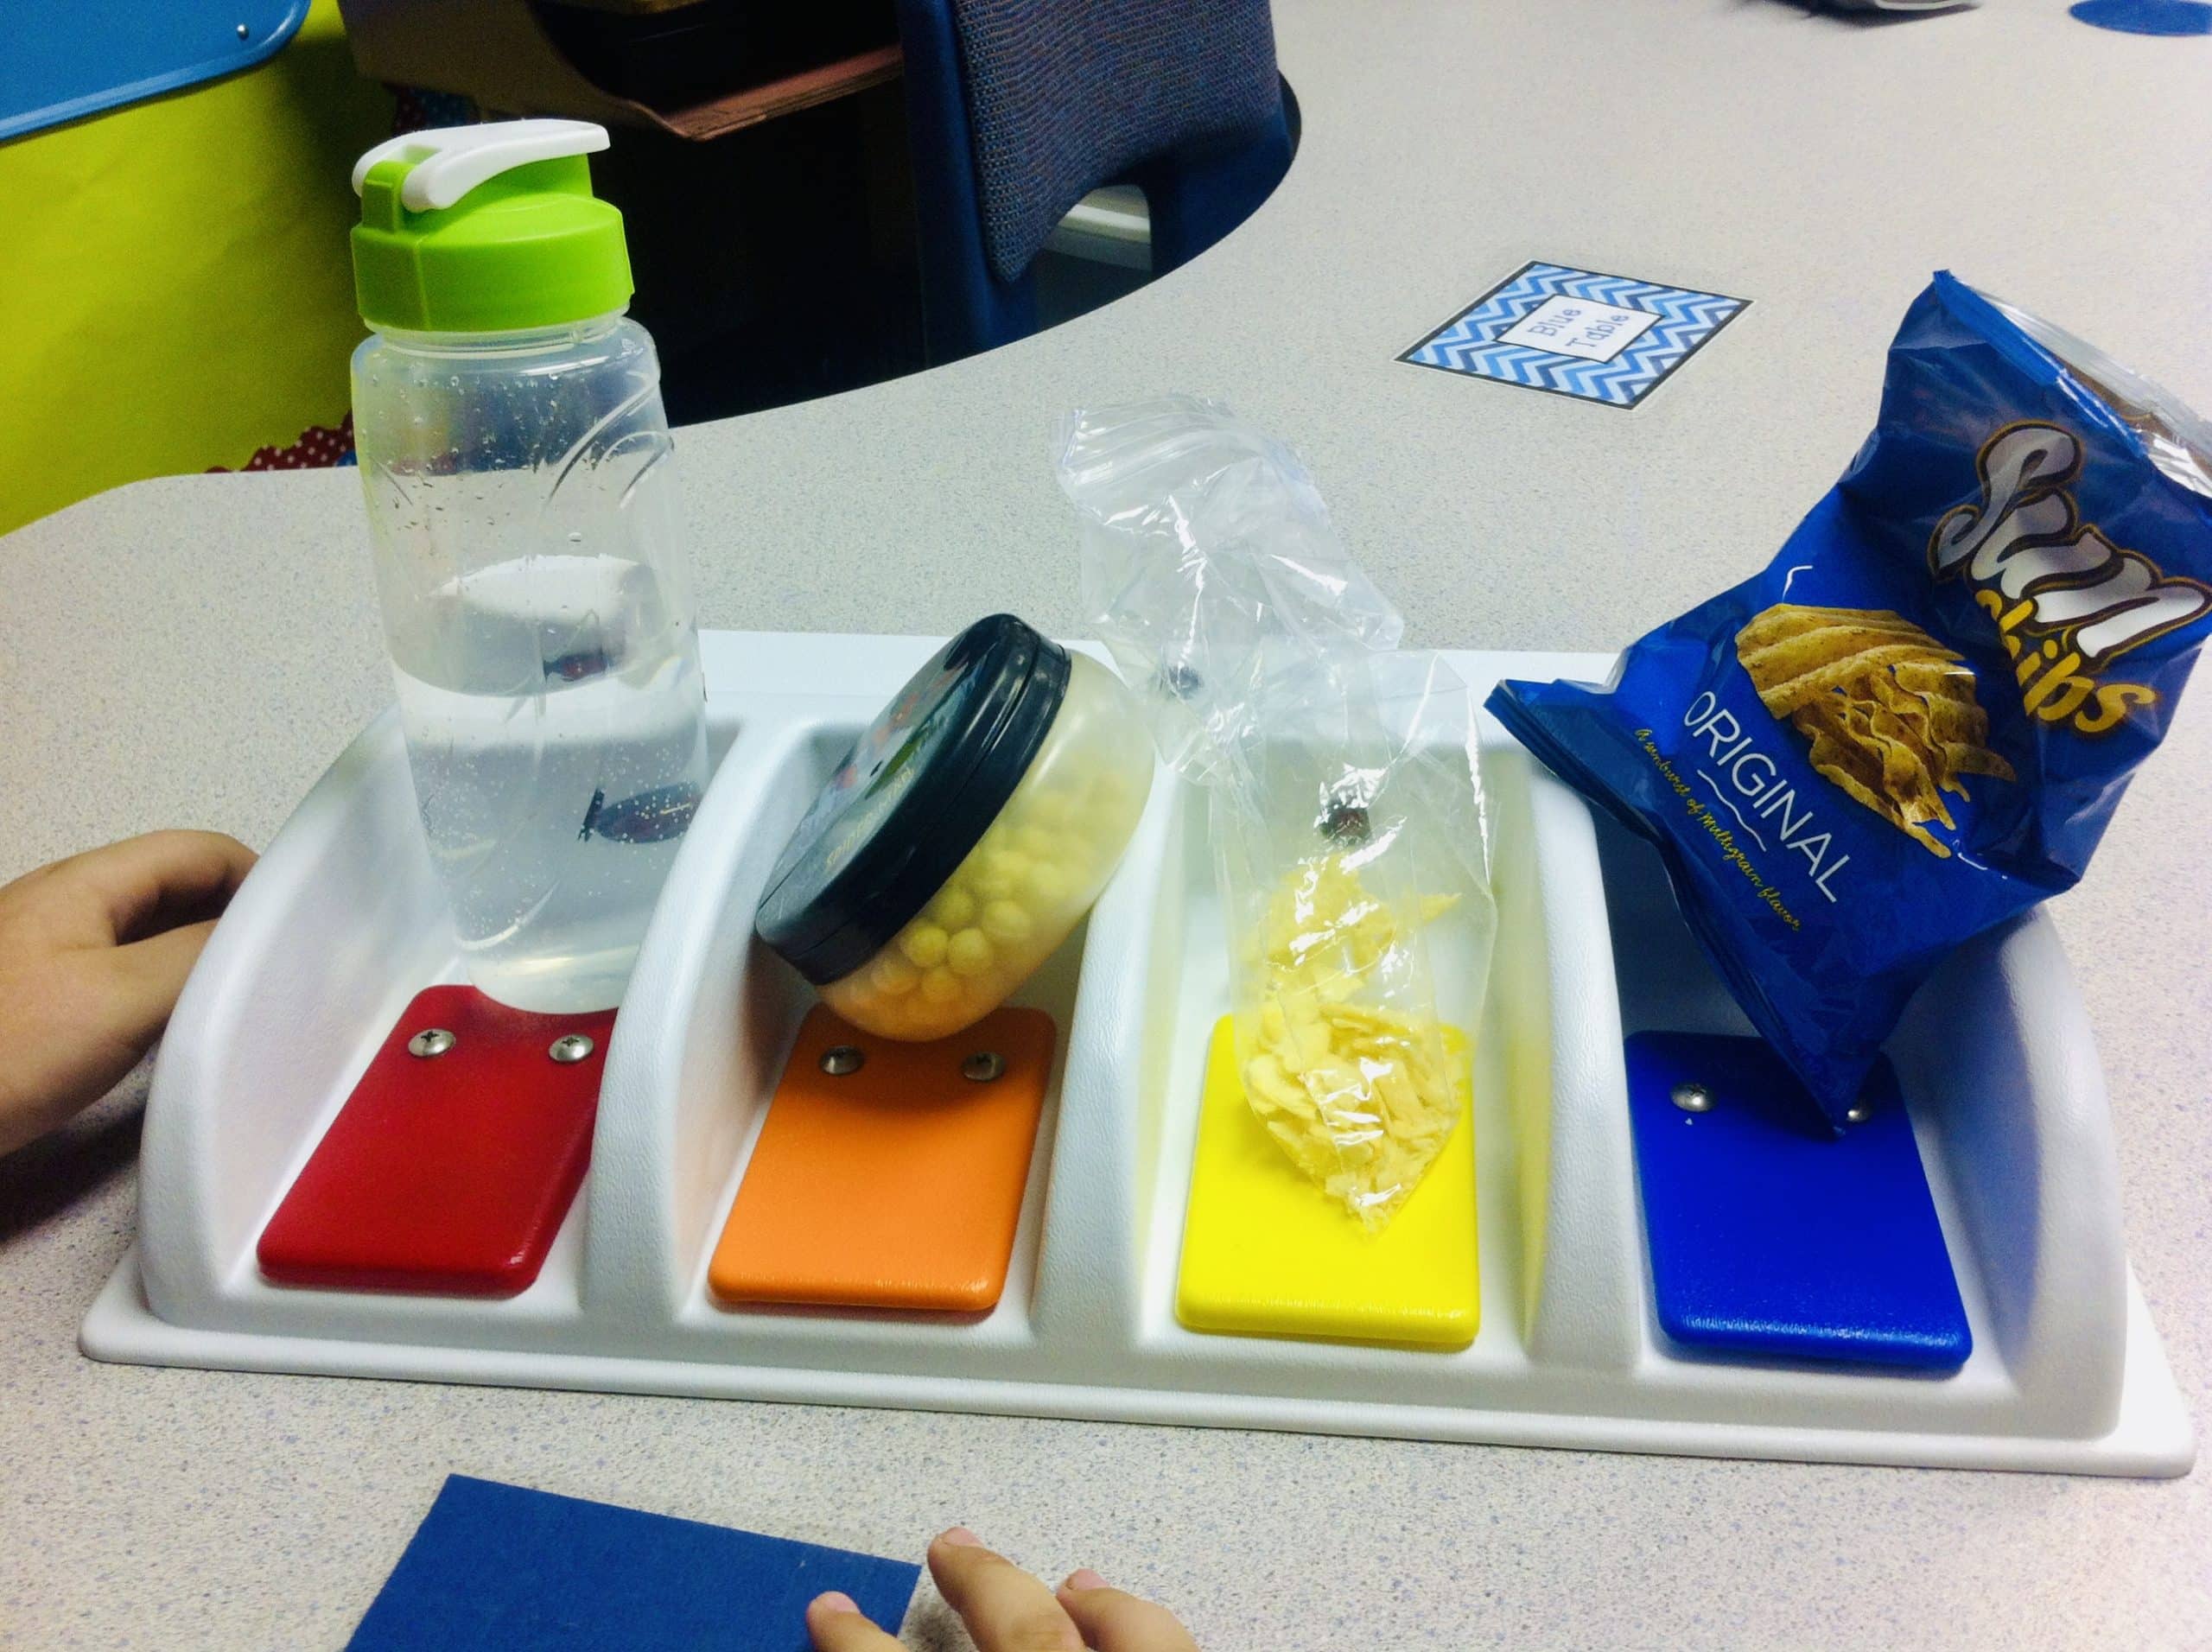
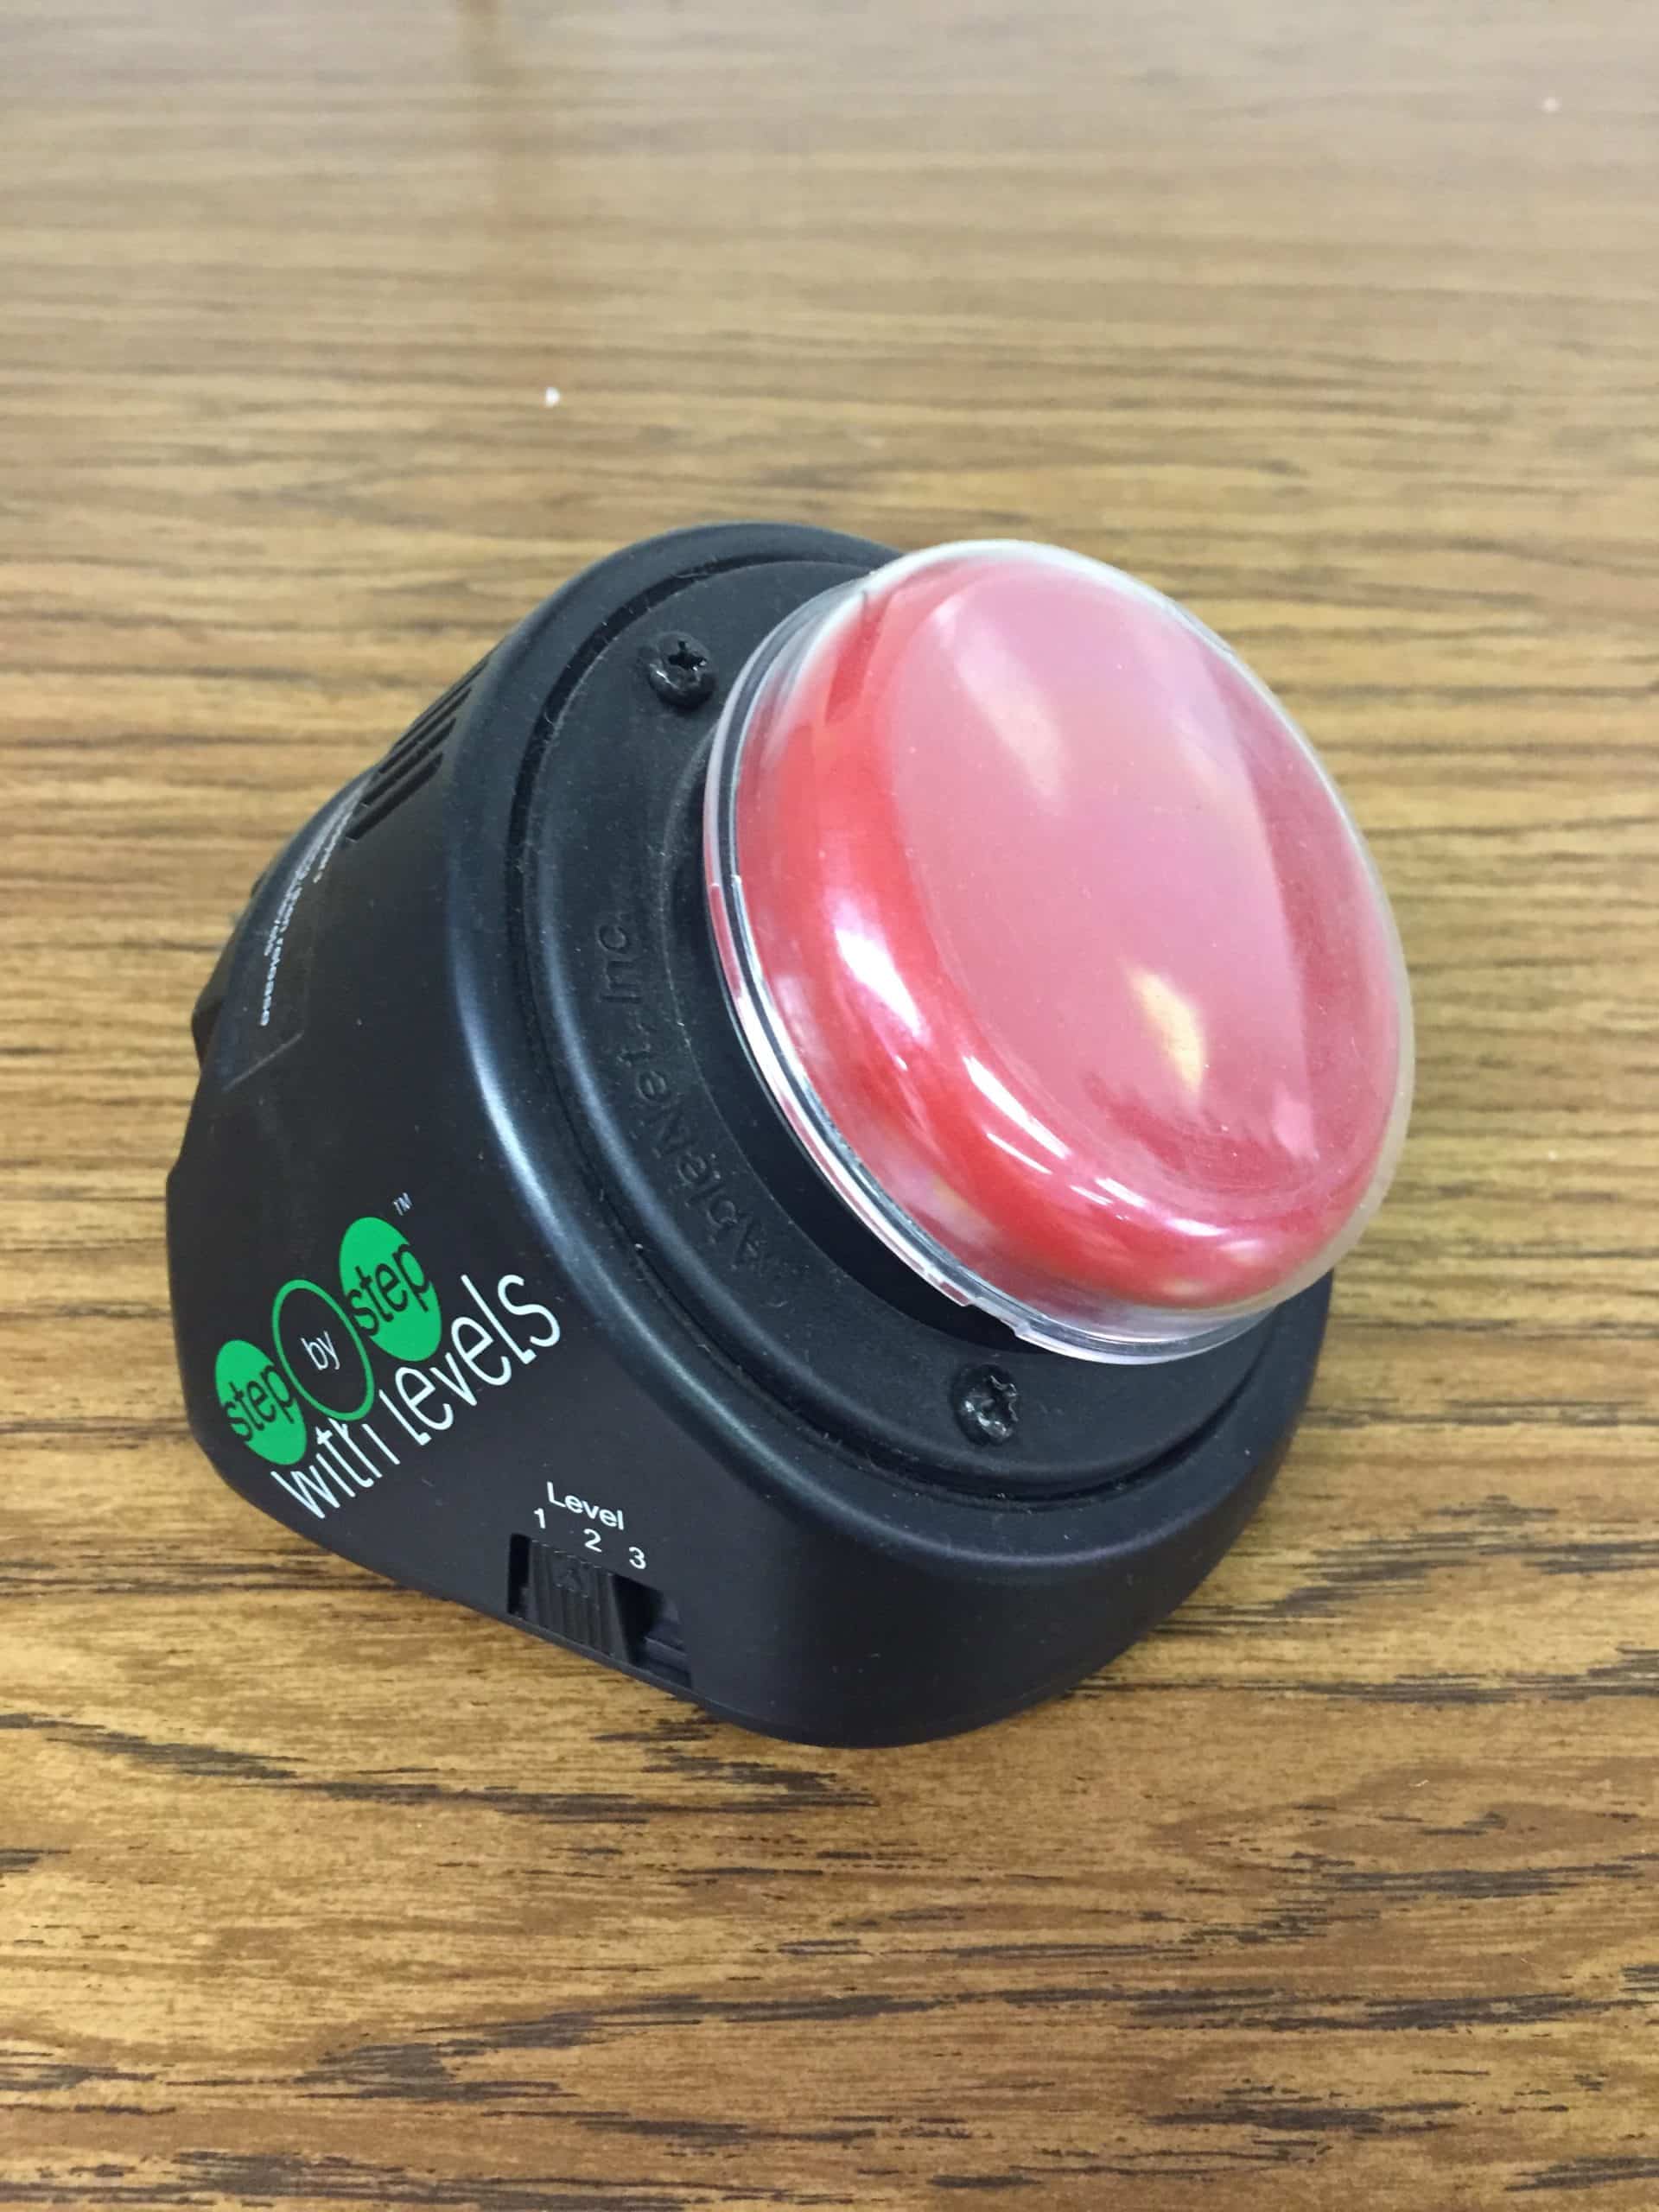
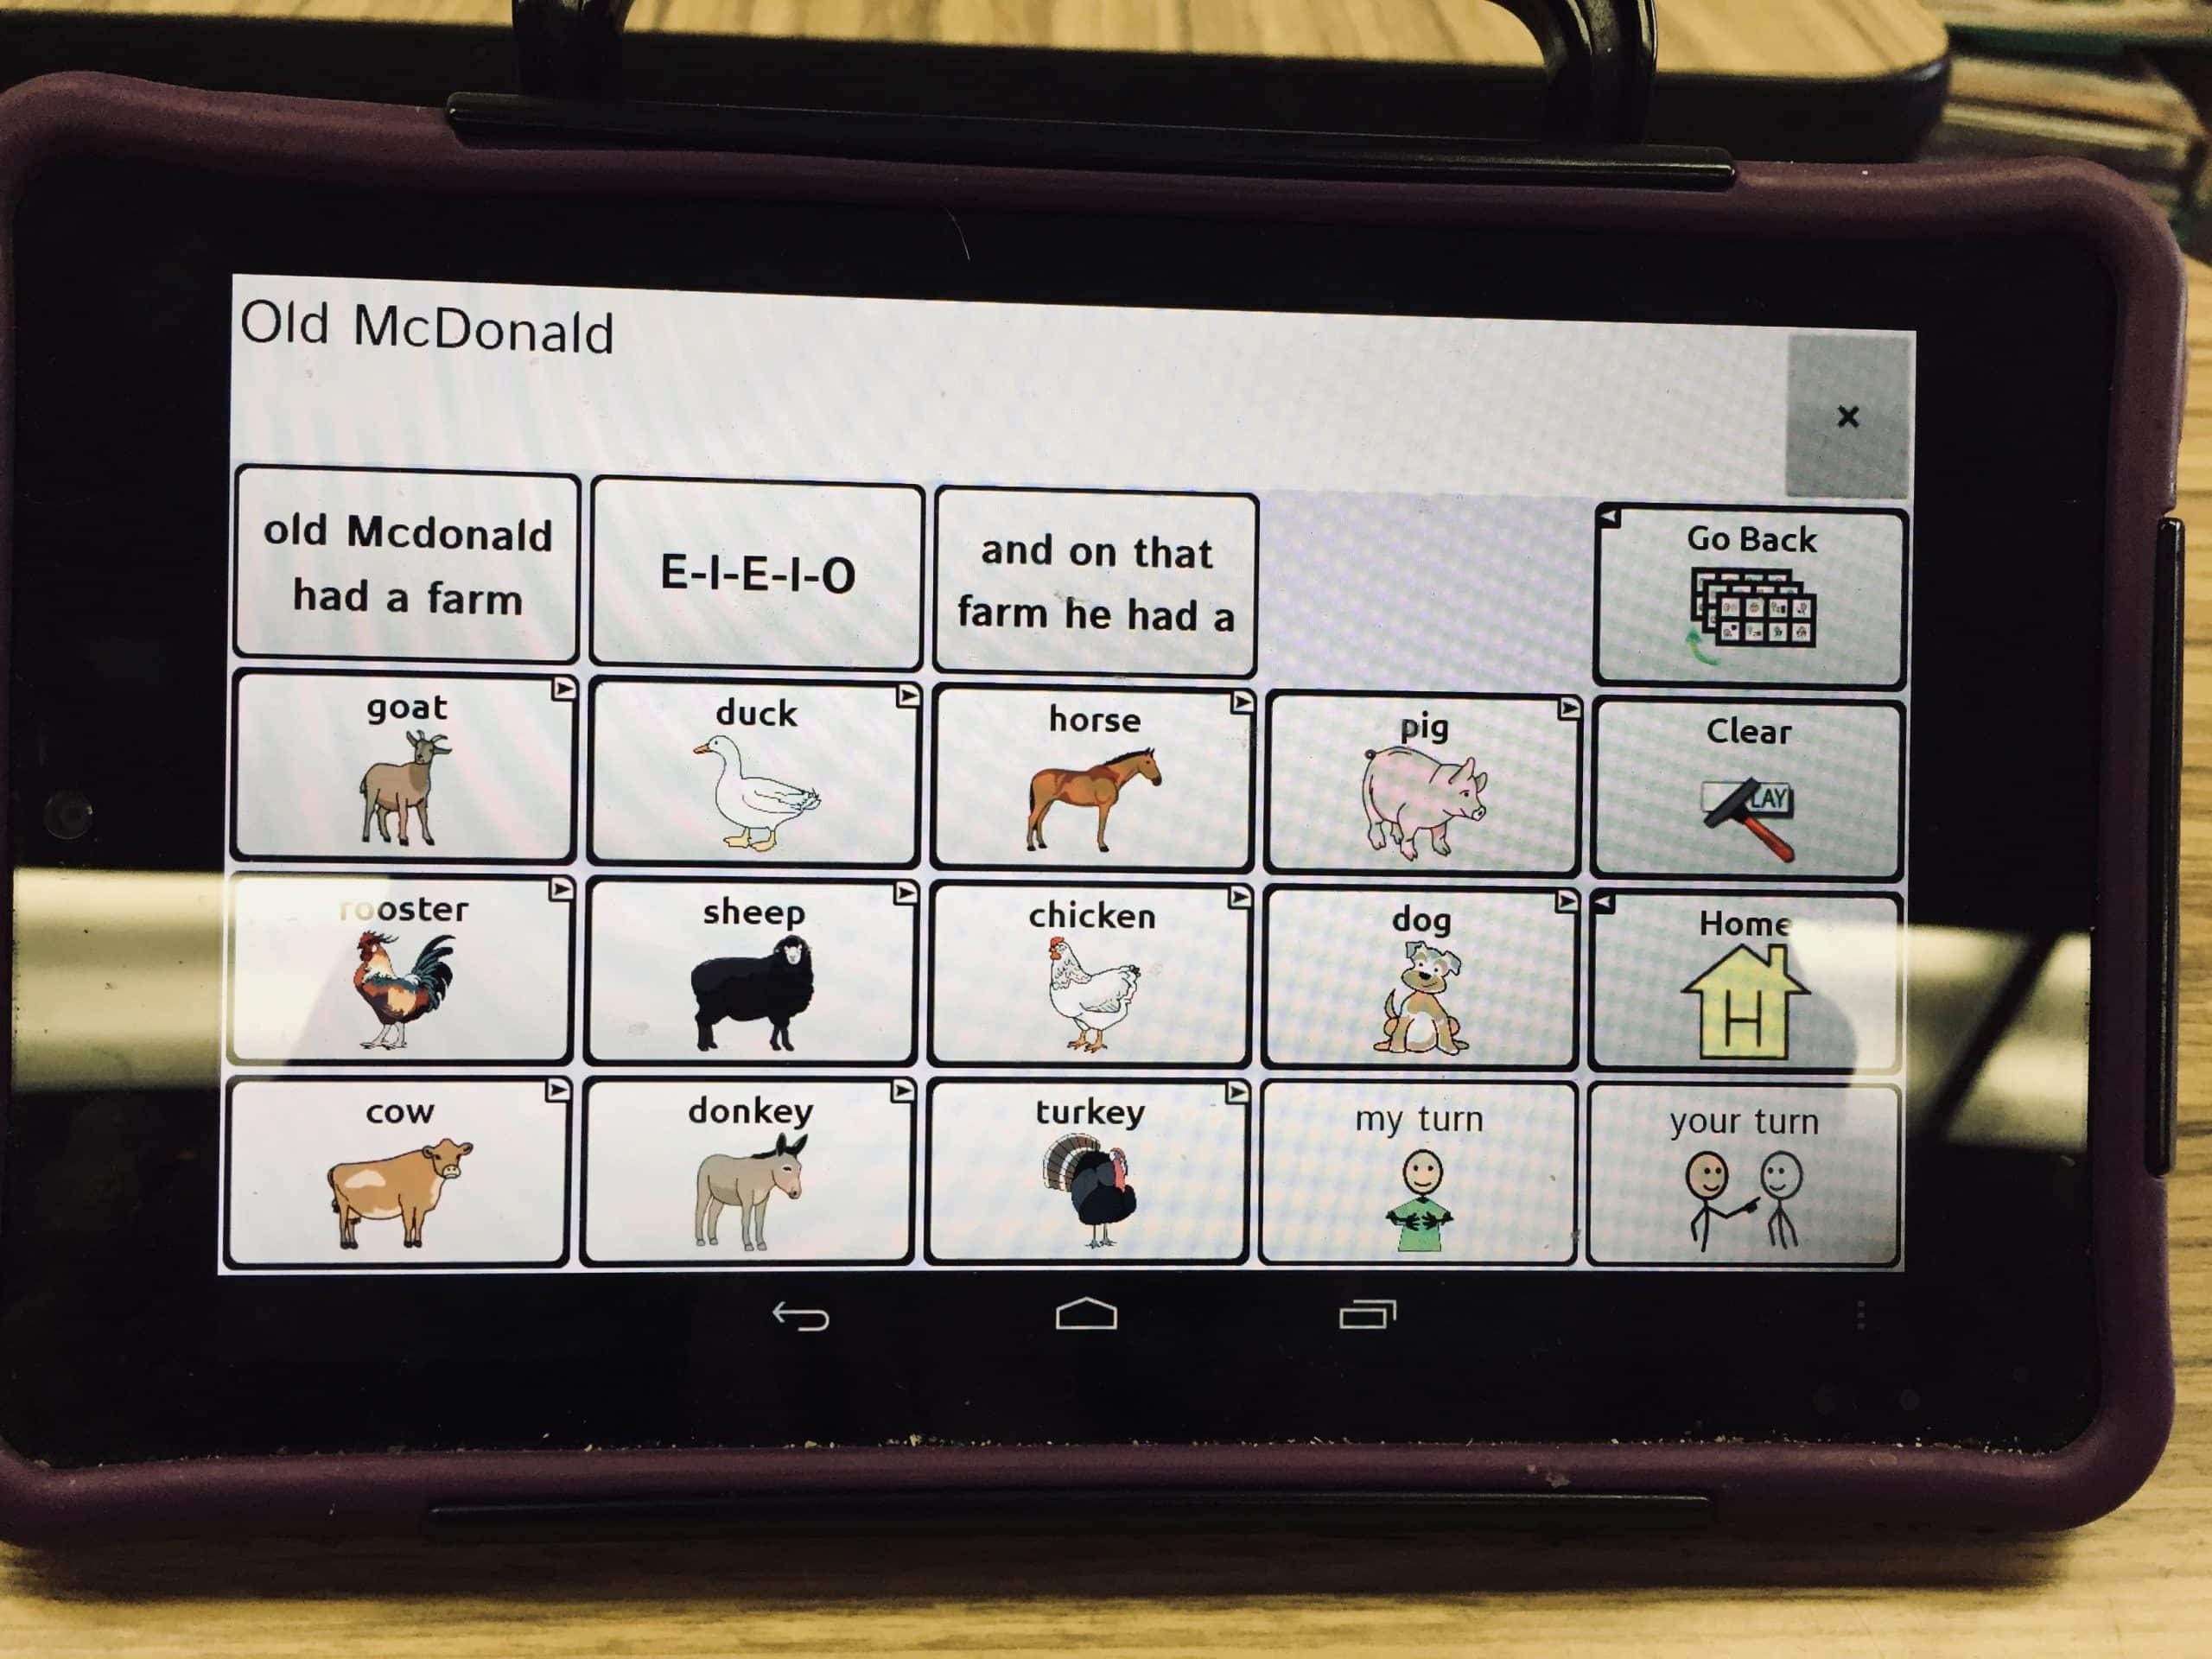
One of my favorite aac systems I had in my classroom was a 4 compartment device. This was funded for my classroom as a whole, and not just one student. This low tech communication device is a great tool for every self-contained classroom. To teach students to communicate their BASIC wants and needs is essential for a safe learning environment.

With this aac system, you can pick any four items and quickly program the buttons for voice output. You can use this during snack time to communicate four snacks. You can use this for art using four different colors of art supplies. Book time can also build comjunciatoin by having students pick between four books. The options are limitless and it takes just a second to program it.
Building functional Communication during Snack Time
I love to facilitate communication opportunities during snack time. I built snack time into my daily schedule to ensure it took place in the classroom in a structured setting. To read more about my daily schedule, click HERE. Snack time was one of the most desired parts of our day, so why not turn it into functional communication activity! The rule during sack was, if you want it, ask for it! We used all the prompts, communication tools and devices needed to make meaningful communication happen. I was also lucky enough to schedule some Speech push in during snack time once a week to make it that much more meaningful.

Functional Communication Activities
Teaching communication for wants and needs is important- but we must build upon this. Some students learn “I want…” and that is it. We must build upon the sills students have and push them to communicate even more! Here are a few different activities you can set up in your classroom:
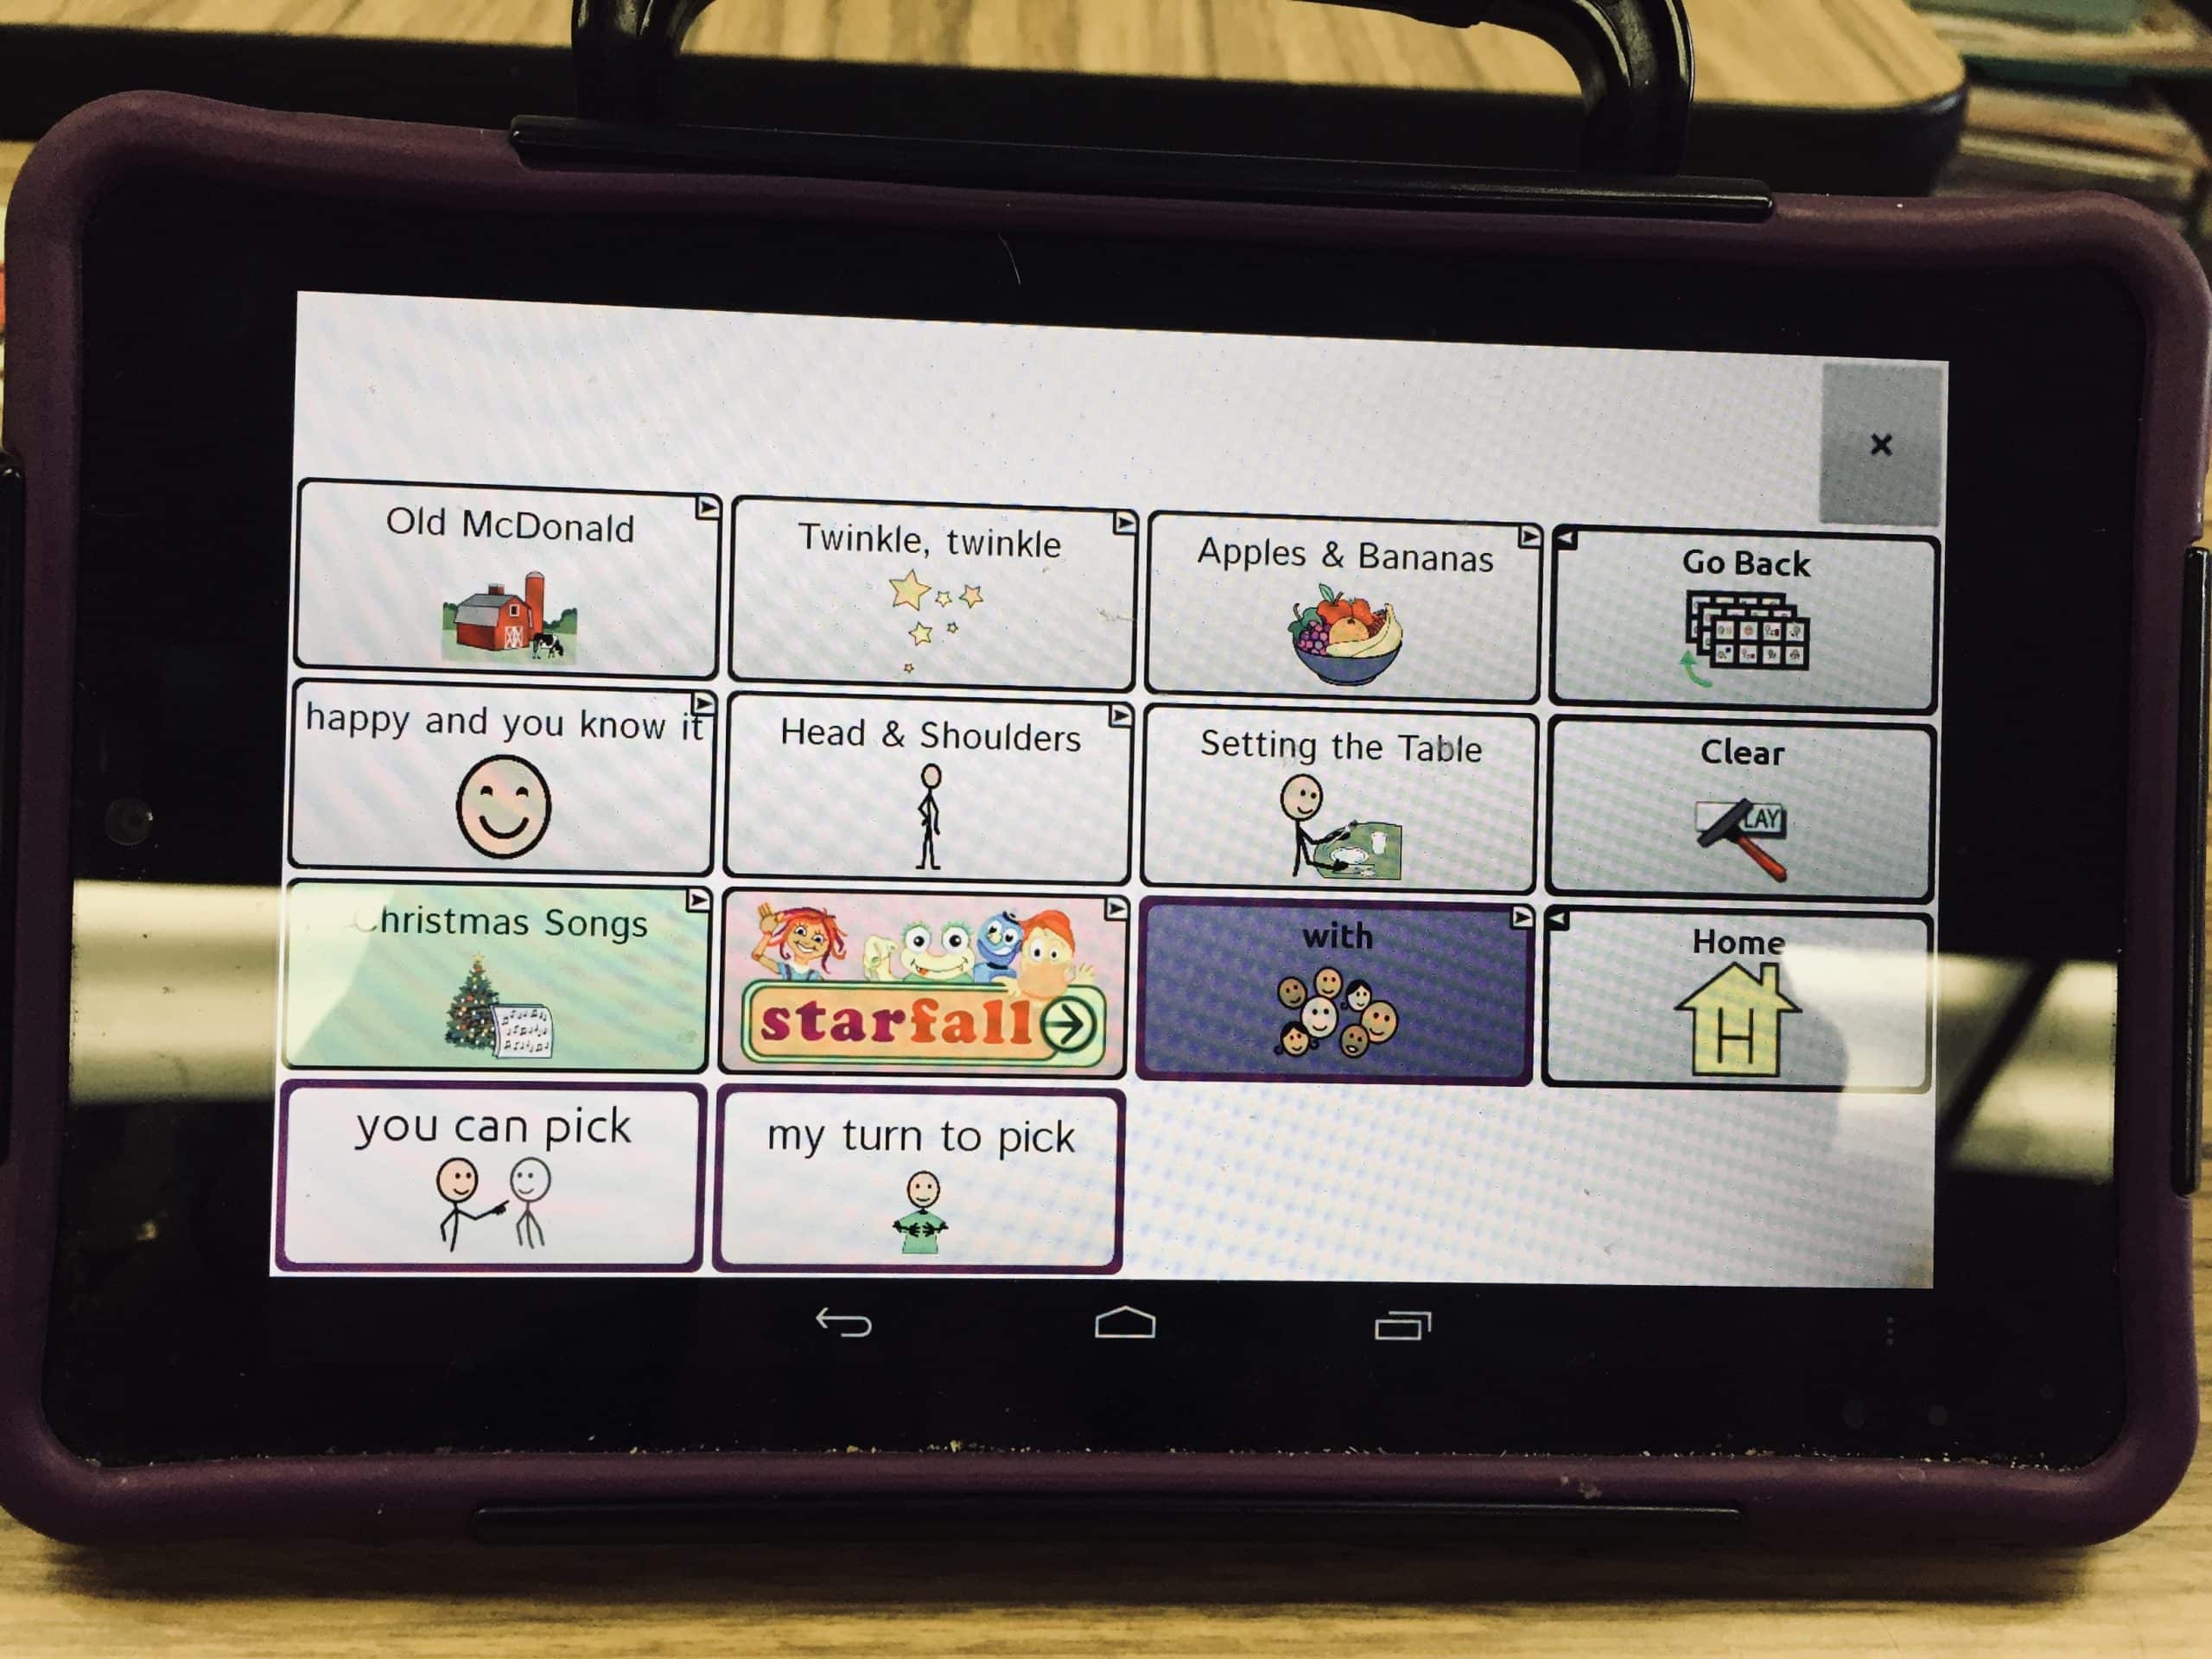
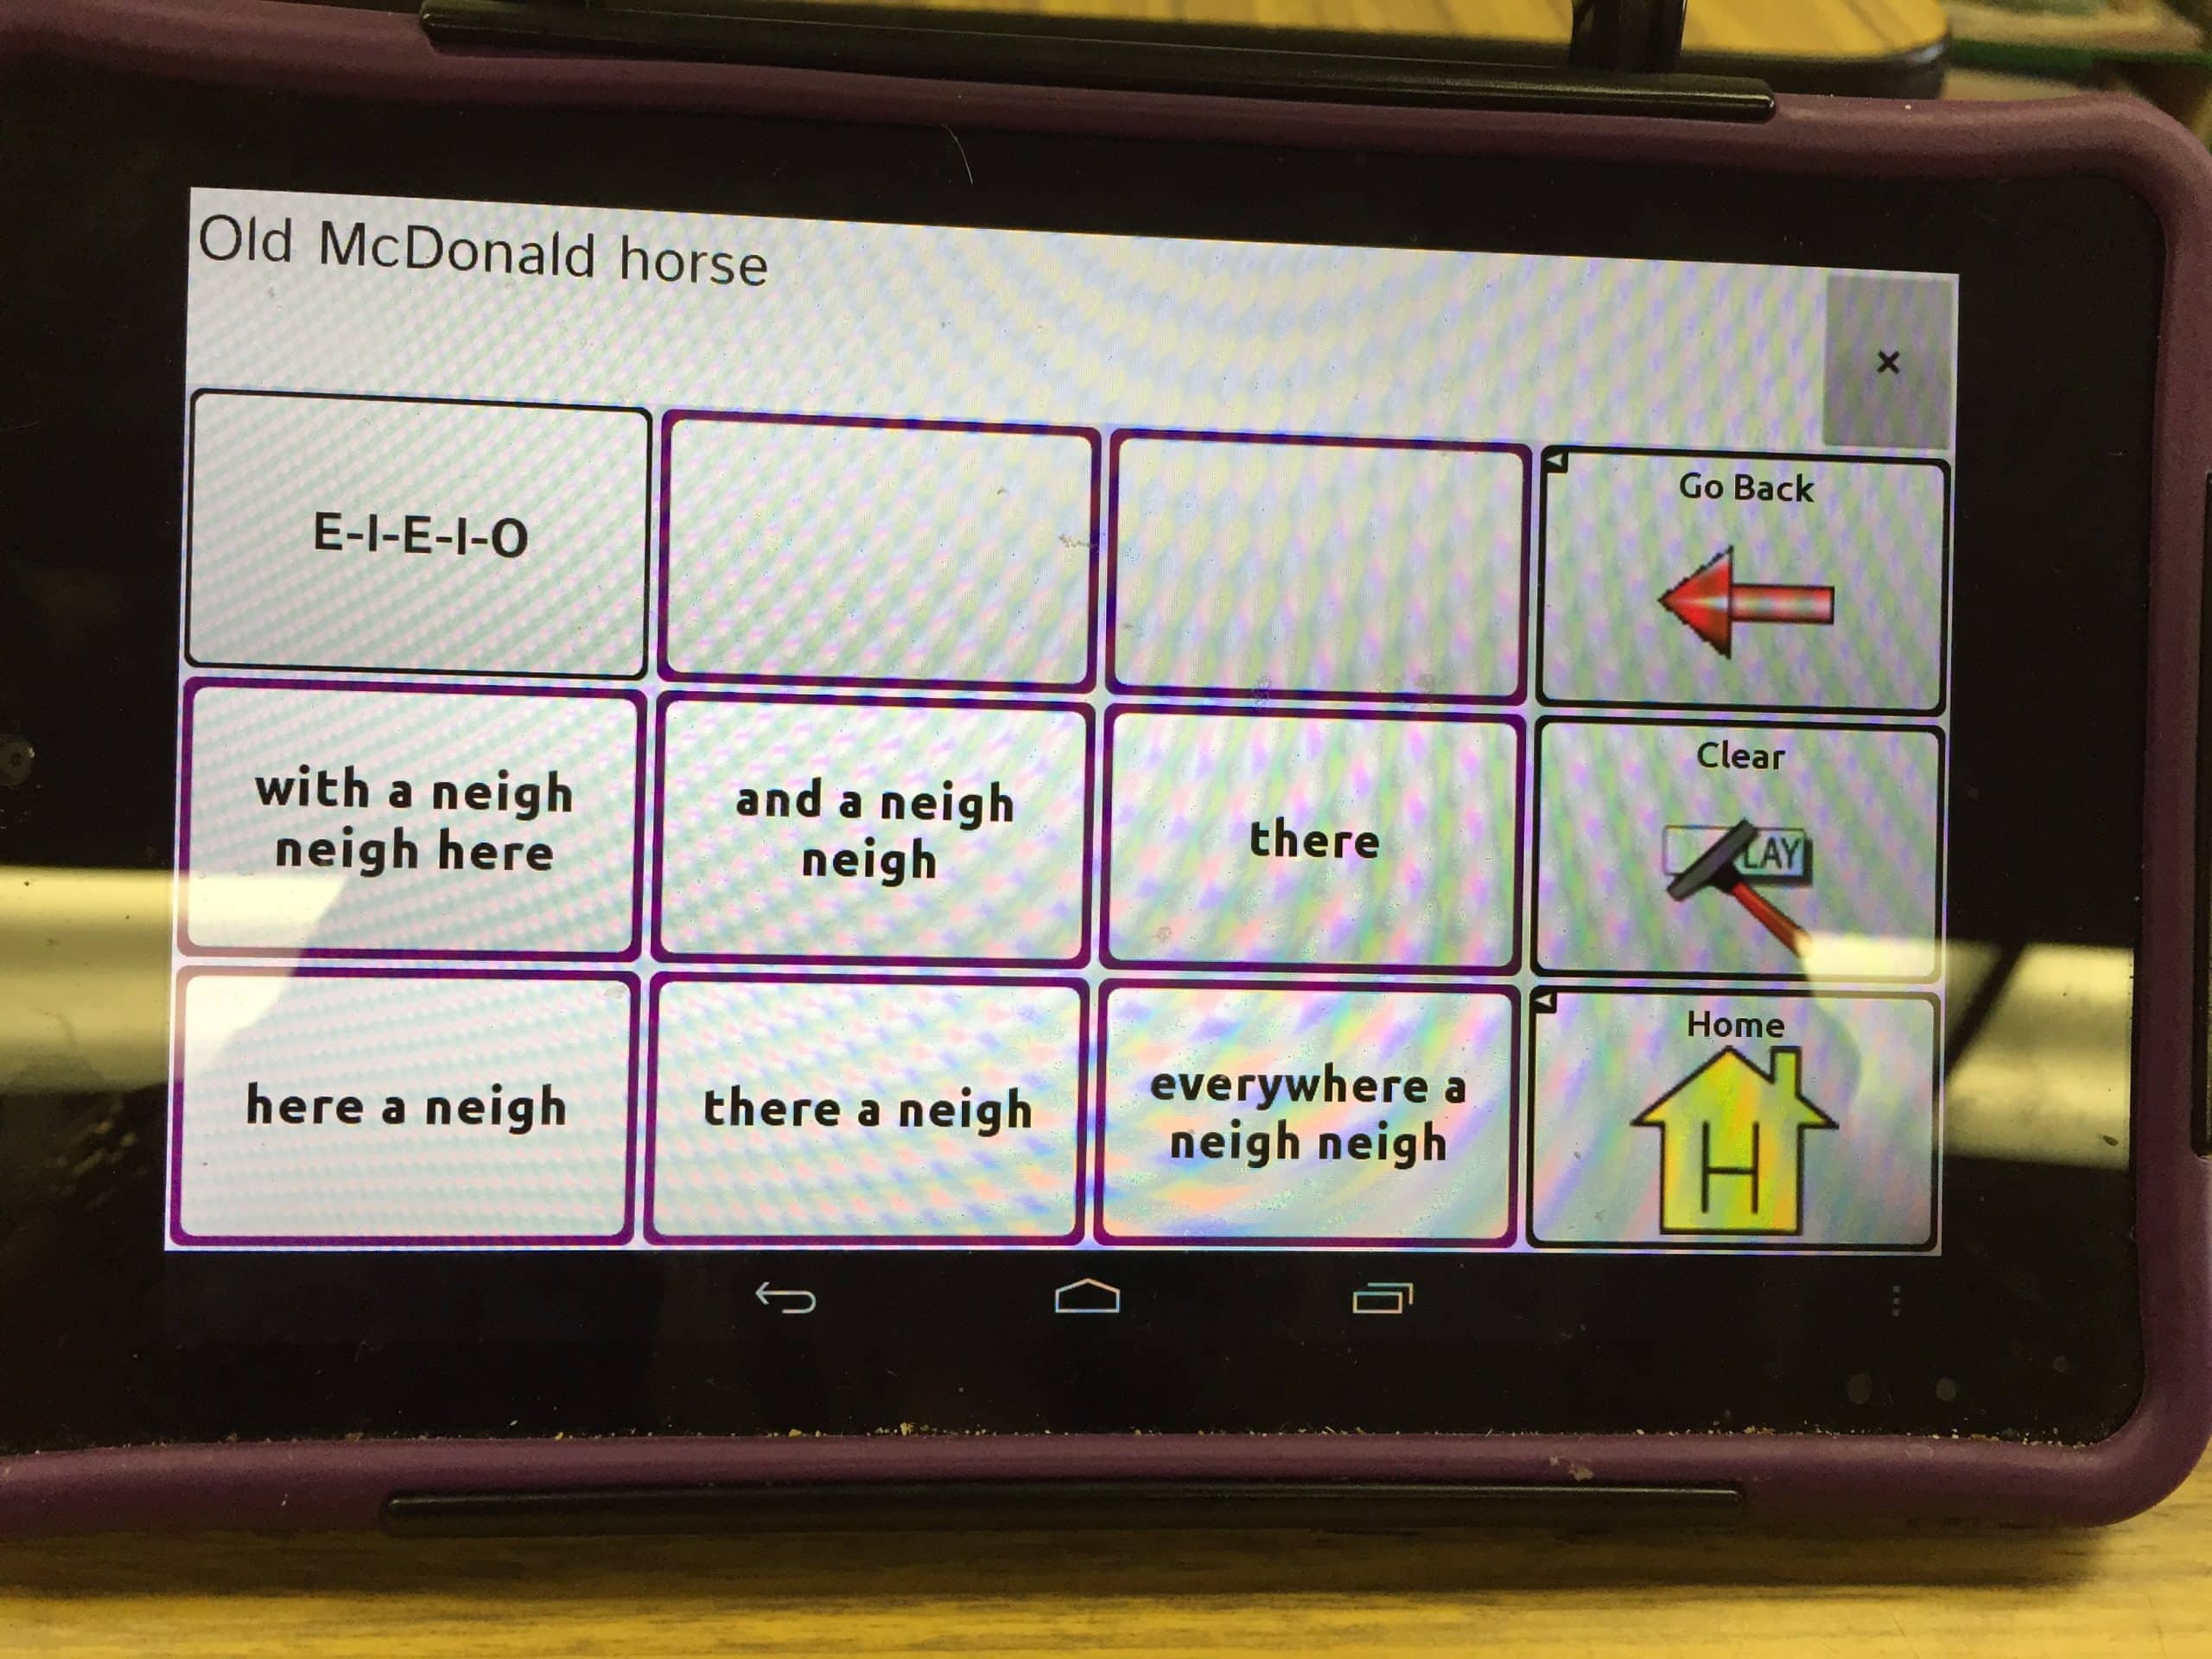
Requesting favorite songs/videos

Communication toys

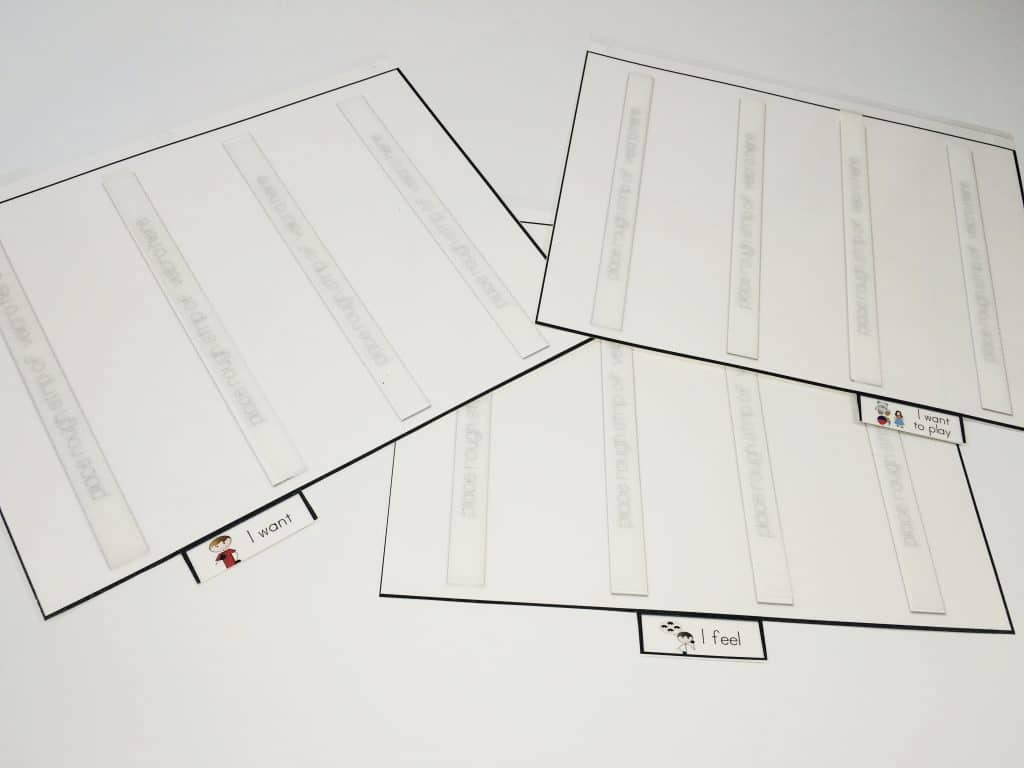
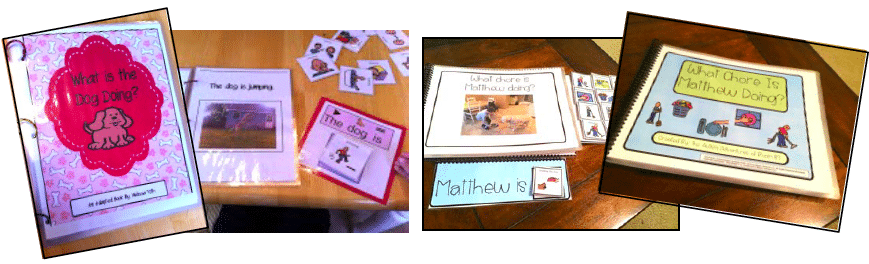
Describing pictures with sentence frames

Adapted books/sentence frames
Singing songs through devices
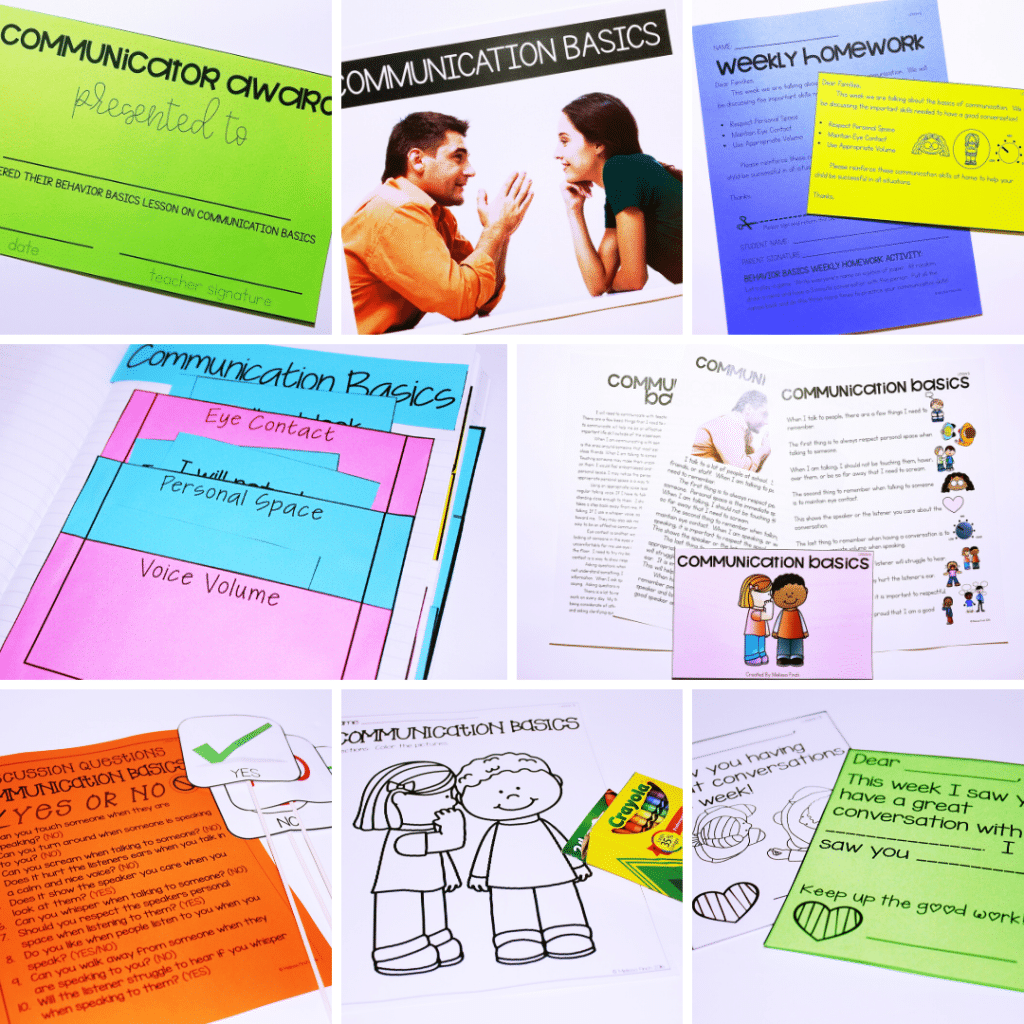
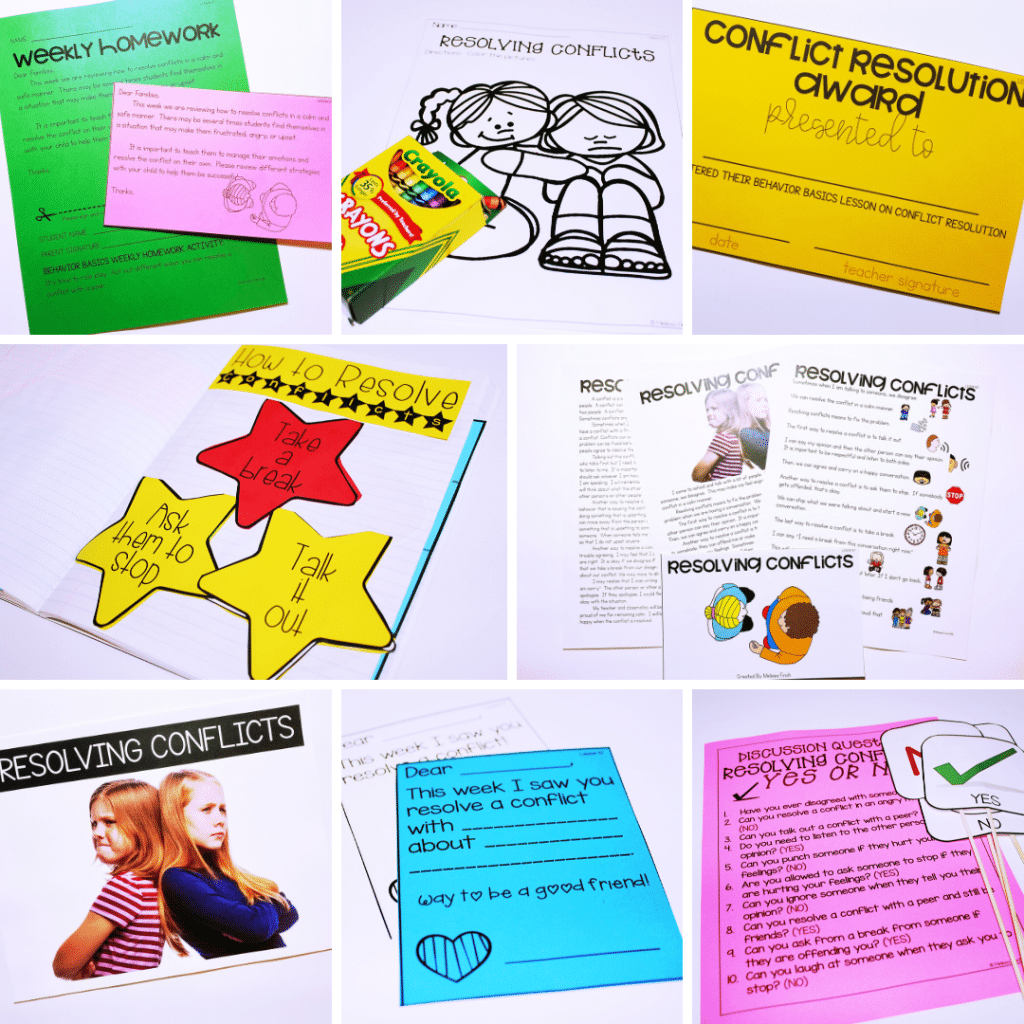
Behavior Basics Communication Lessons
It is important to build communcation opportunities within the classroom to build social skills and create social interactions with peers. It is also important to teach expected behaviors for students learning to communicate. The Behavior Basics Program has a few lessons focussed on communication skills. General education teachers, special education teachers, and language therapists can use the Behavior Basics program. The behavior basics program has social stories, posters, discussion questions, interactive notebook activities and coloring pages on each skill.
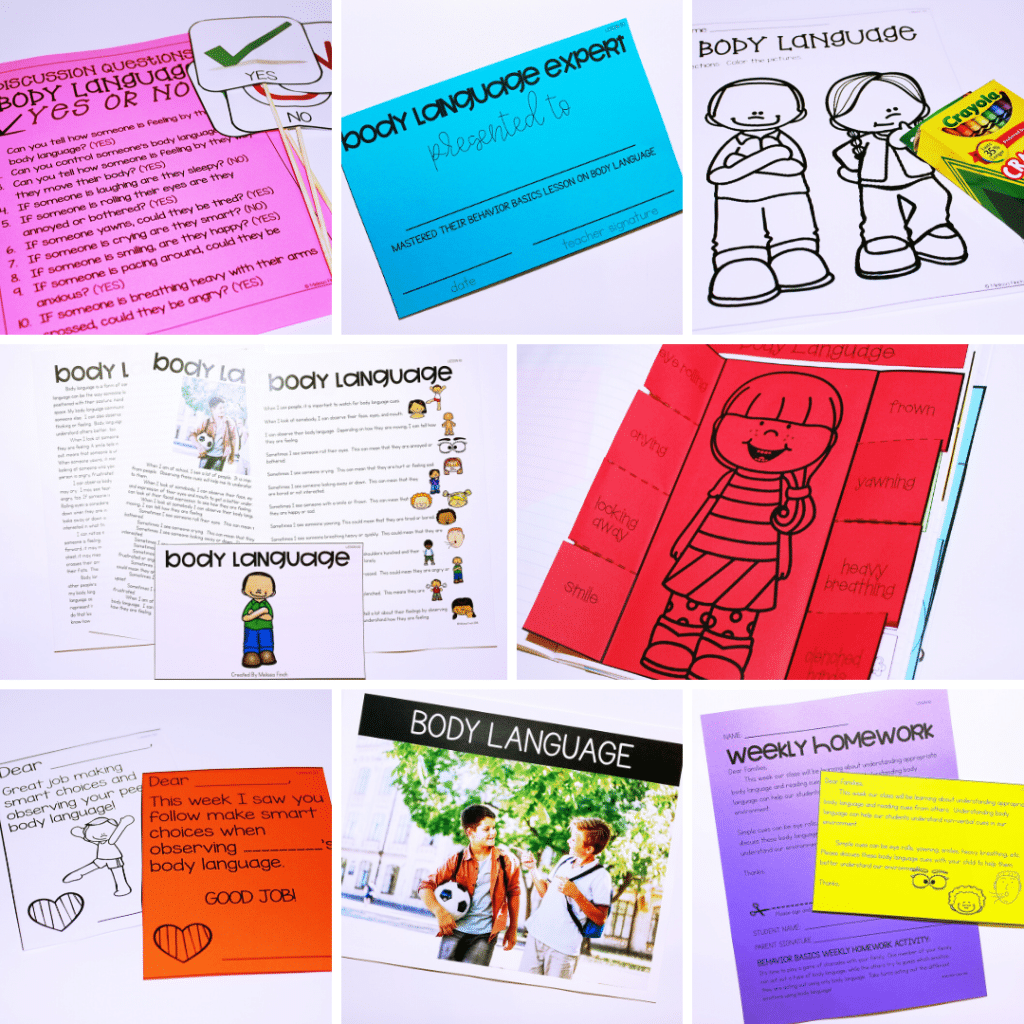
To teach students how to understand body language when communicating with peers, check out this lesson HERE. This lesson focuses on facial expressions and body language and what common cues mean.
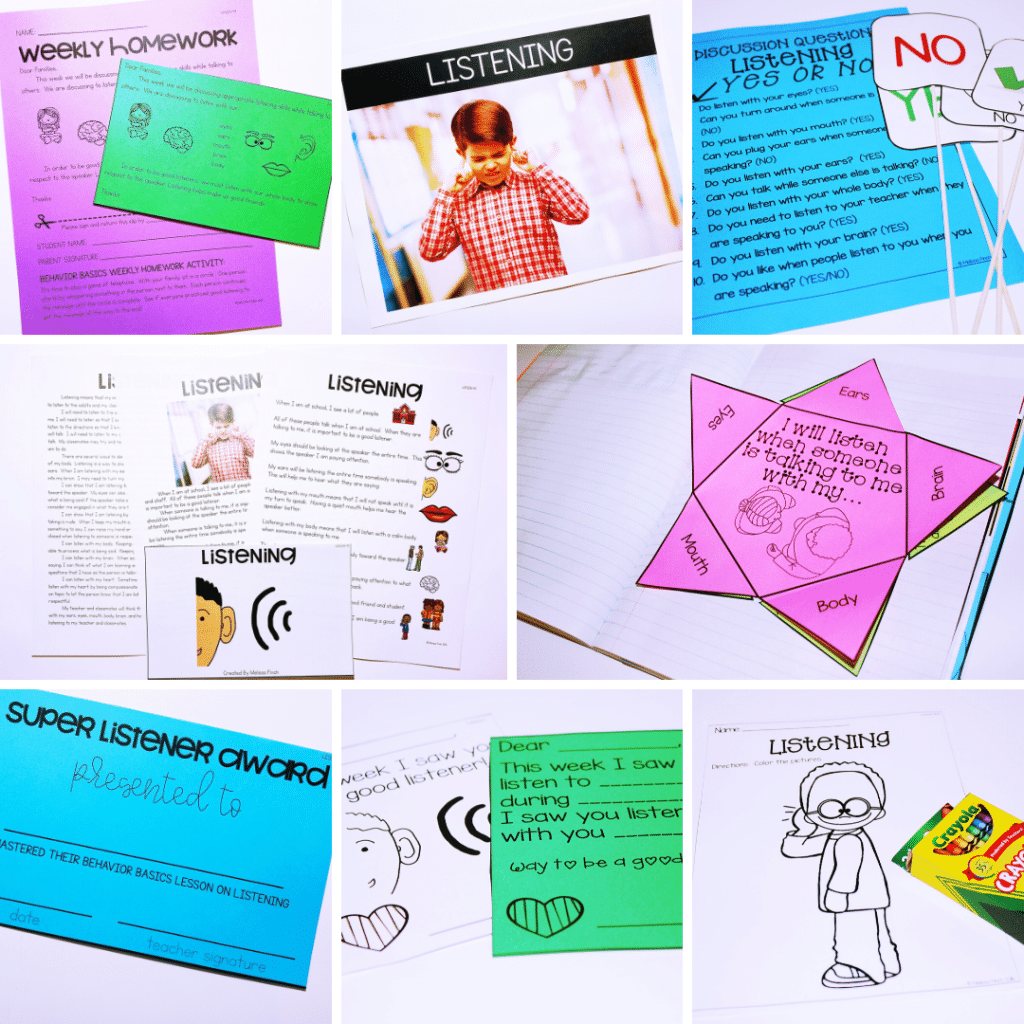
To Teach students how to be a good listener, check out this lesson HERE. This lesson focuses on how to be a good listener when communicating with peers.
To Teach students basic communication strategies such as maintaining eye contact, listing ears and quiet mouth, check out this lesson HERE. This lesson is great for students to understand communication ettiquet in a social situation.
To teach students problem-solving skills, check out this lesson HERE. Resolving conflicts successfully is an important life skill for students and will have a positive impact for students in their language development.
For more behavior basics lessons that focus on communication, read more about them HERE.
Conclusion
In conclusion, building functional communication skills in the classroom is essential for building independence and inclusivity among students. By incorporating visual supports, alternative communication methods, and nonverbal cues, educators can create a safe learning environment where every student has a voice. Starting with preferred items and gradually expanding to more complex communication forms, such as speech-generating devices, helps students develop confidence and proficiency in expressing their needs and wants. As educators, our goal is to be the strongest advocates for our students, ensuring they have the tools and opportunities to communicate effectively and thrive in all social settings.
Like what you read? Don’t forget it, PIN IT!